To link your WooCommerce store to Cloudprinter.com you will need a Cloudprinter.com account. If you haven't got one already, create one now.
1. If you haven't installed our plugin yet, do it as described here.
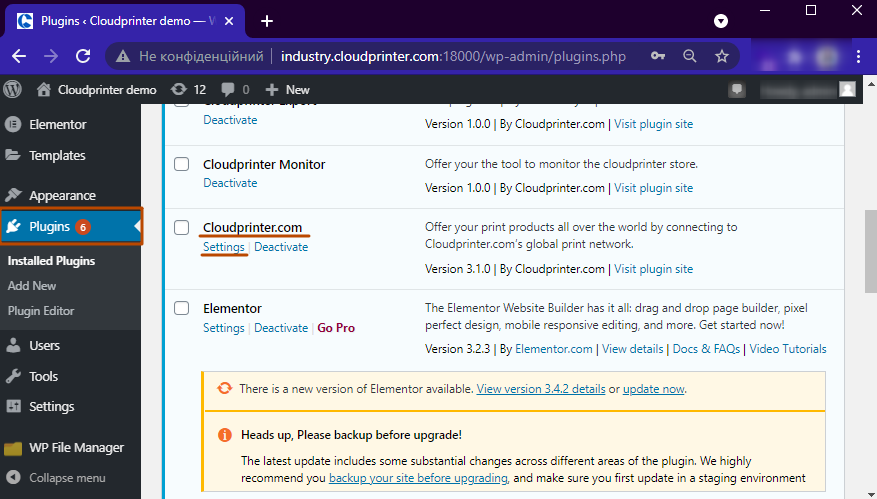
2. Next, log in to your admin WordPress account here. In the side menu, select Plugins. Below Plugins, you will find Cloudprinter.com. Click "Settings" to configure your account.
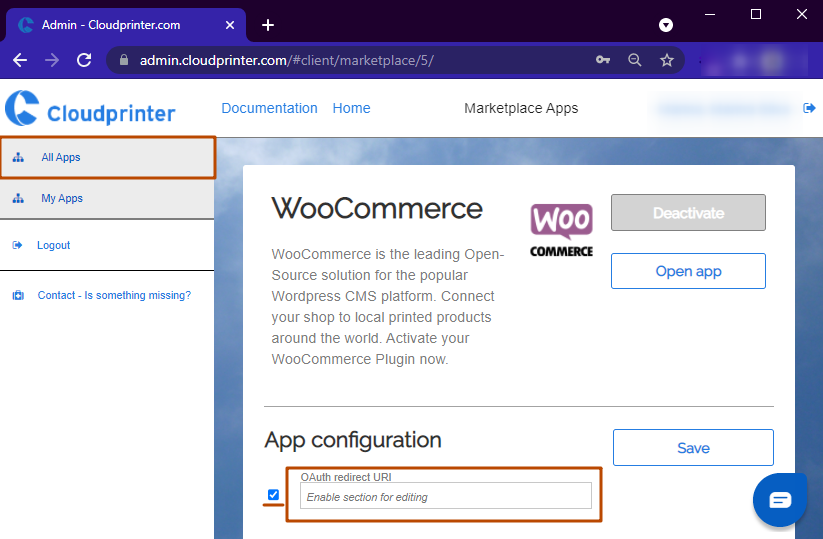
3. Now you need to register your shop domain URL in your Cloudprinter.com Dashboard.
First, copy the OAuth return URL as provided in the Authorization box. See the image below.
.
5. Second, go to the Cloudprinter.com marketplace, log in to your Cloudprinter.com account, click the checkbox and paste the URL that you copied in the previous step in the field. Do not forget to click Save.
.
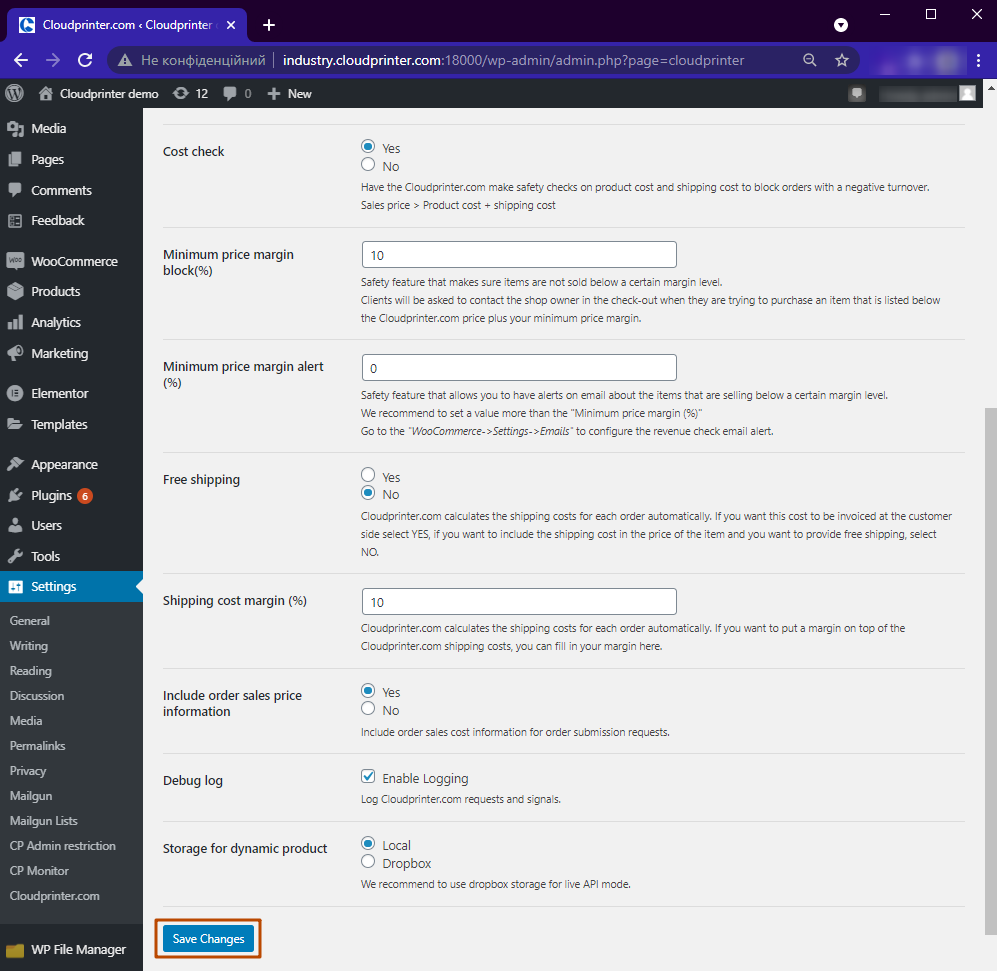
6. Now, head back to your Plugin Settings for the Cloudprinter.com plugin in Woocommerce.
In the Authorization box, click Login. You are redirected to an OpenAuthorization window. Please login to your Cloudprinter.com account and select your preferred account.
Continue to set up the other settings as you like. Finally, click Save at the bottom of the form.
.
7. You have now installed the Cloudprinter.com plugin and authorized your account. This means that your integration with Cloudprinter.com is now entirely completed!
Find out more about how to set up Cloudprinter.com products in WooCommerce in this article.
