How to create, adjust or check the print file after the order has been placed
This feature is for all Shopify & Cloudprinter.com app users. It will help you if you want to create, adjust or check the print file after the order has been placed.
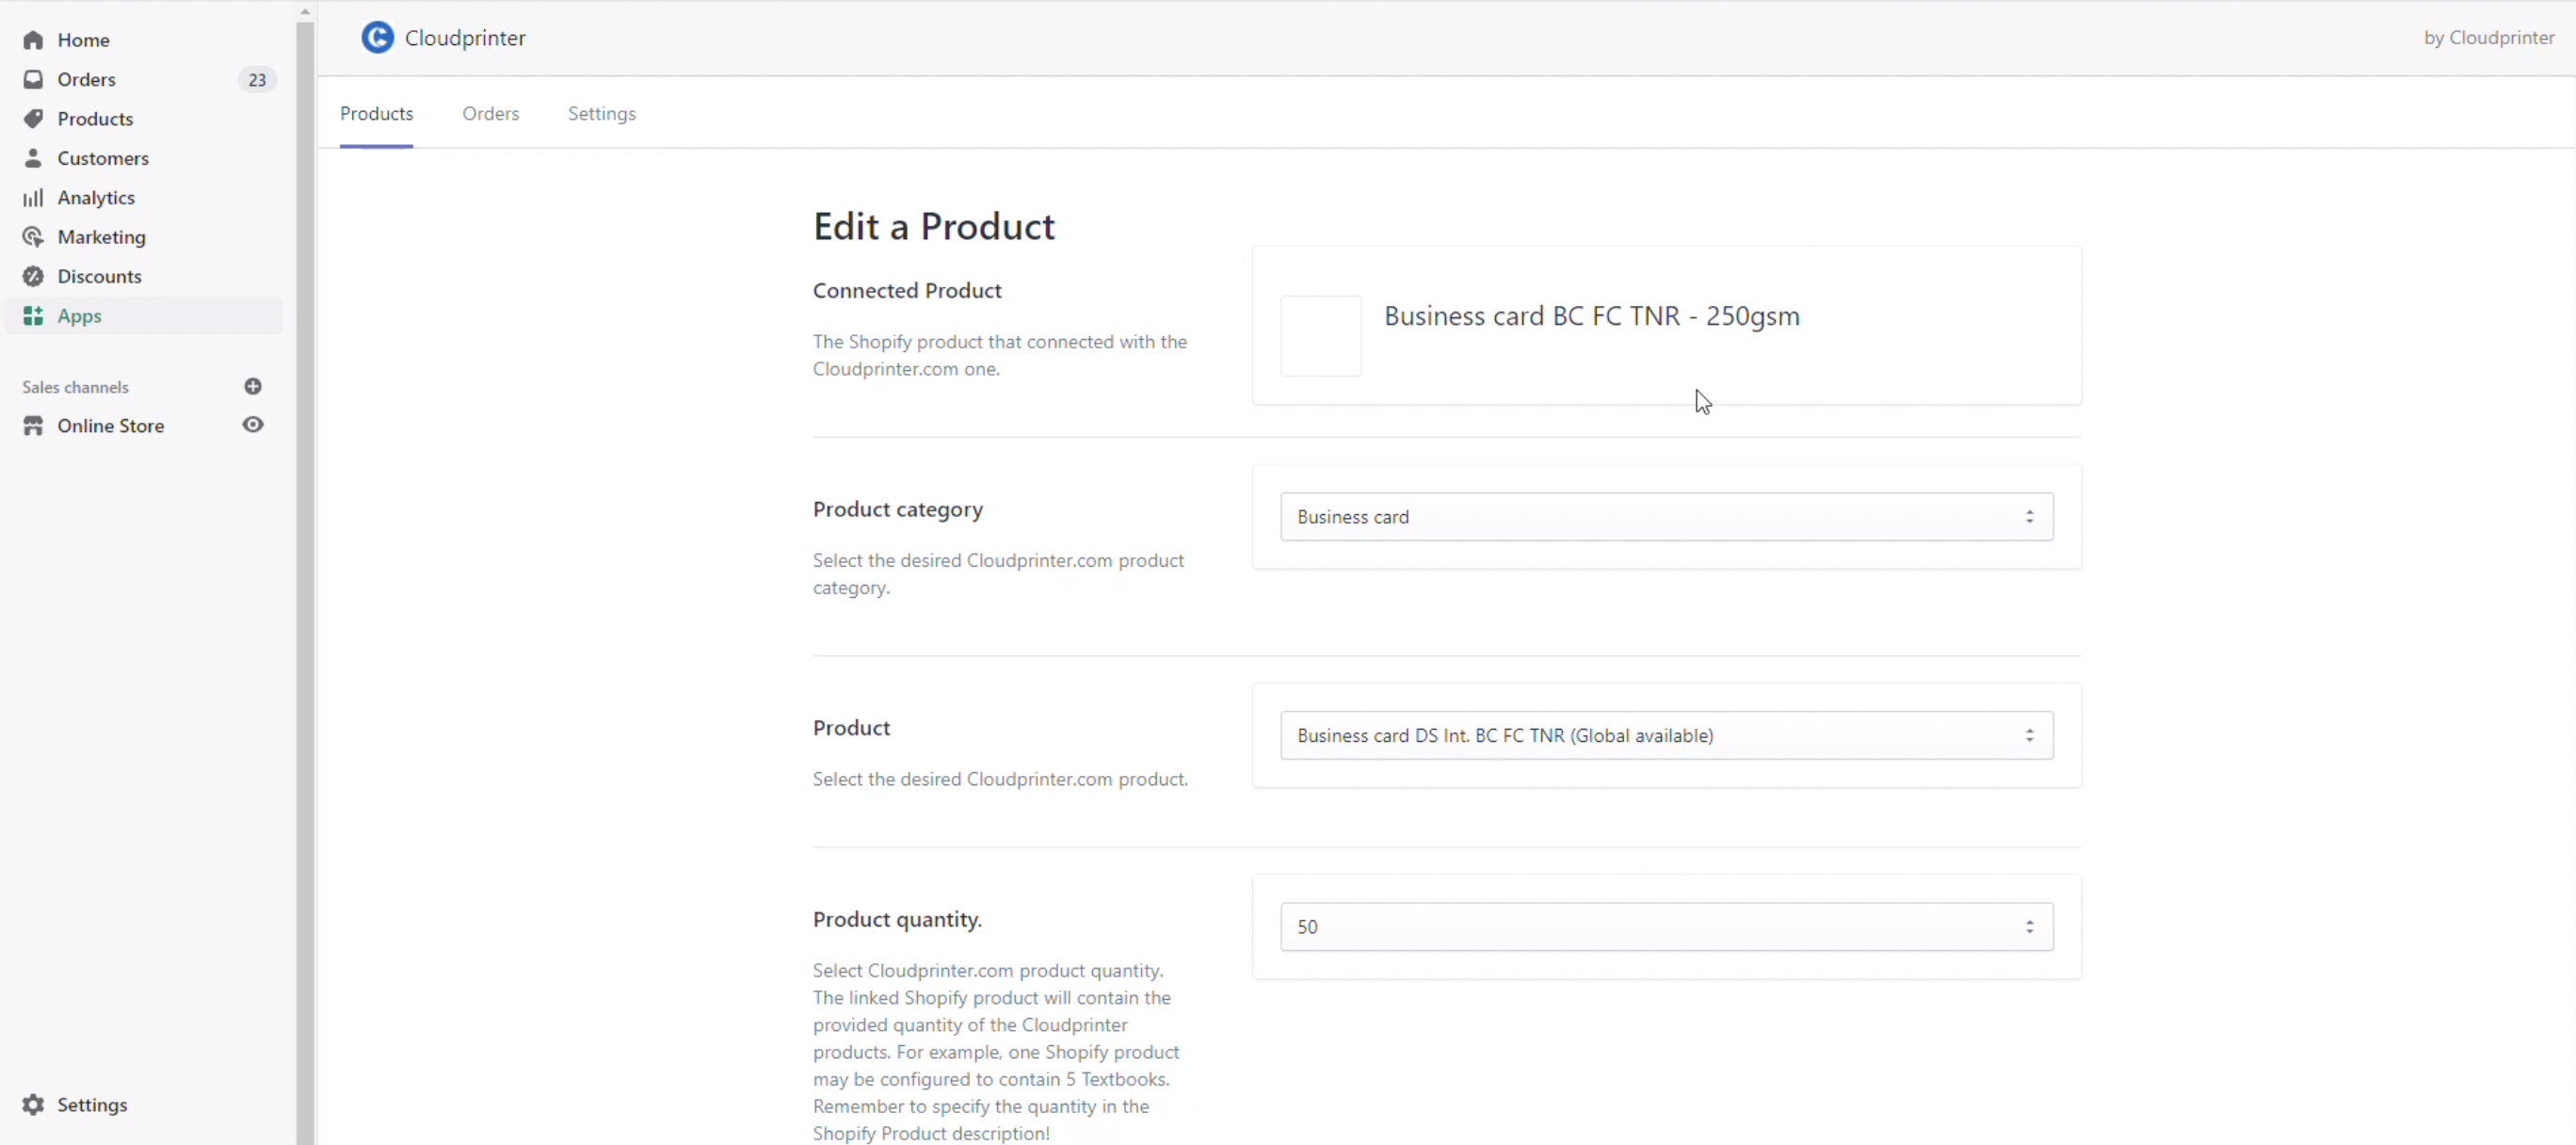
- Open the Cloudprinter.com app in your Shopify app settings and navigate to the ‘Products’ section.
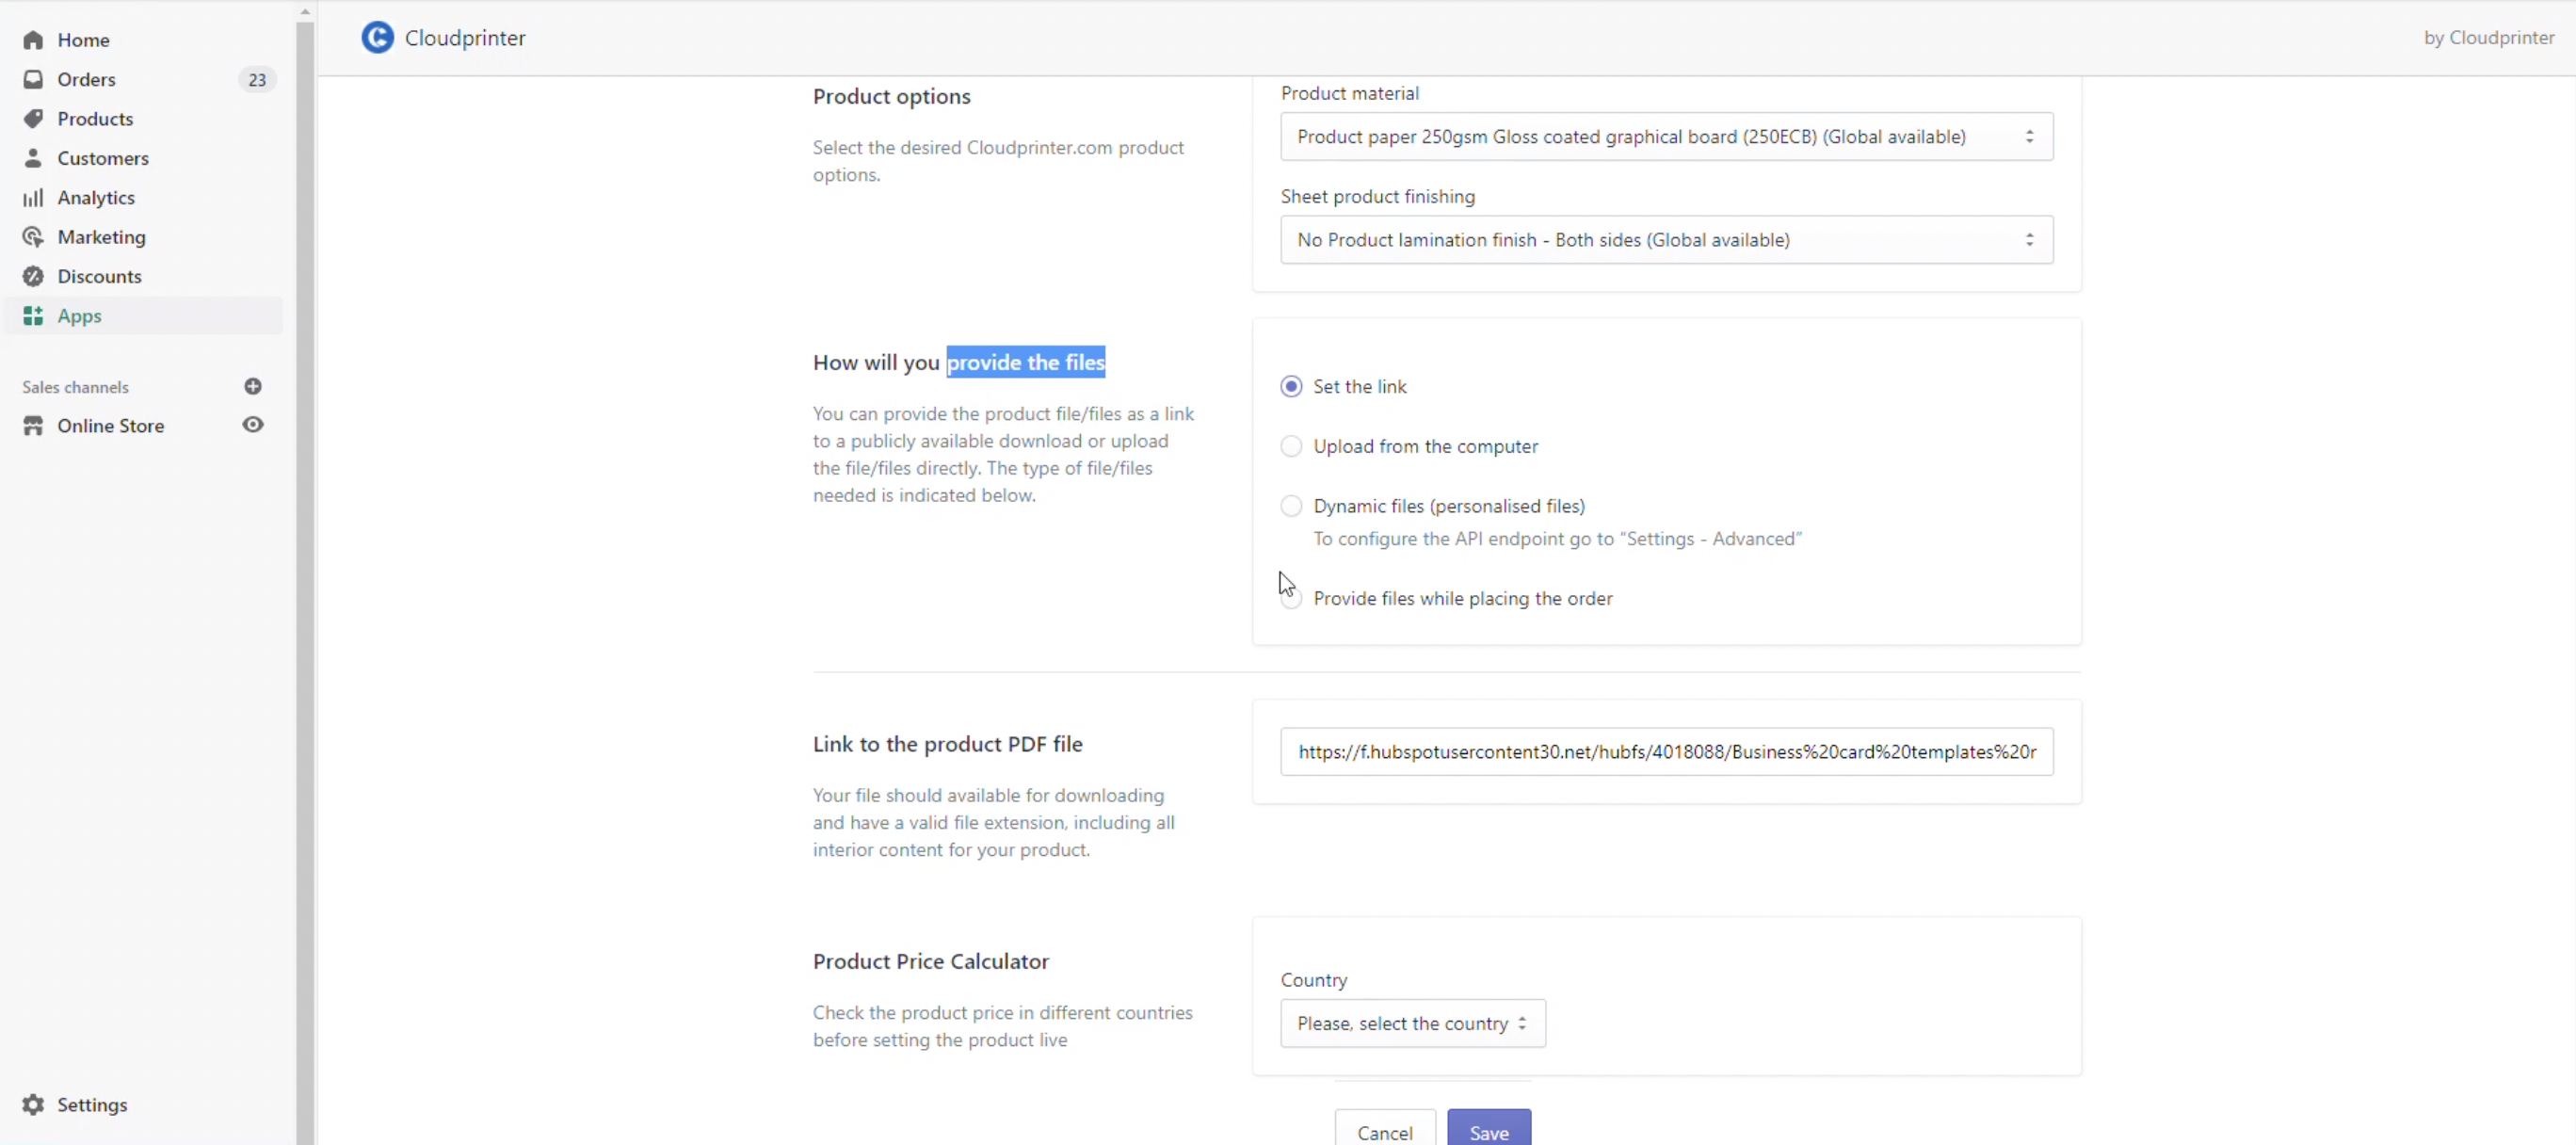
Scroll down to the ‘How you will provide the files’ Check box and select ‘Provide files while placing the order’. And save it.
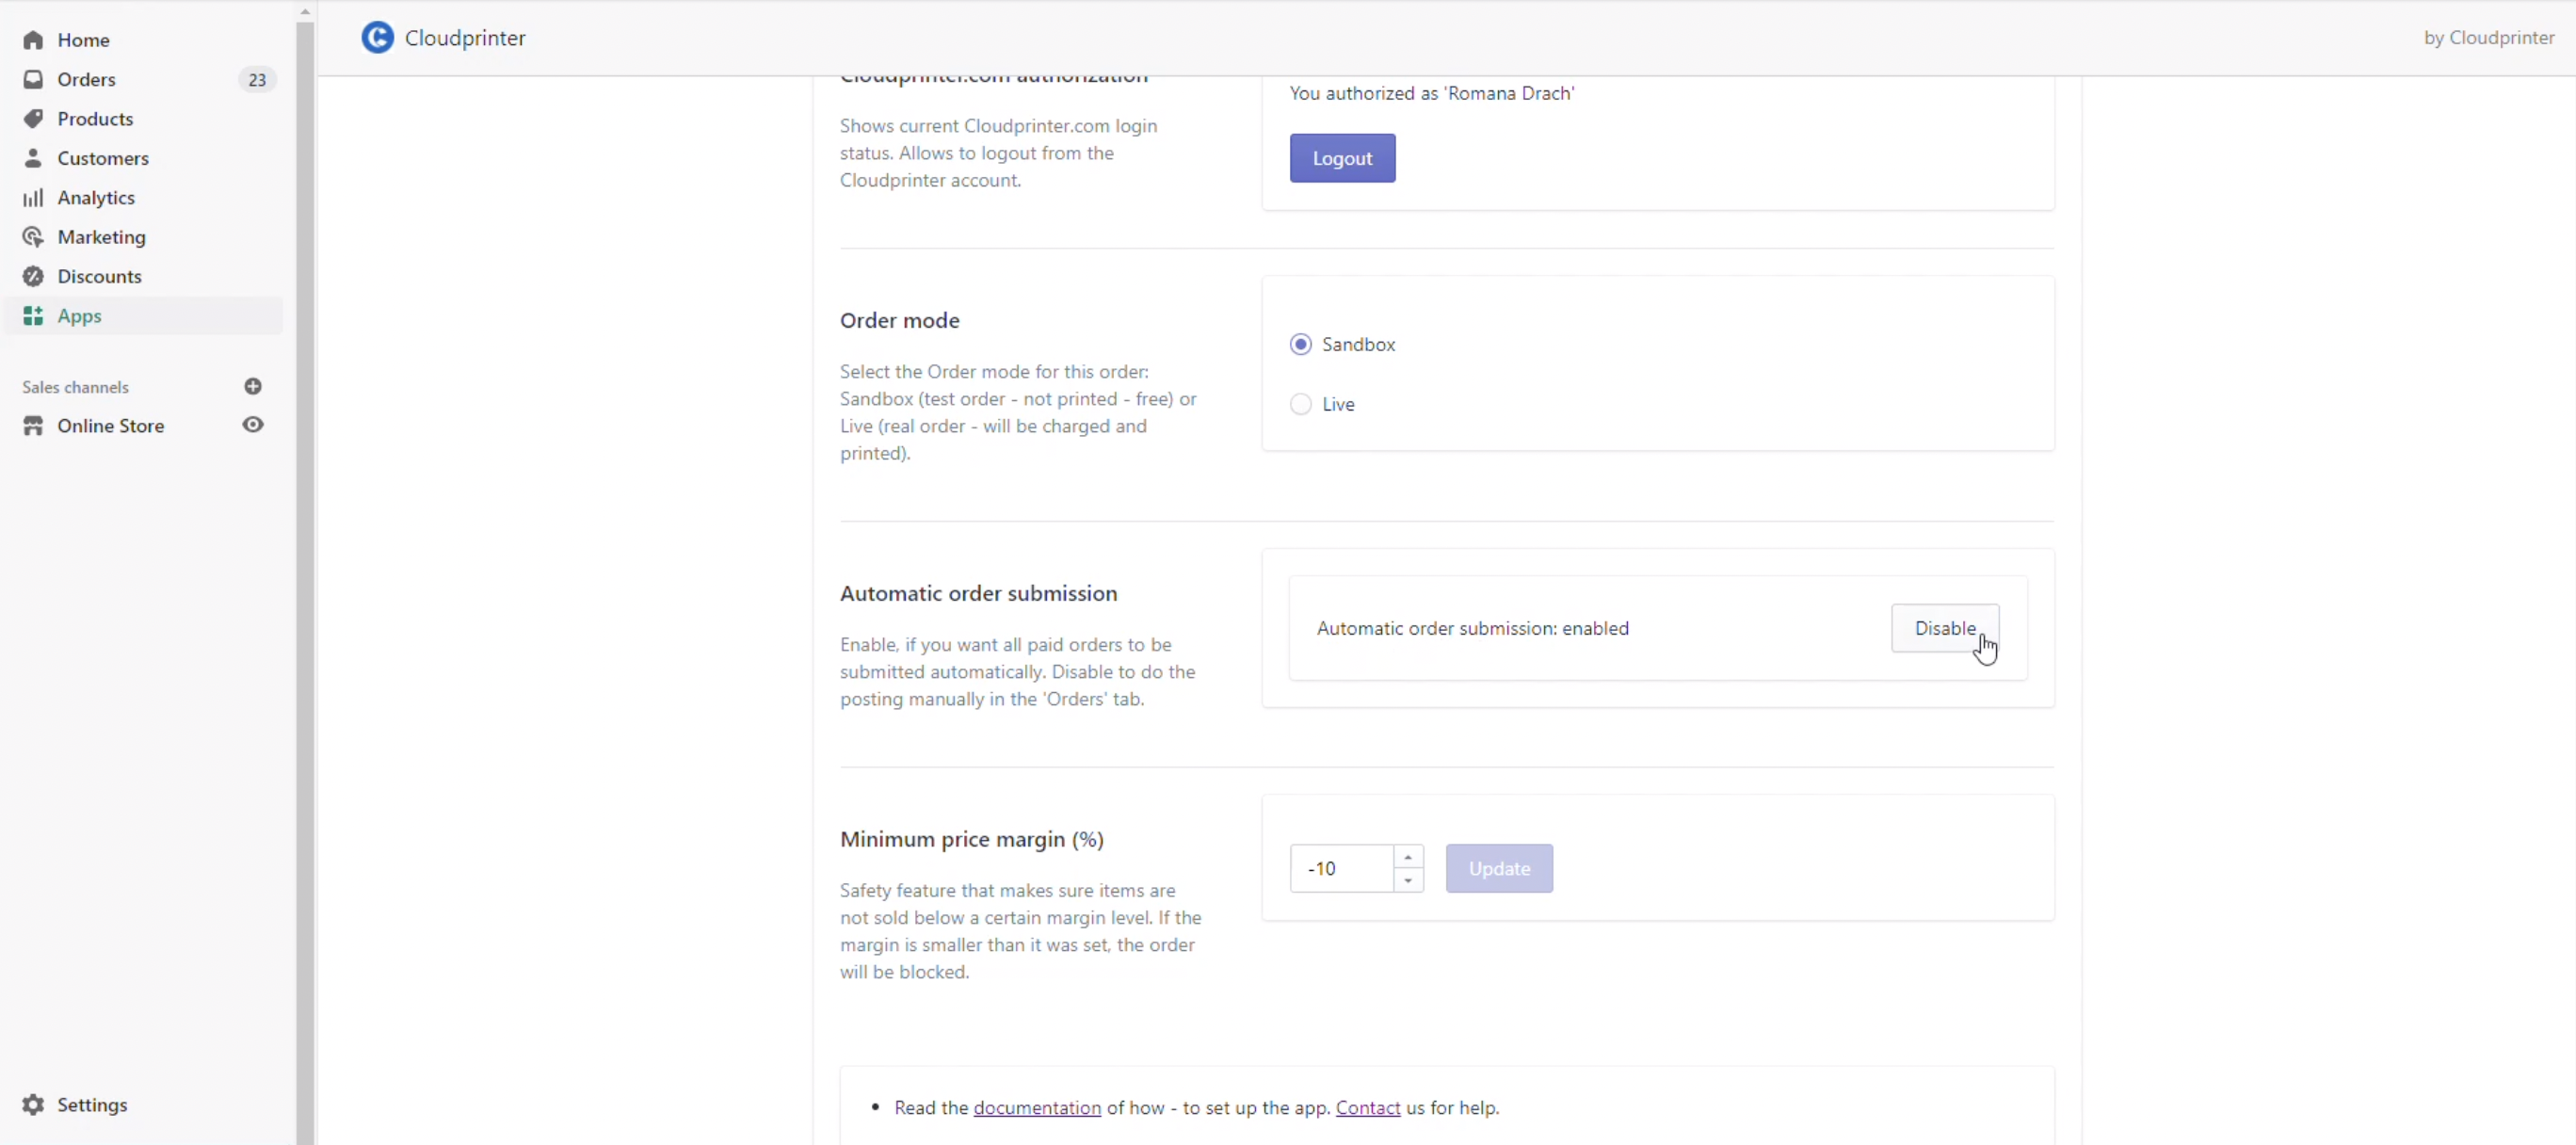
Navigate to the ‘Settings’ section and disable the ‘Automatic order submission’.
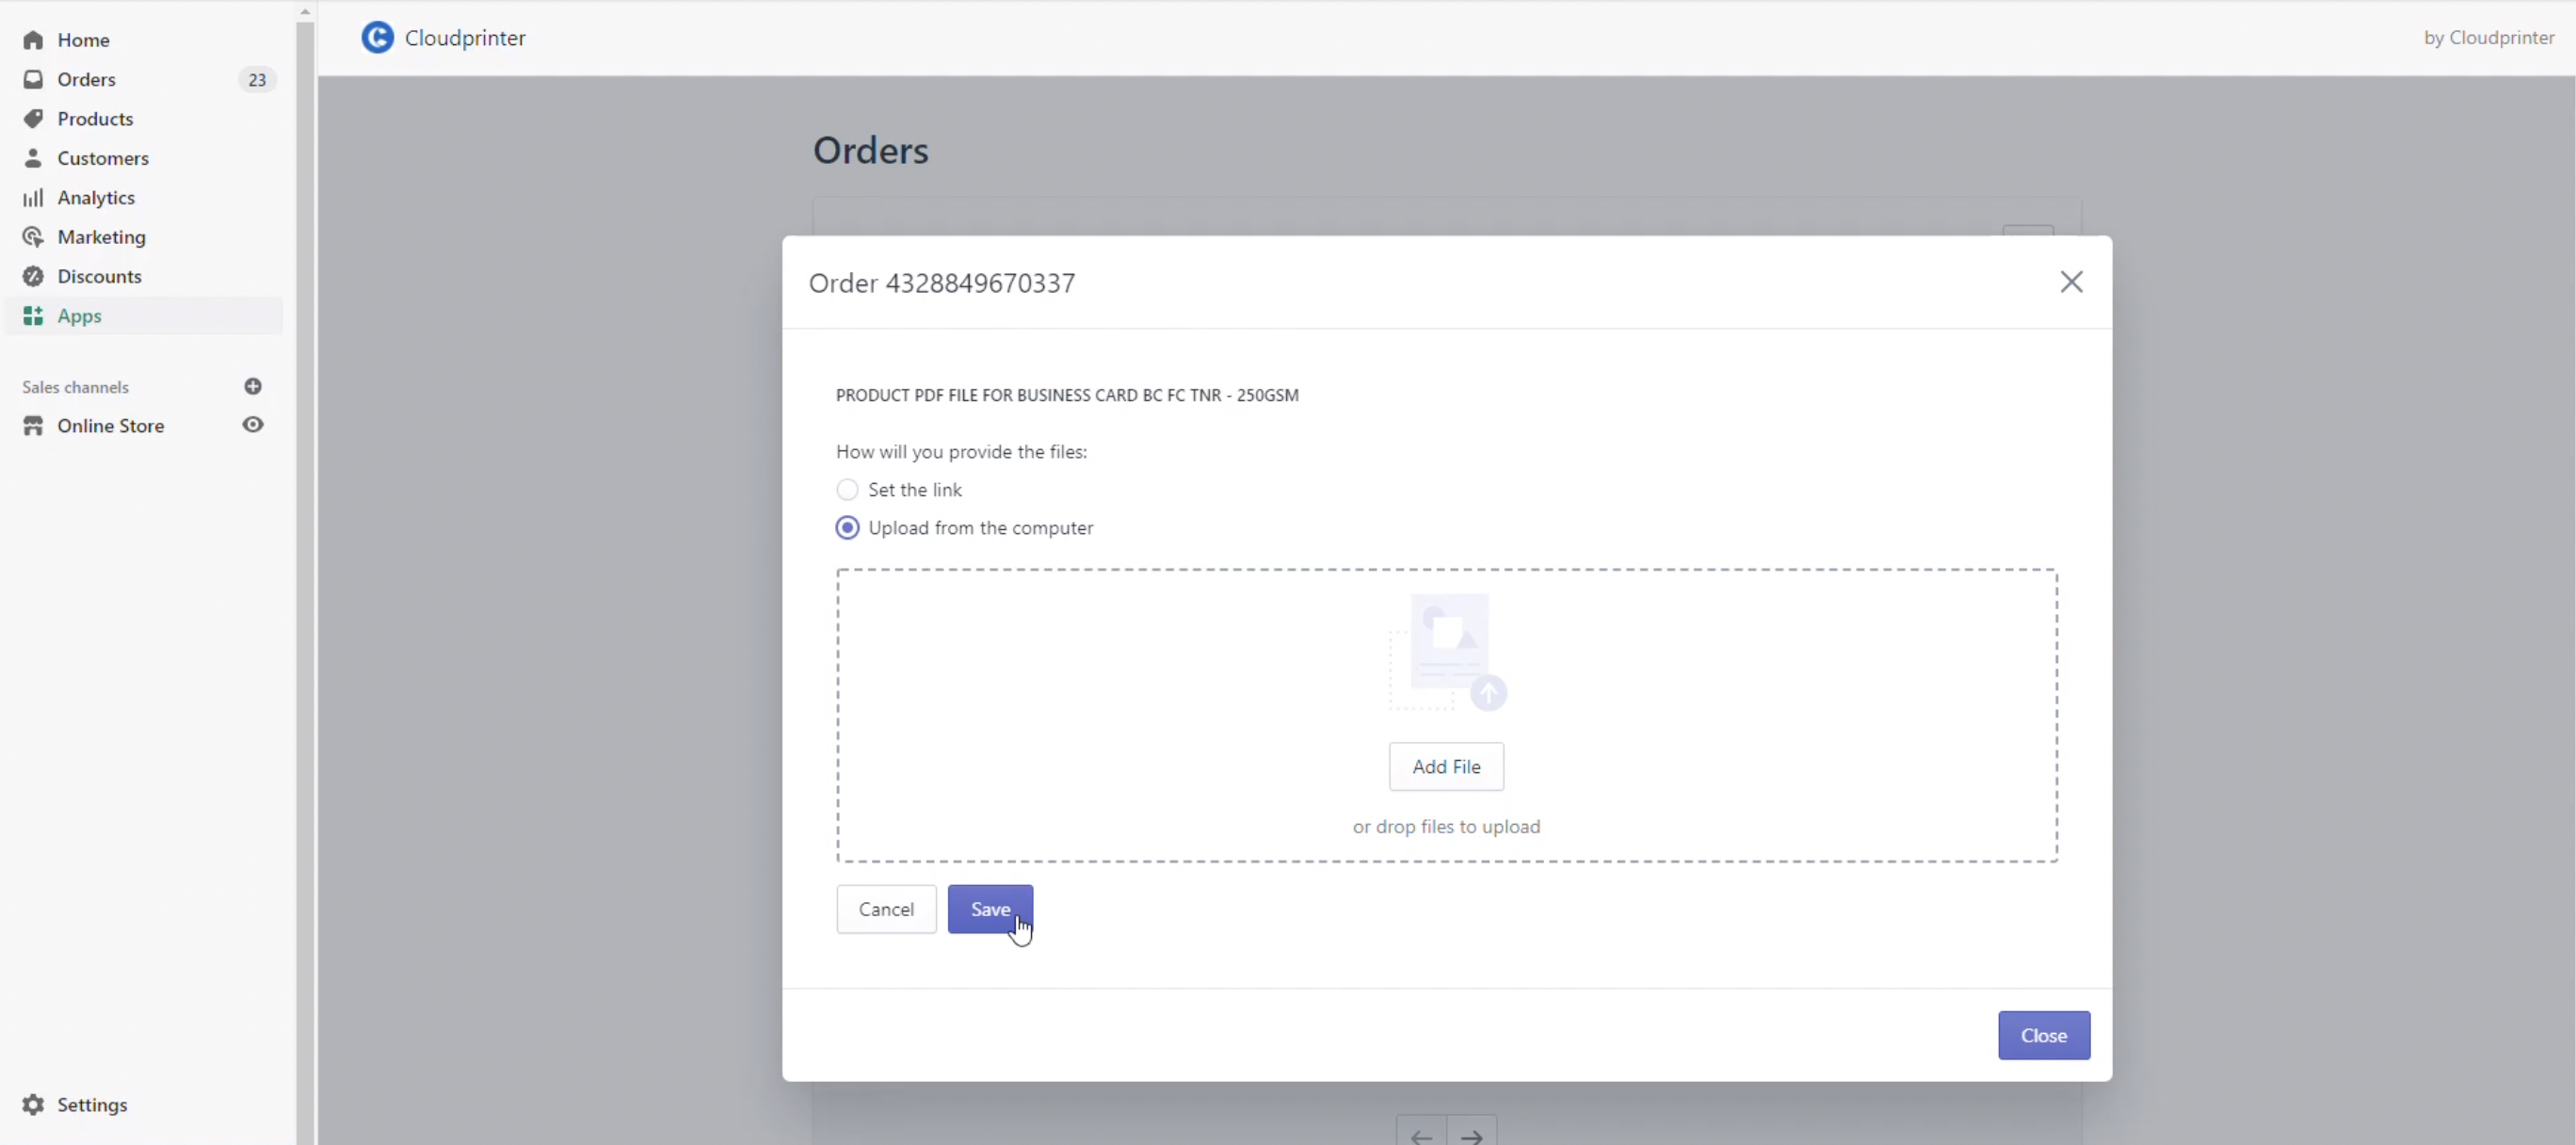
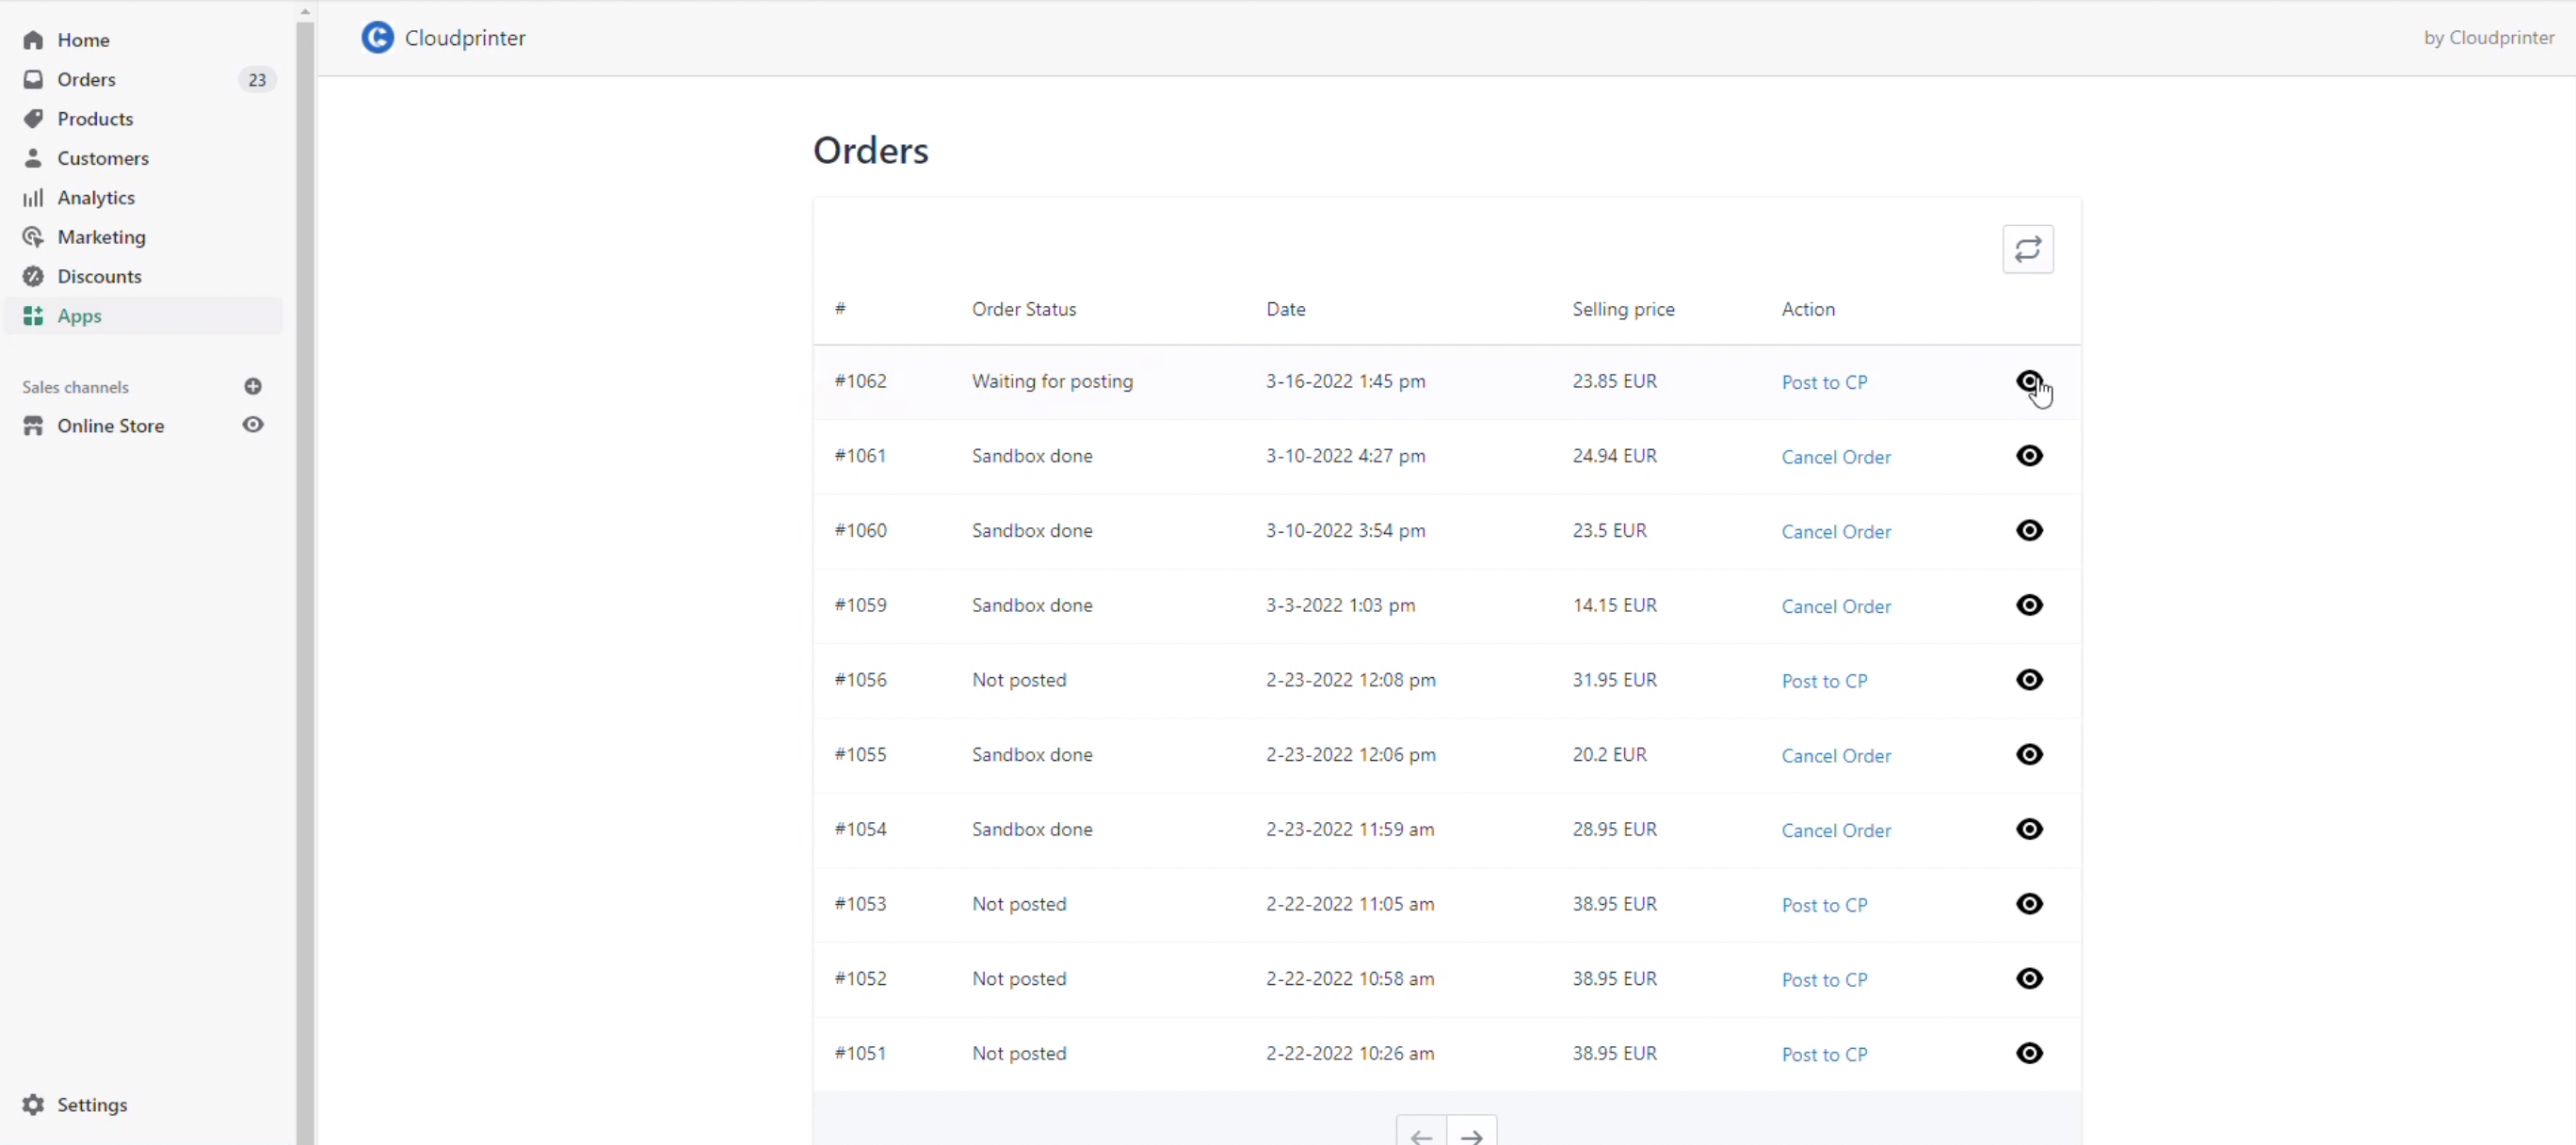
Navigate to the ‘Orders’ section and choose the order you want to adjust. Click on the right icon.
View the order and click the button ‘Set new file’. A new field will appear.
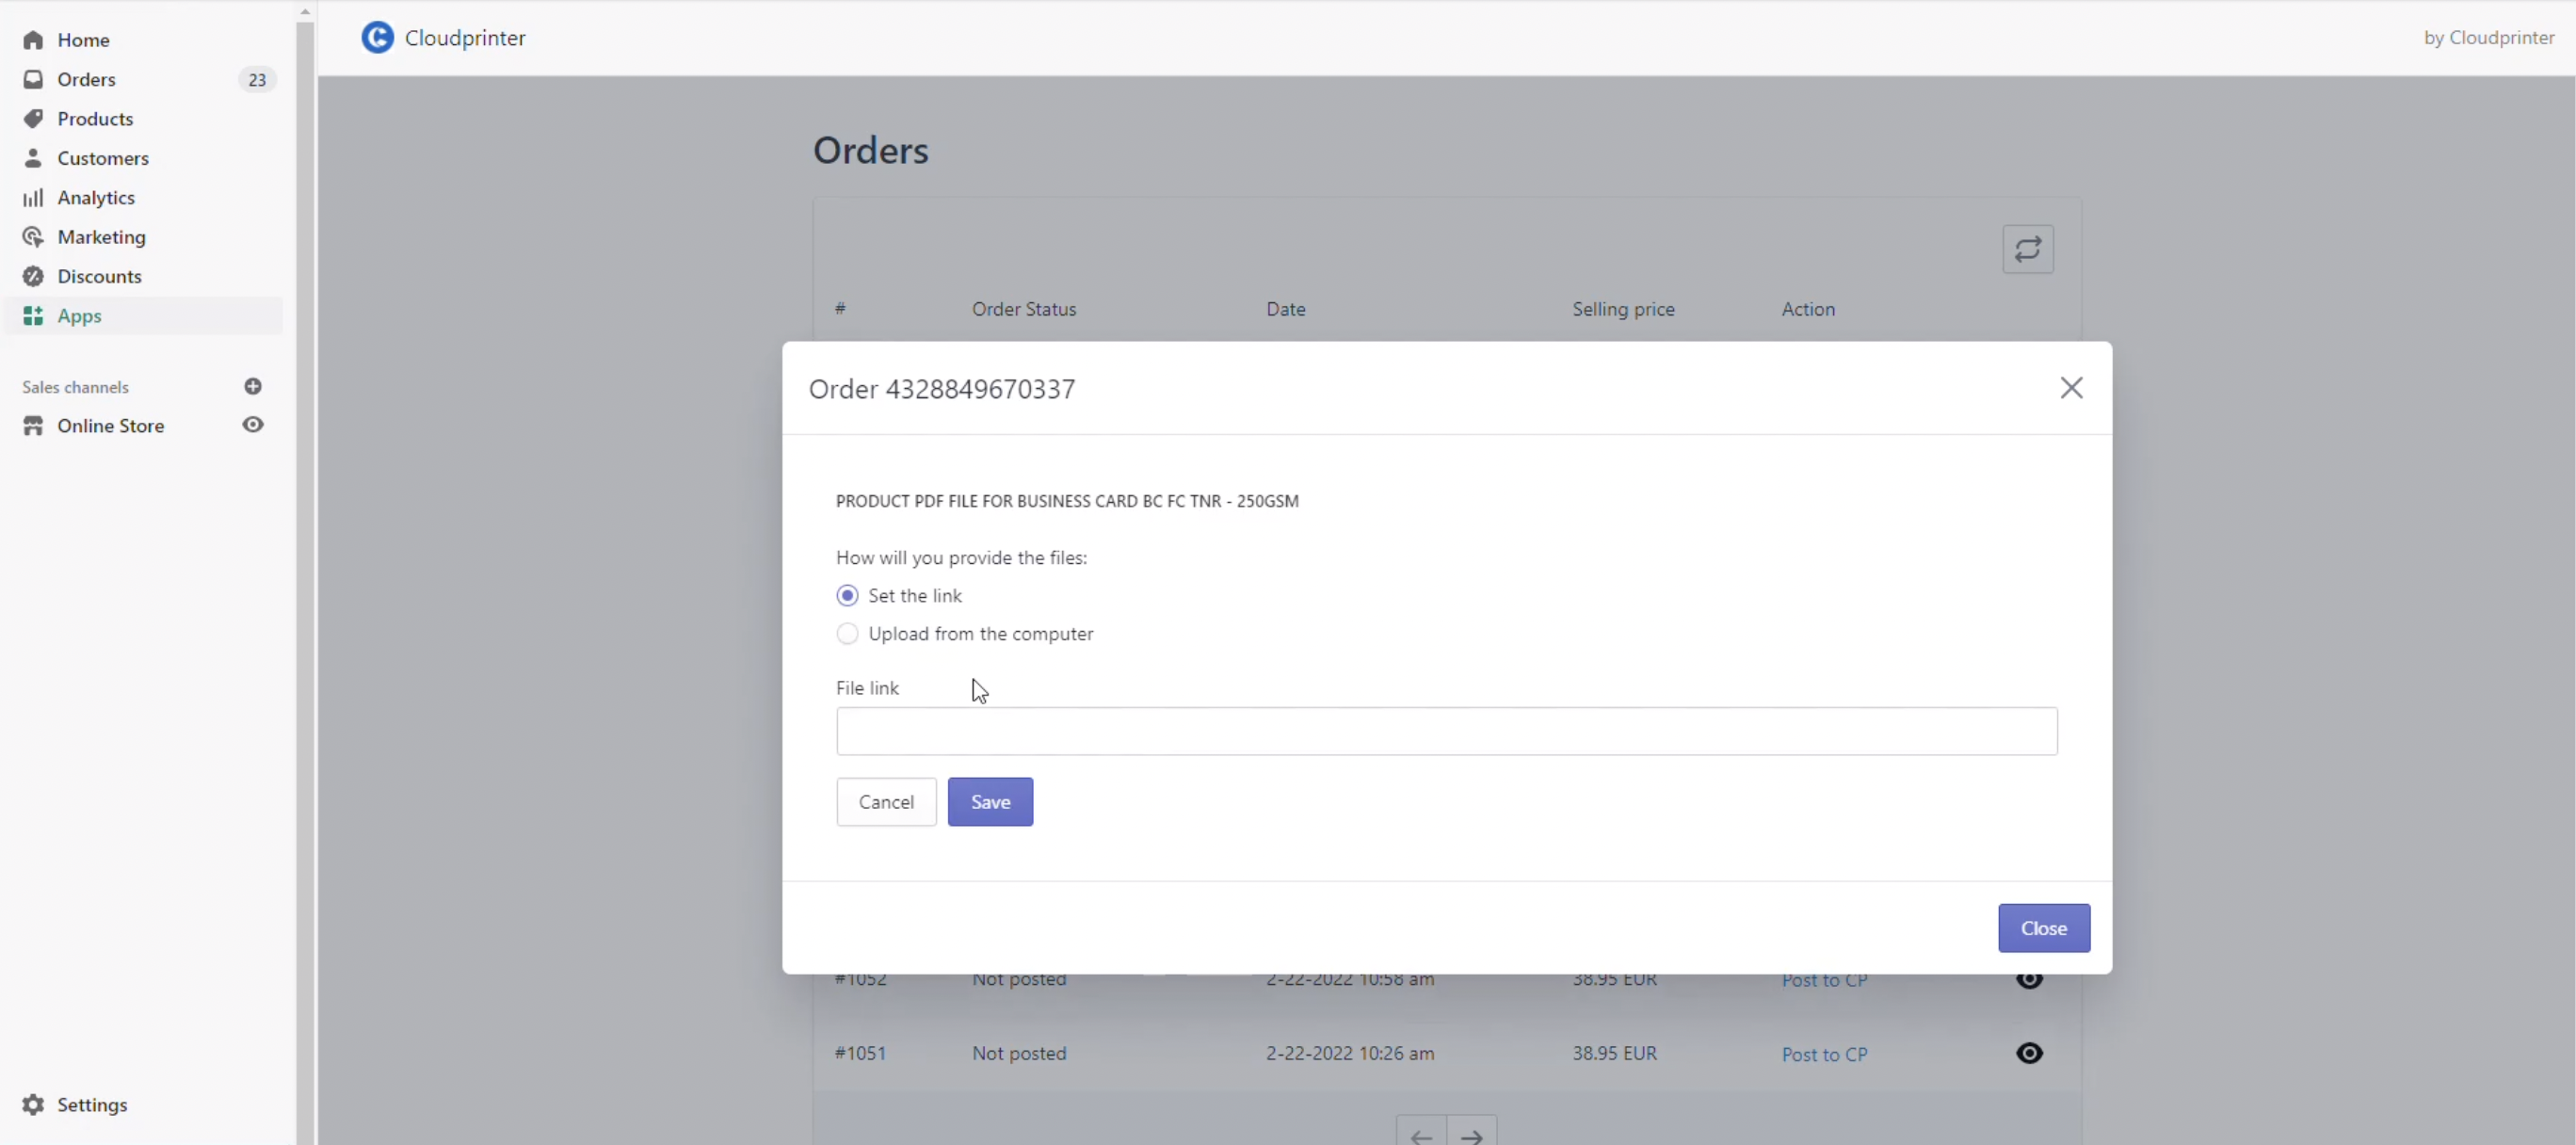
- You can either set a link or upload a file from your computer. Choose your upload method and click on ‘Save’. The order will proceed and send to Cloudprinter.com.