Please first install our plugin as is described here. Second, link your Cloudprinter.com account. Are you all done? Let's proceed!
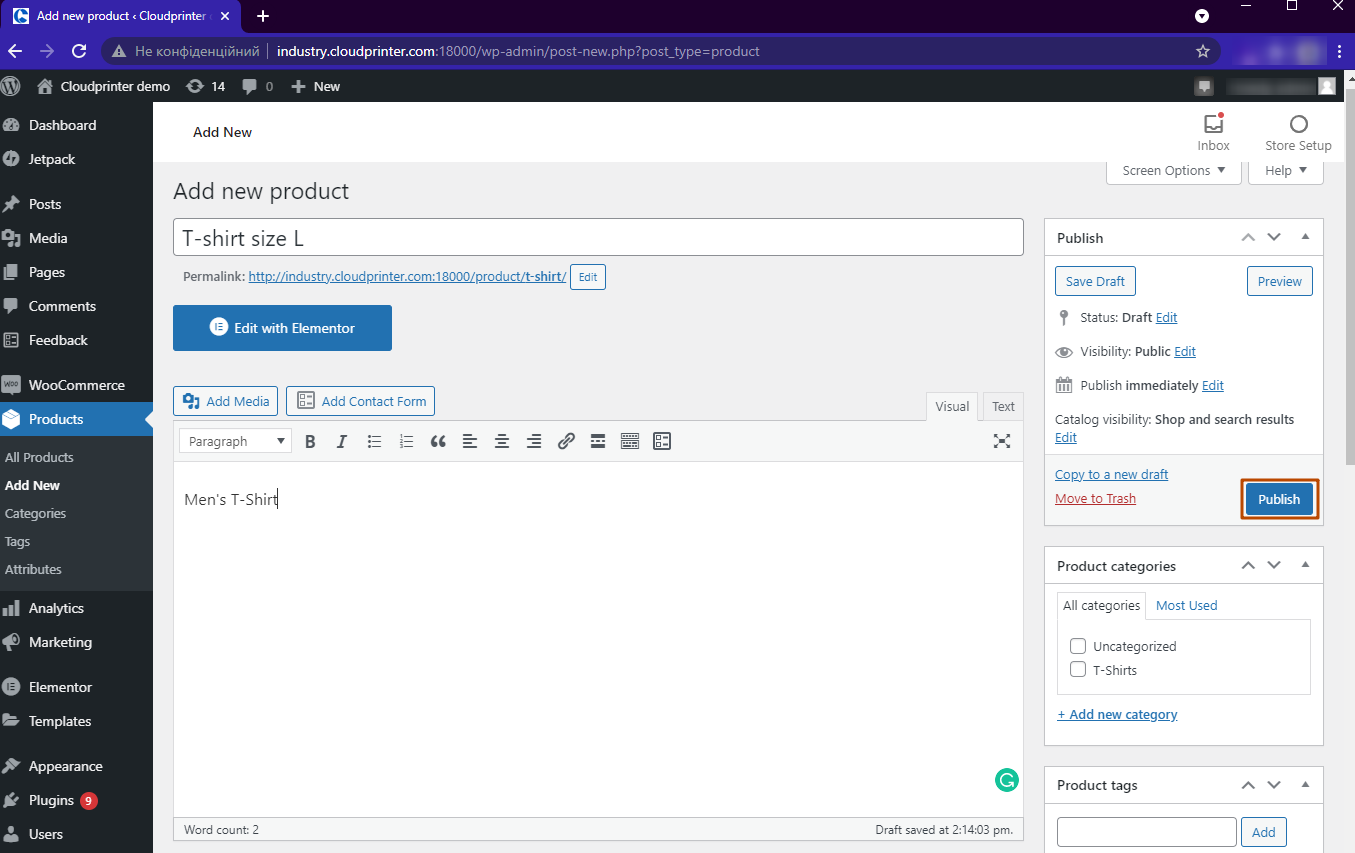
1. Log in to your admin WordPress account here. In the side menu, select Products. Continue to add a new product. Add the name and description of the product. Now you can choose your product to be a Cloudprinter.com product. If you want your product to be printed by Cloudprinter.com, mark the check-box. As soon as you check the box, a new icon will appear at the bottom left corner of the product menu: Cloudprinter.com.
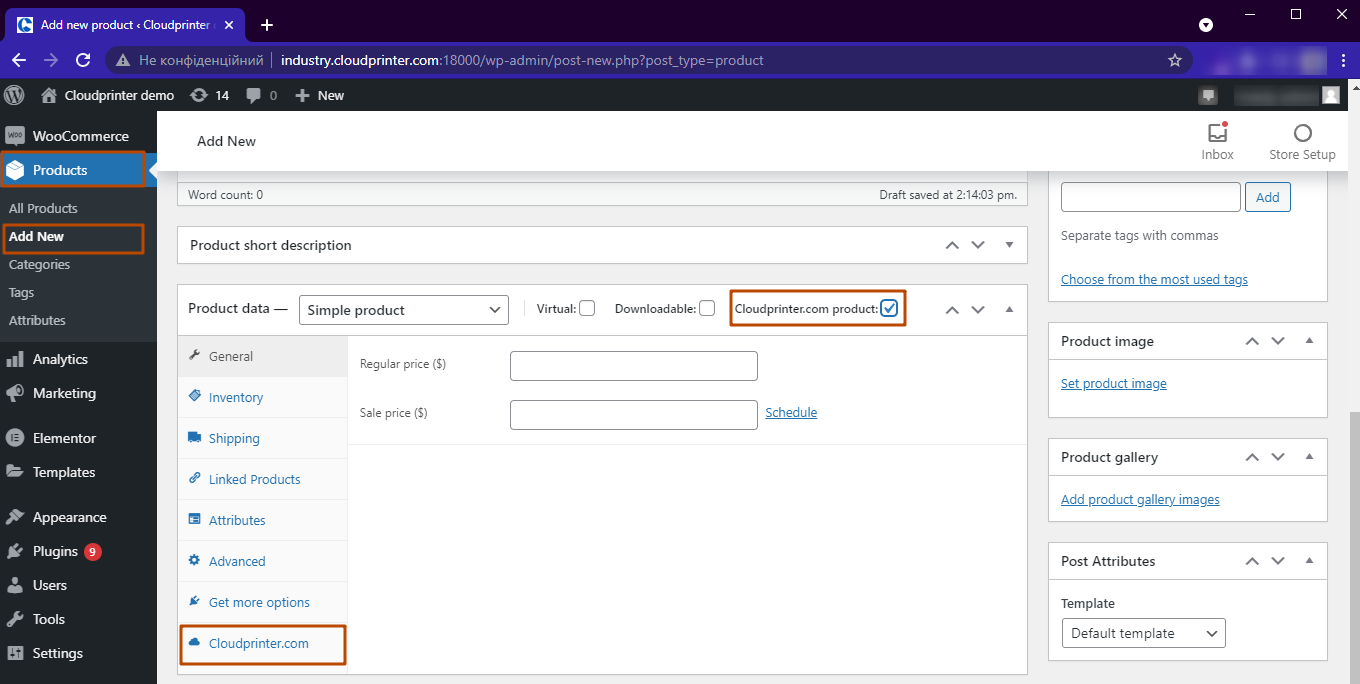
2. When you click Cloudprinter.com at the bottom of the product menu you can freely select the product format that you want to offer in your shop. Fill in the form on this page as you like.

Please note! Your product configuration needs to match your PDF specifications exactly. If sizes, formats, or, for example, the number of pages do not match those of your PDF, your orders will be refused by Cloudprinter.com!
WooCommerce only allows you to upload PDF files with a maximum of 64MB. If your file exceeds 64MB, you are required to choose the Set link. Here you need to provide a download URL for your PDF from a third-party file storage platform.
Done setting up your product? As usual, remember to Publish your product. That was easy, wasn't it? Your product is immediately available on your webshop!
As the Cloudprinter.com plugin for WooCommerce starts in Sandbox mode, you can now continue to test the ordering process at Cloudprinter.com freely.
Learn more about testing the WooCommerce plugin and setting your account live.
