How to configure the Manual shipping in Shopify
Before you start selling your products with Shopify, you need to set up the shipping option for your products. In this article, we will show you in a few simple steps how to get this done.
Firstly, choose the Cloudprinter.com shipping method for your order
There are two shipping modes available:
- Automatic Shipping mode (recommended) - in this mode, calculated rates are automatically displayed at checkout. To use carrier-calculated shipping features you need to have an Advanced Shopify plan, Shopify Plus, and any annual plan.
If you aren't on one of those plans, then carrier-calculated shipping can be added to your account for an additional $20 USD per month. You can contact Shopify Support for more details.
- Manual shipping mode- this mode is available regardless of the Shopify plan you use and does not require any additional payments. However, you should check the price of shipping for each product and to each country, and then manually input the price which will be displayed to your customers during the checkout.
Manual Shipping Configuration
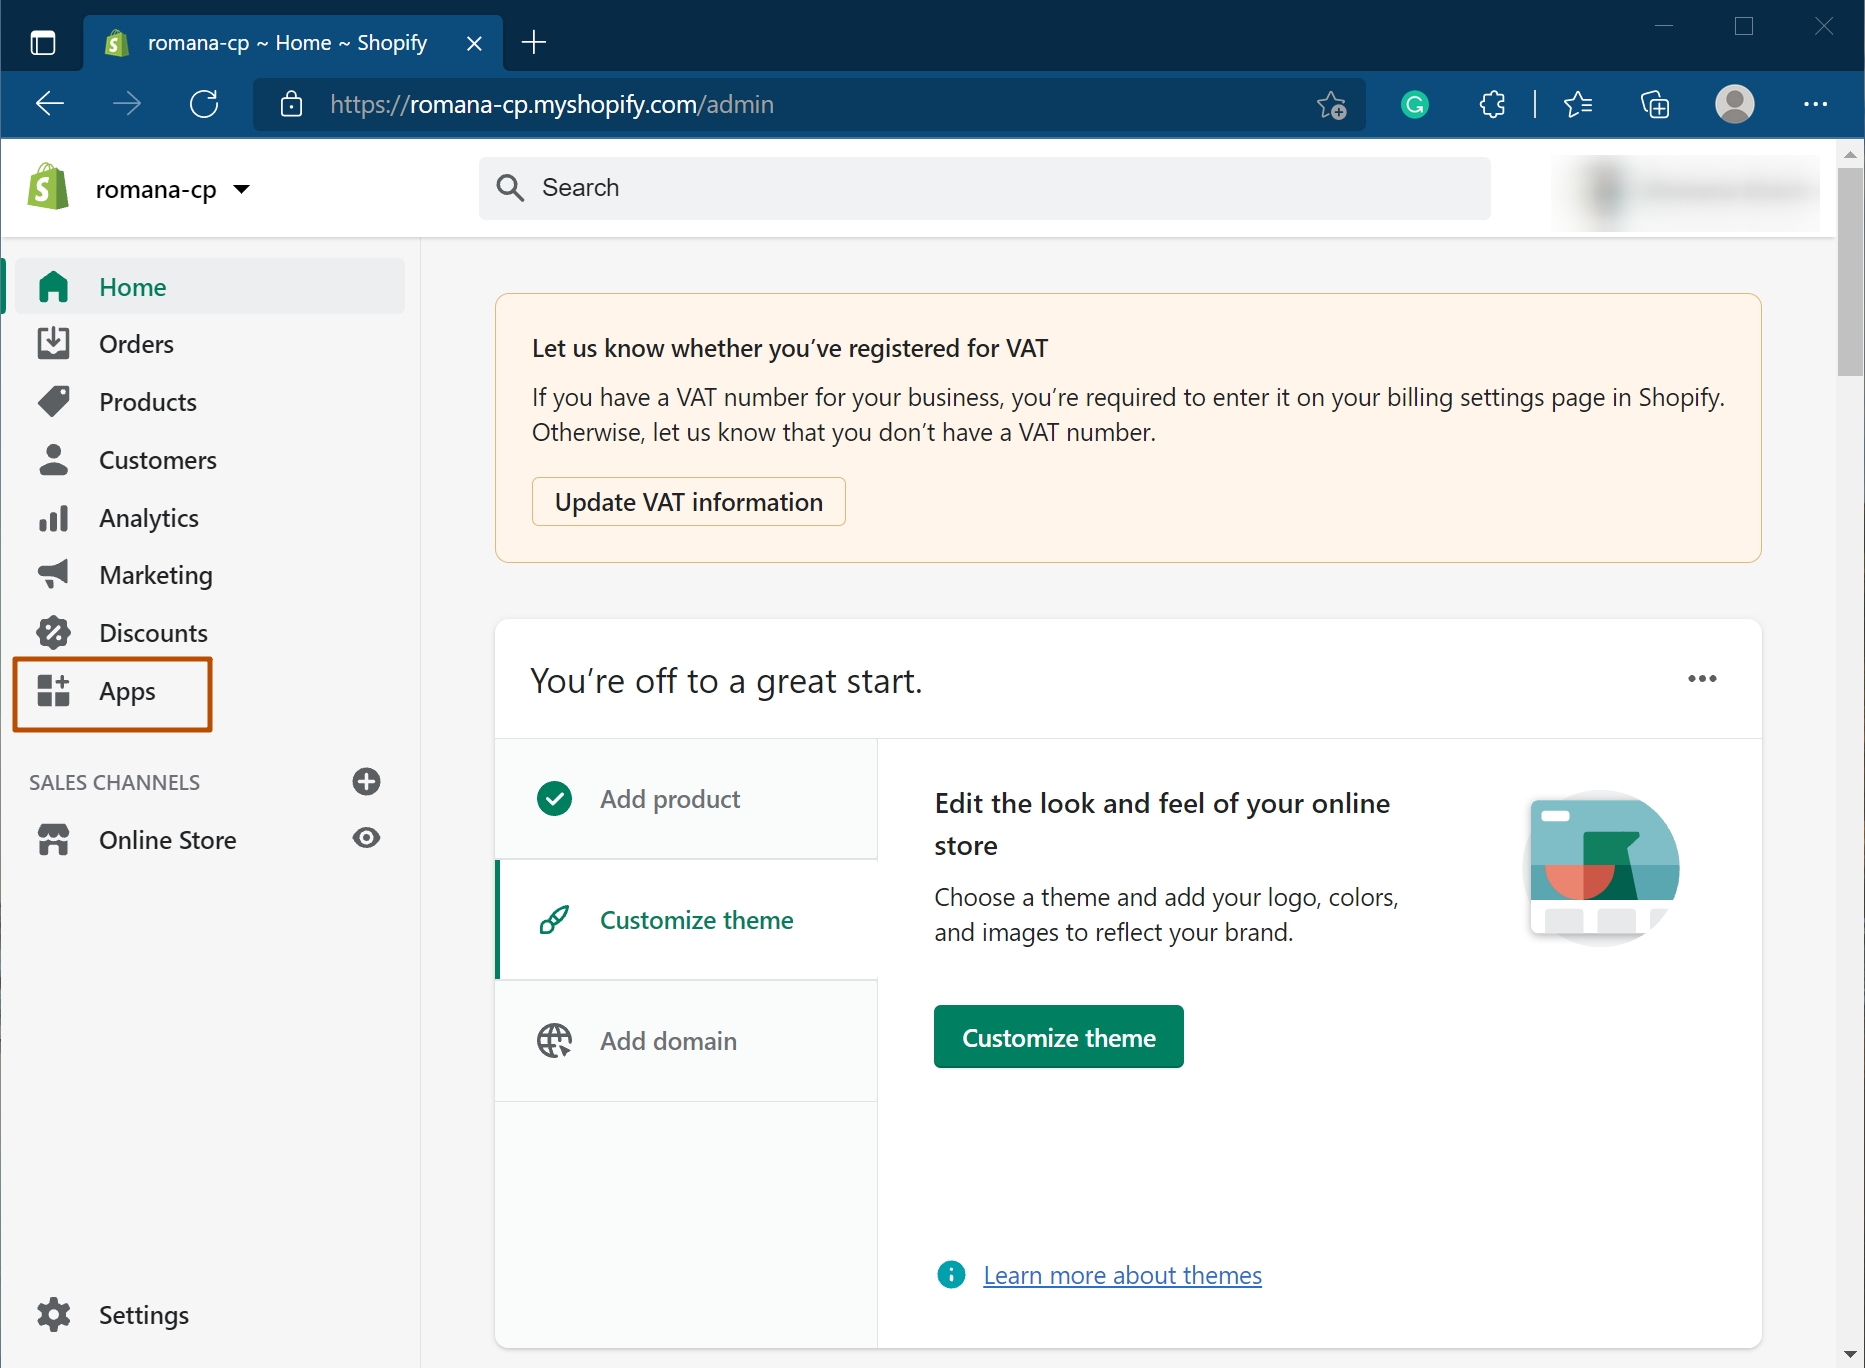
From your Shopify “Home” page you should proceed to the “Apps” page.
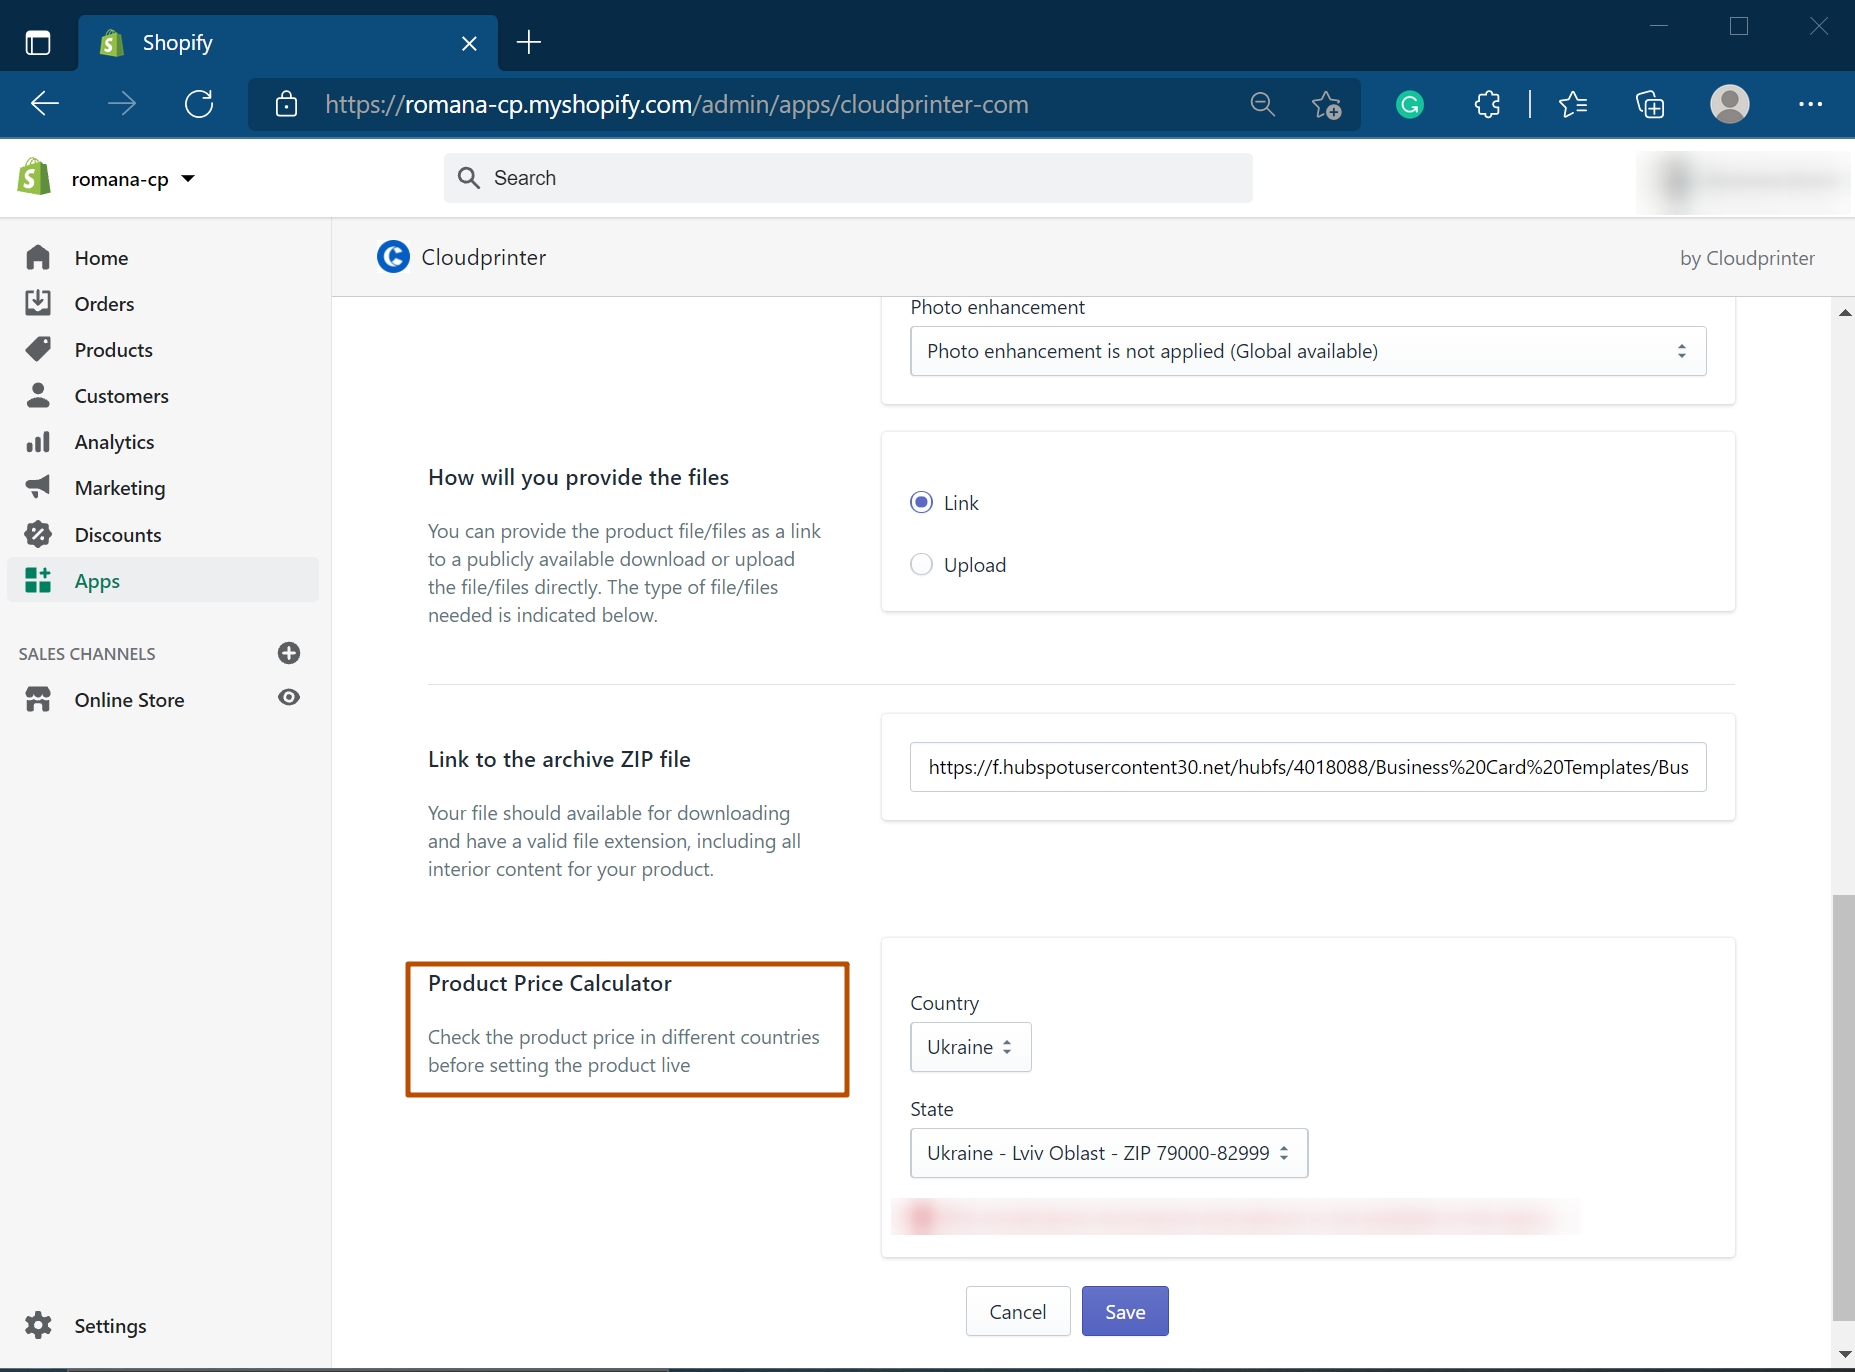
1.1 Once you’ve connected to your Cloudprinter.com app, you should choose the linked product you want to configure, and then click on the “edit” button.

2.1 You should then scroll down until you can see the “Product Price Calculator” section. Select the respective Country and State.
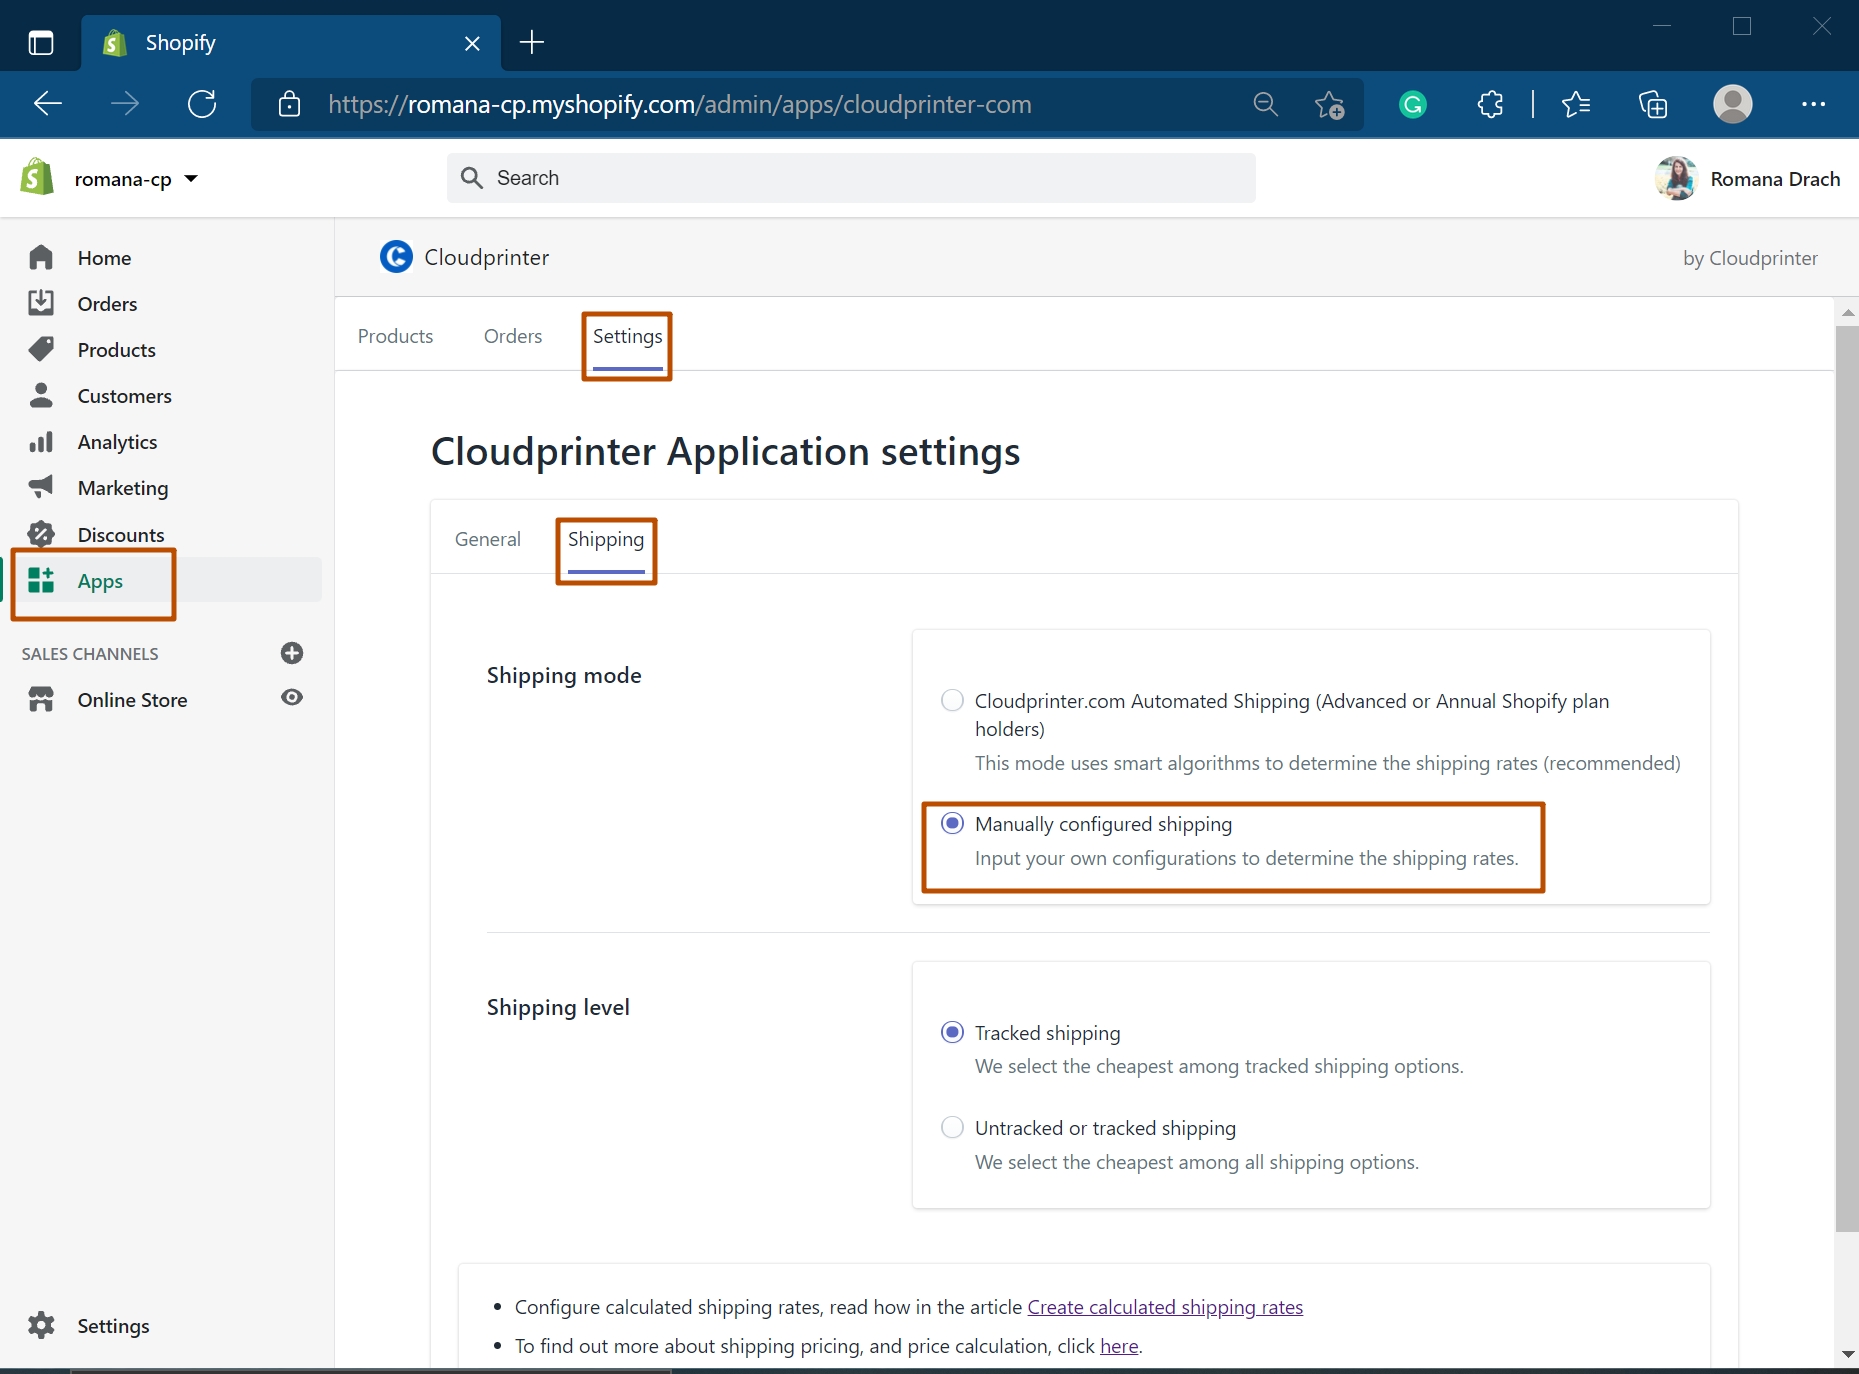
- Then you should proceed to “settings”, select “shipping”, and finally “manually configured shipping”.
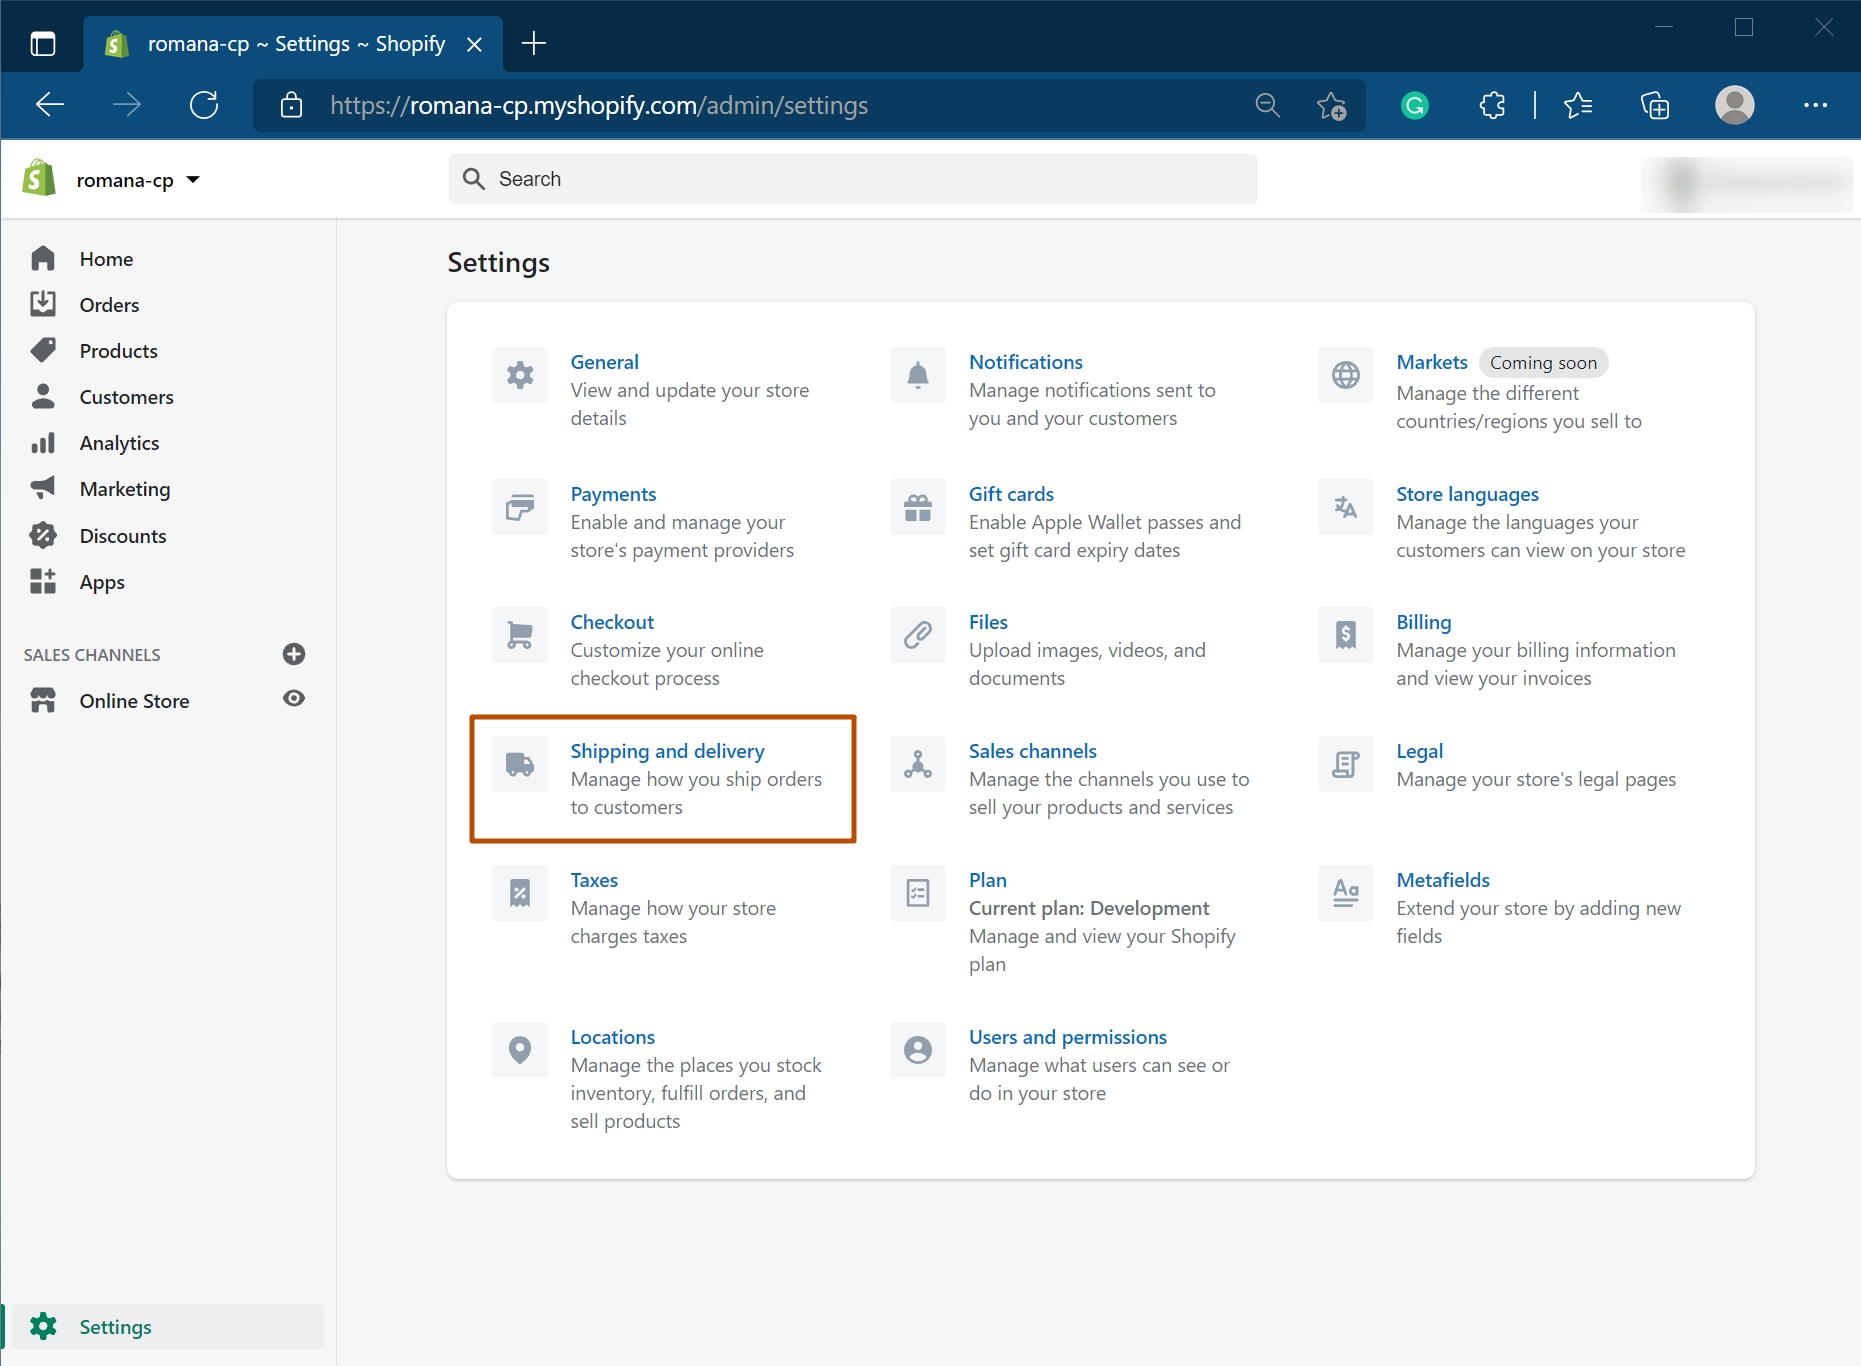
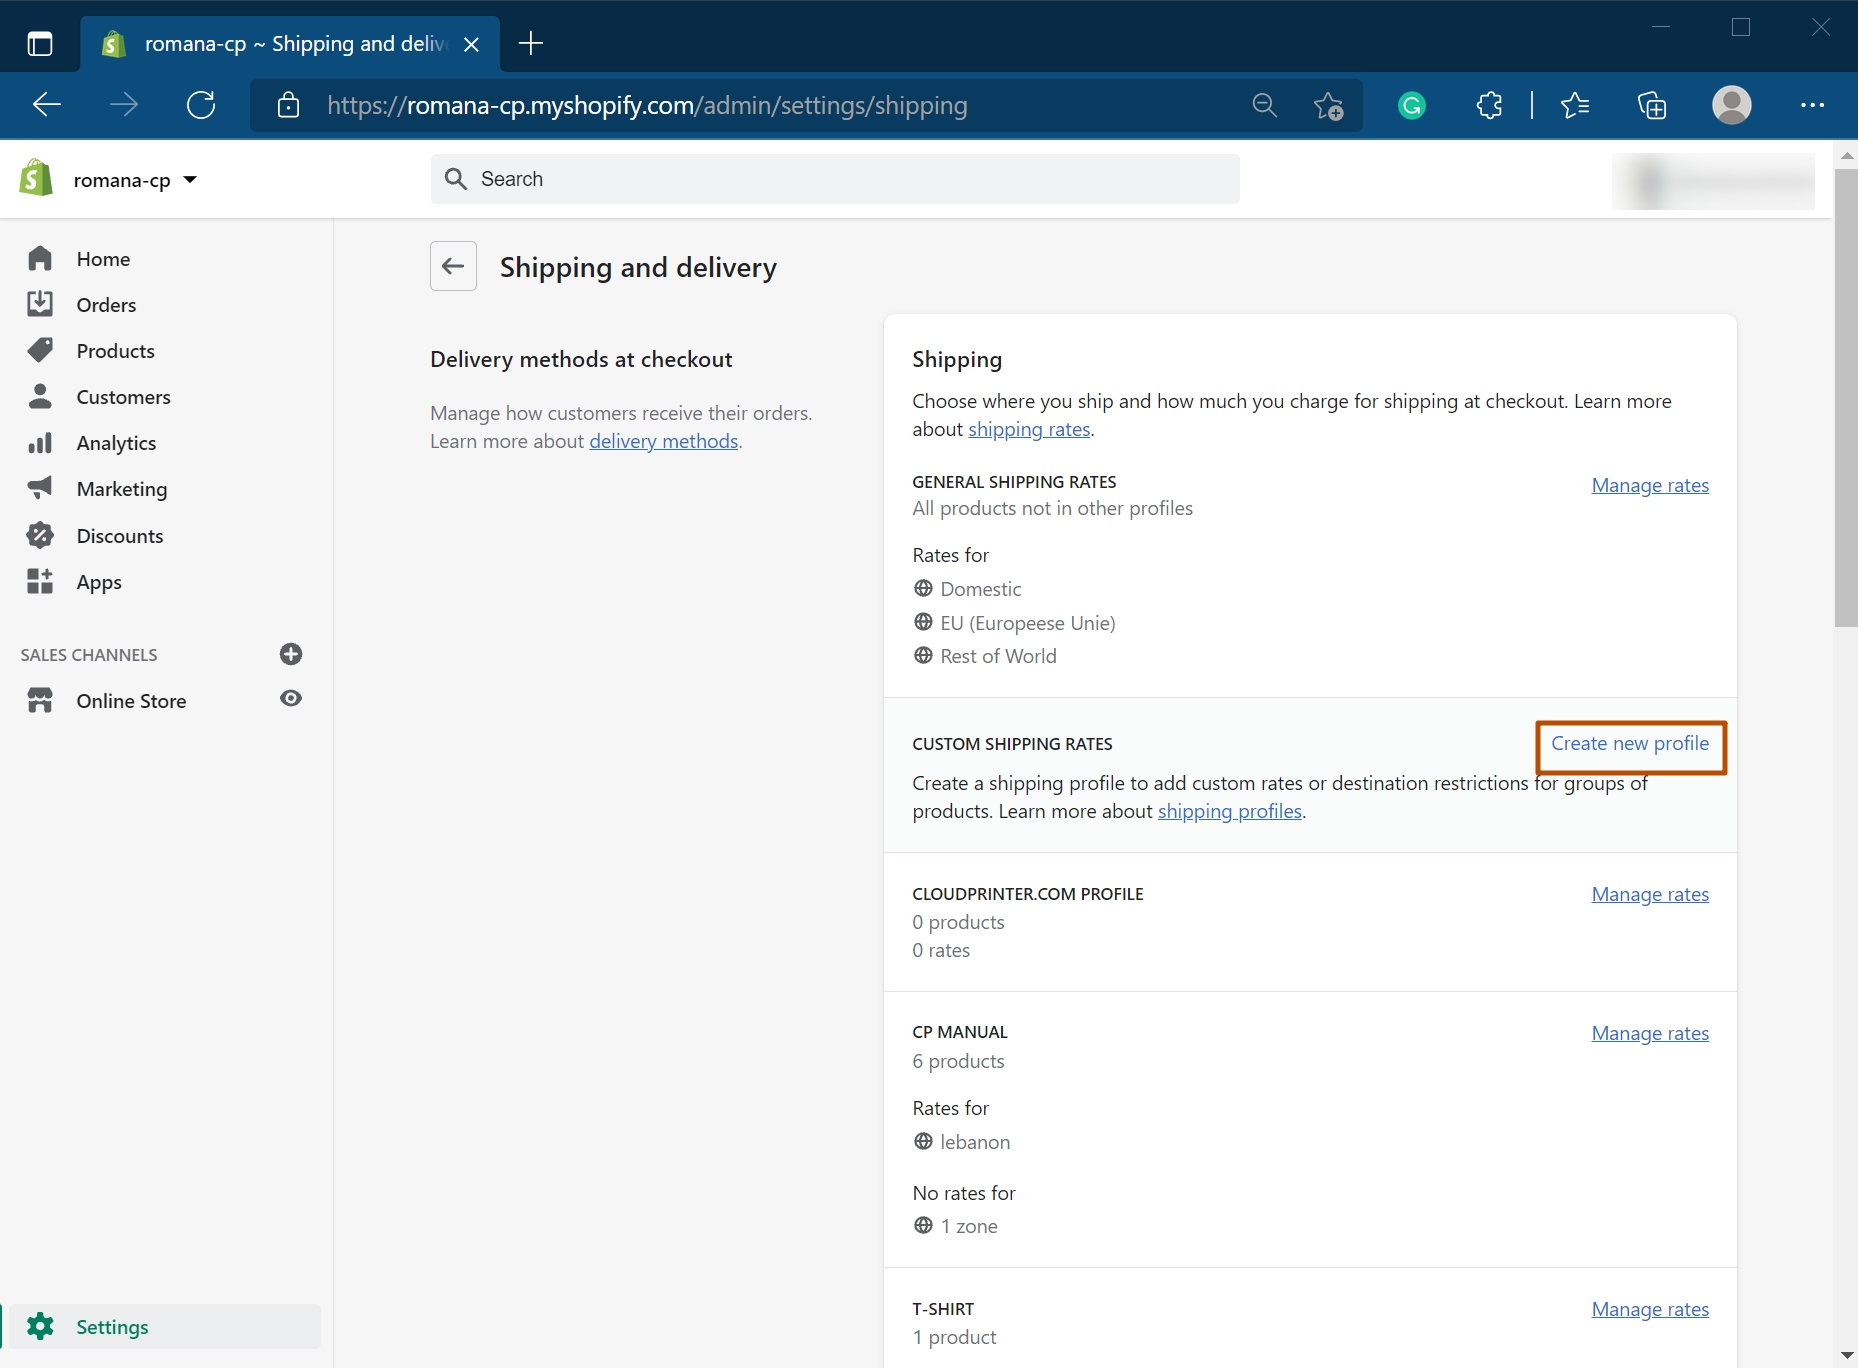
- Move your cursor to the bottom left corner and click on “settings”. Once the settings page has loaded, locate and click on “Shipping and delivery”.
- Click on “Create new profile”. Here you will “name” and choose the product (s) you are setting the rate for.
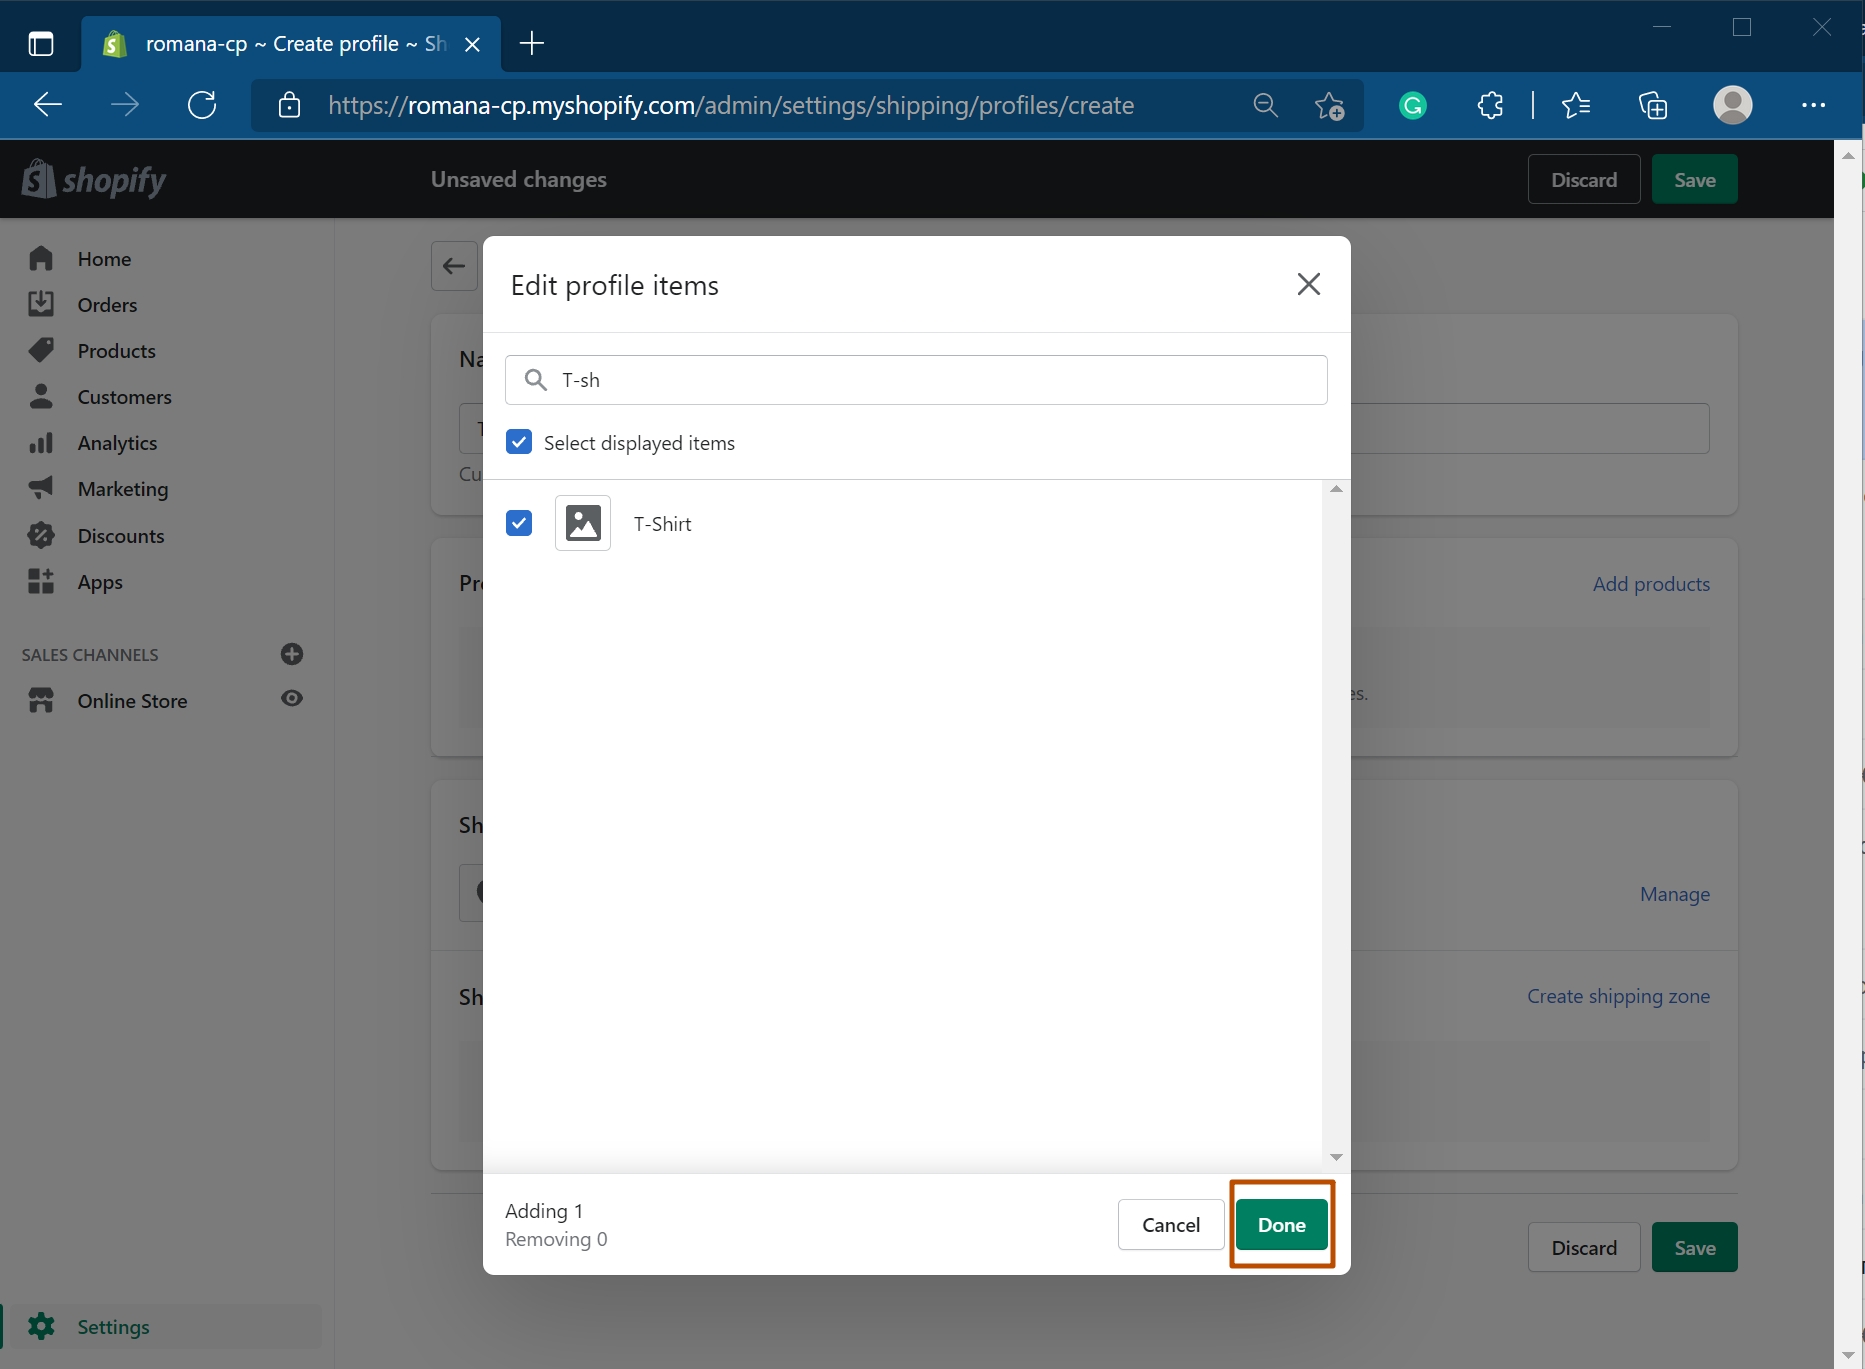
- During this step you need to identify and select the product(s). Once you have locate your product, click “done”.
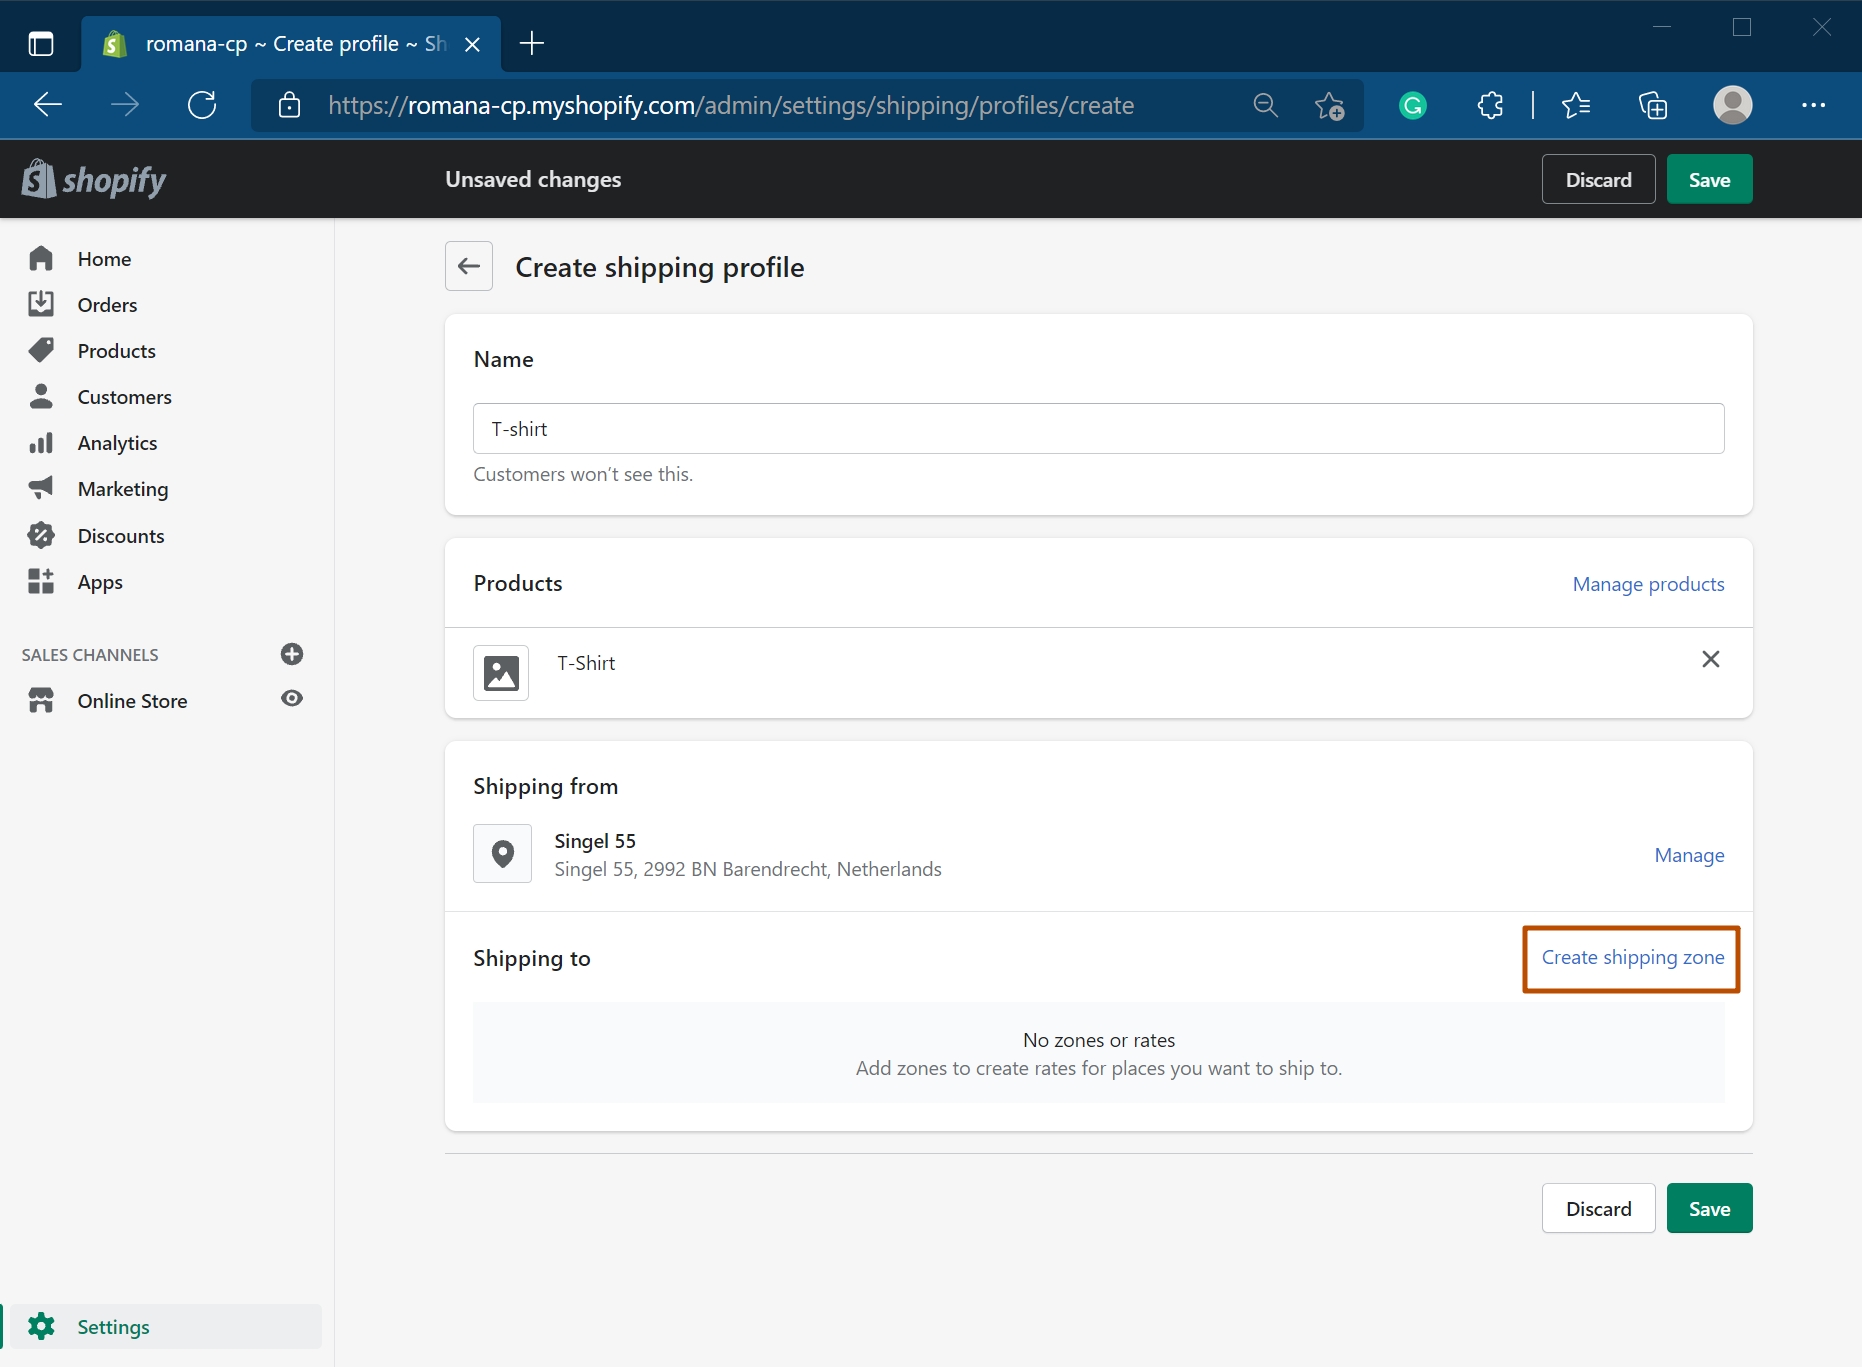
- Now you need to establish a shipping zone to ship your product(s) to. To do this click on “create shipping zone”.
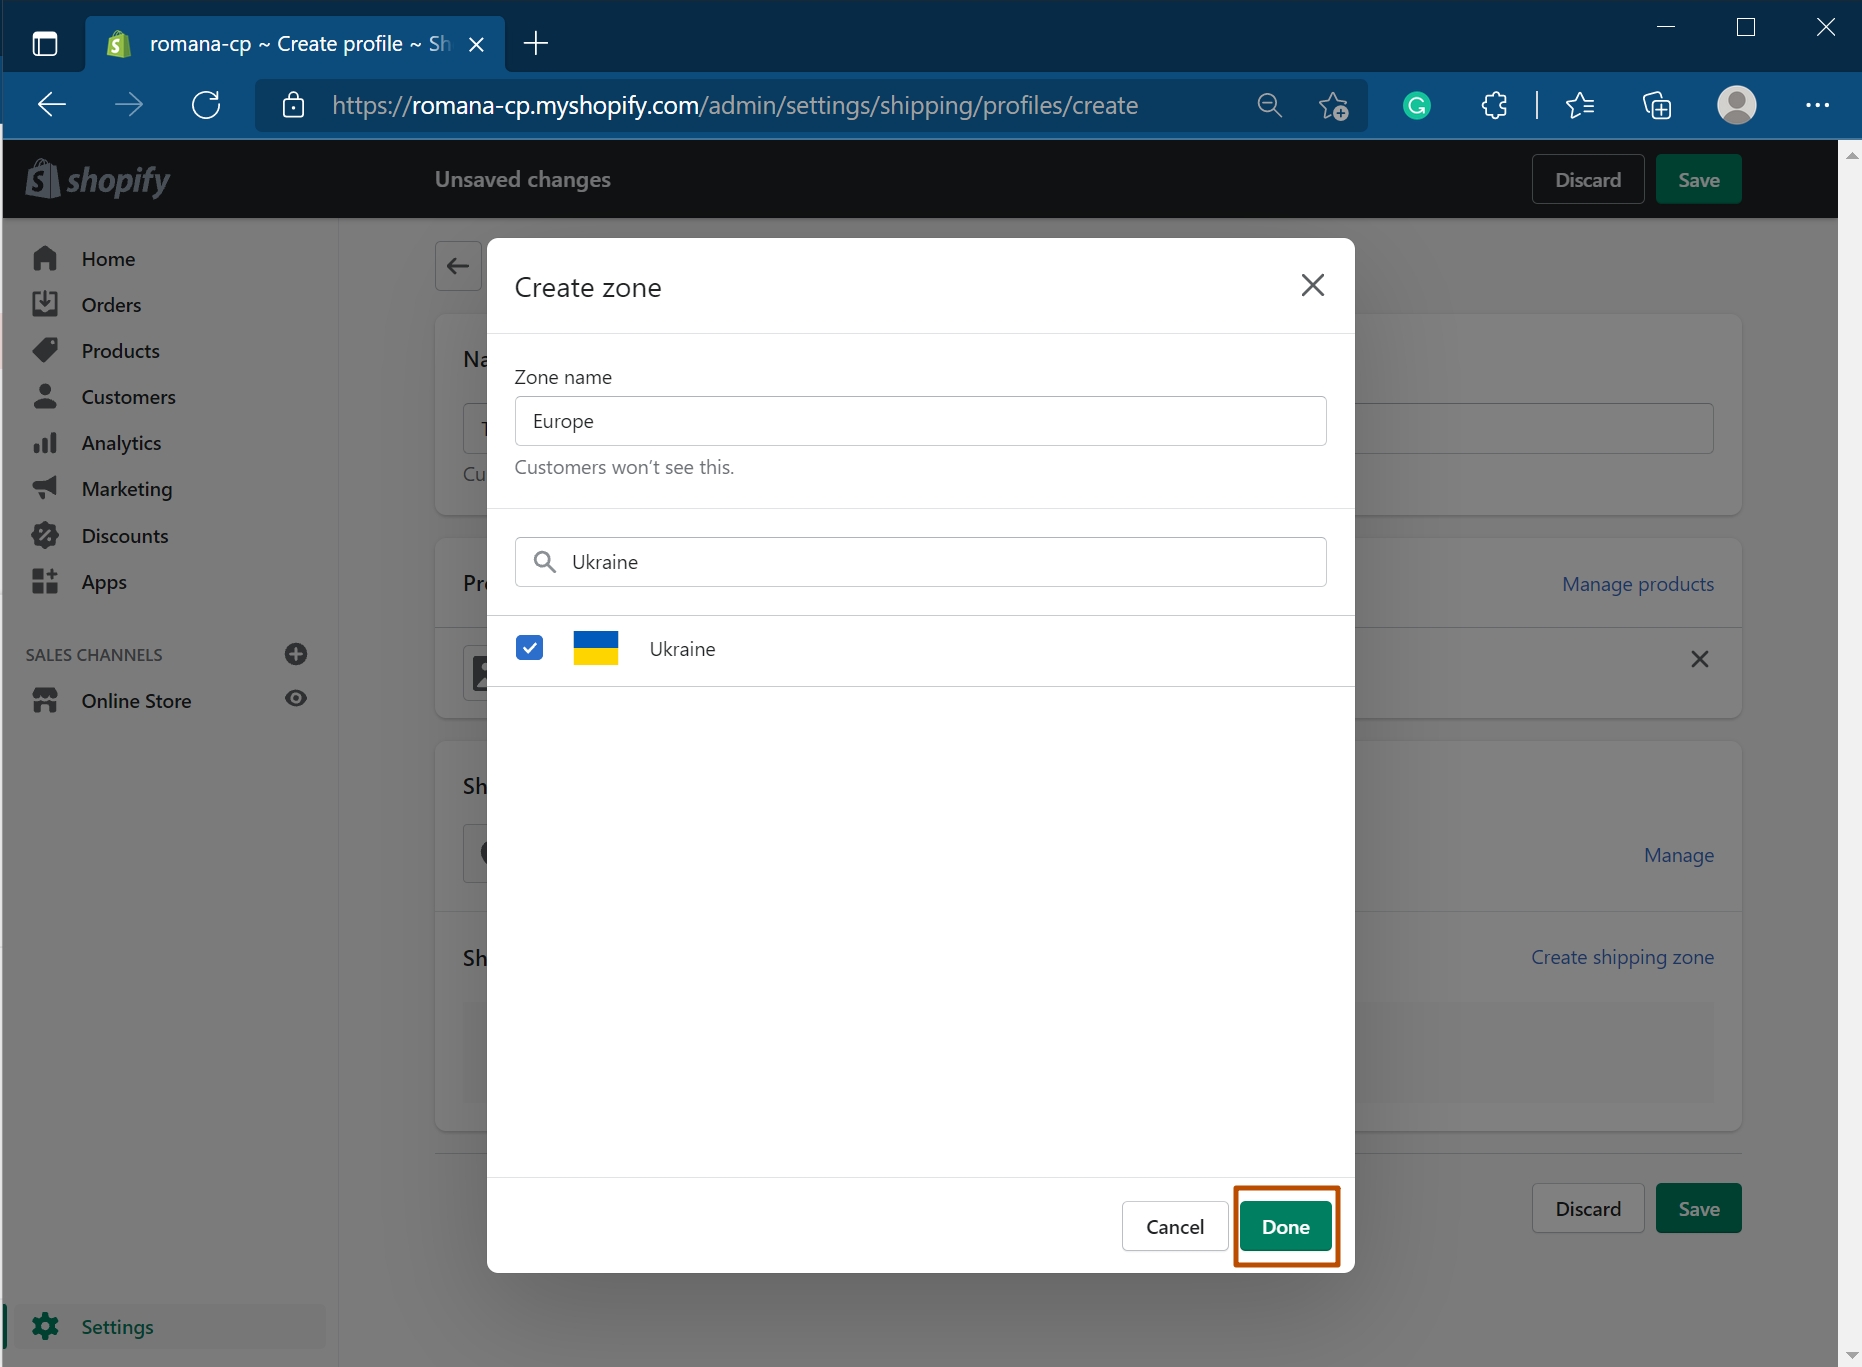
- During this step you need to input the necessary “zone” information. To do this, you should create a zone name and select a country or countries. Once you have done that, click “Done”.
- Now you need to create your different shipping “rates”. Then, click on the “Add rate” button.
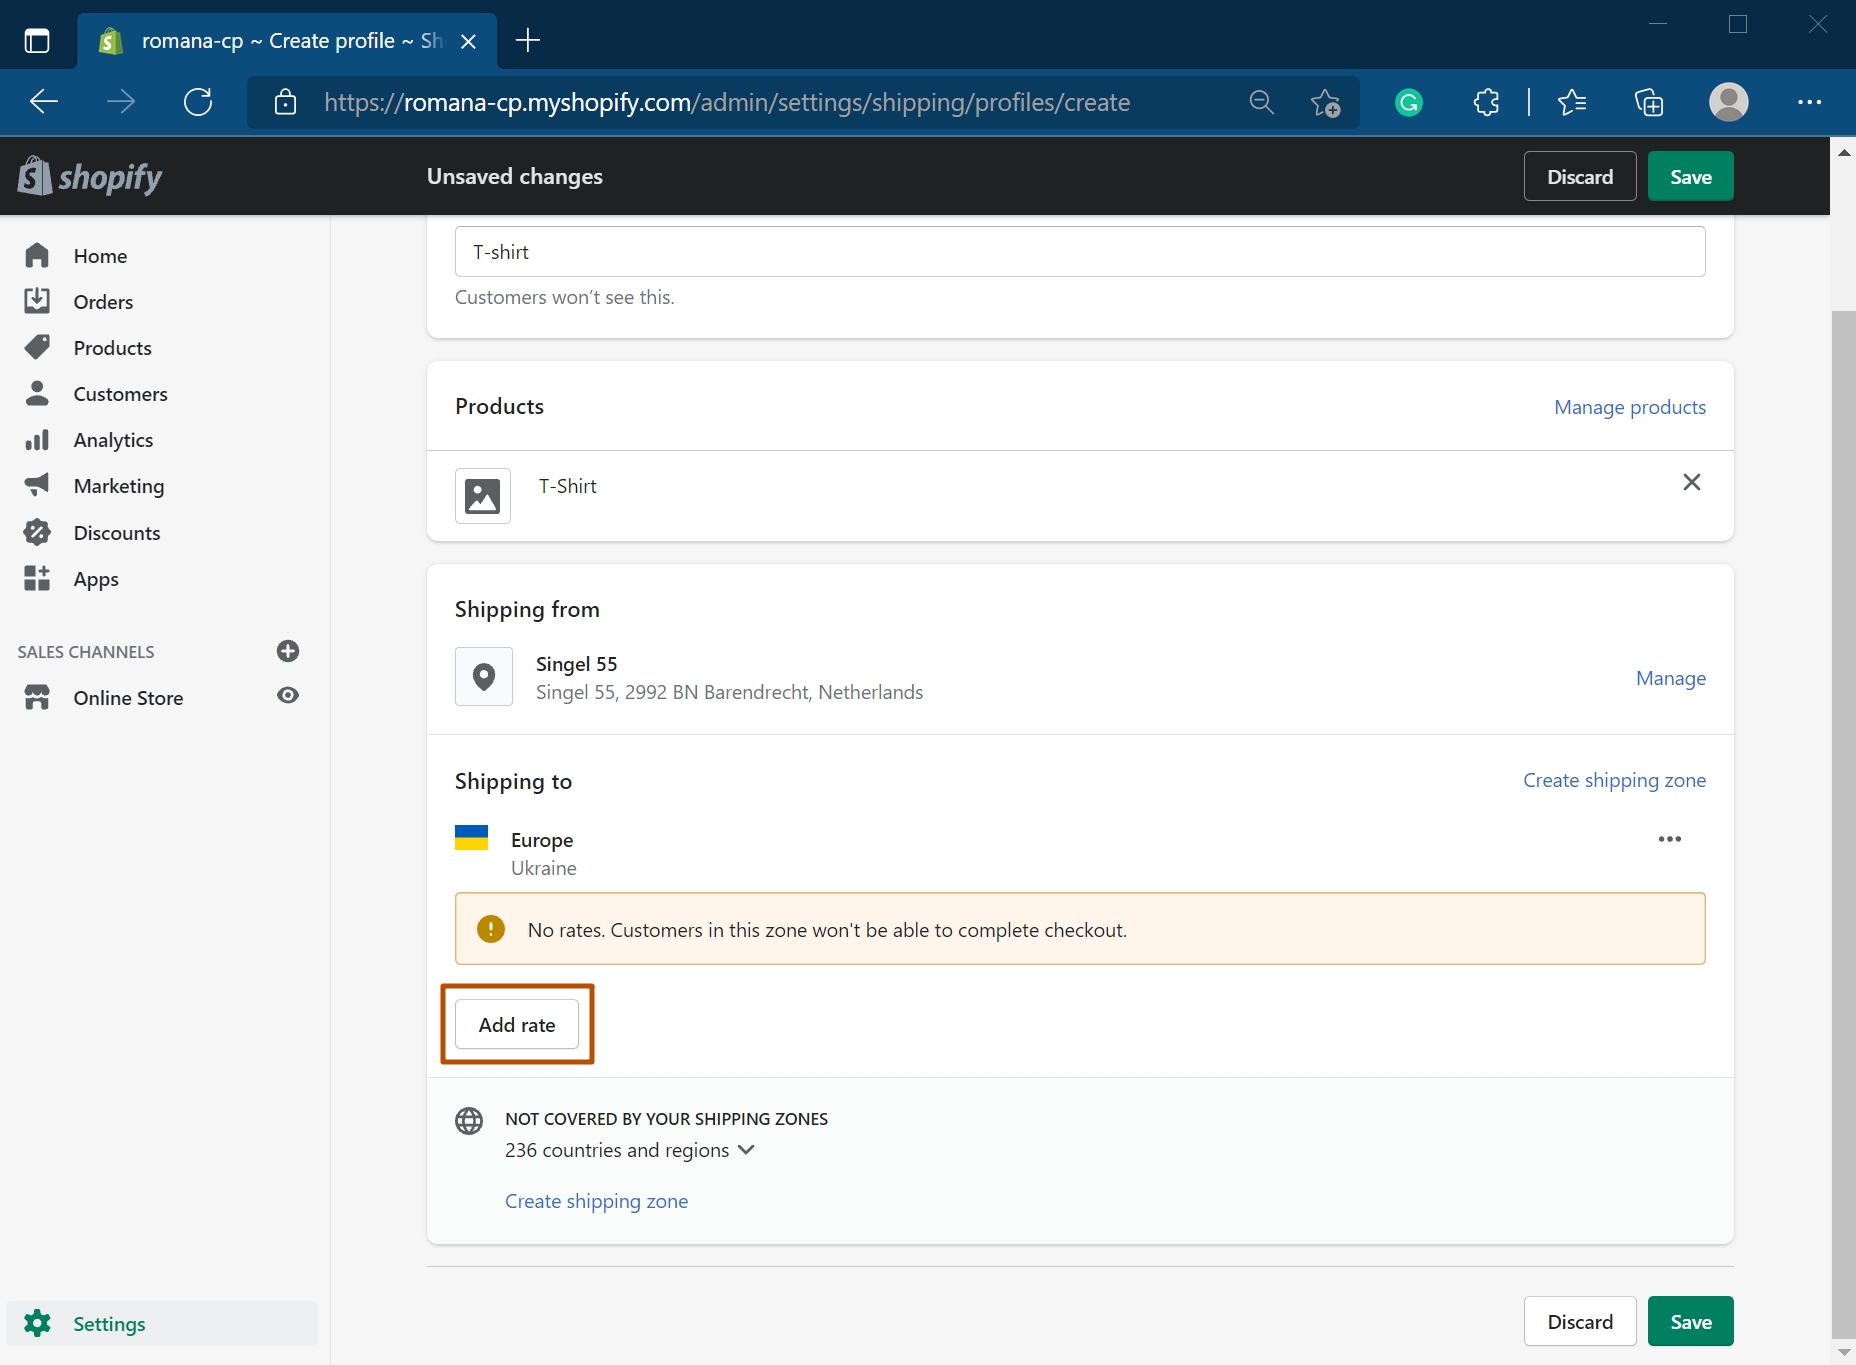
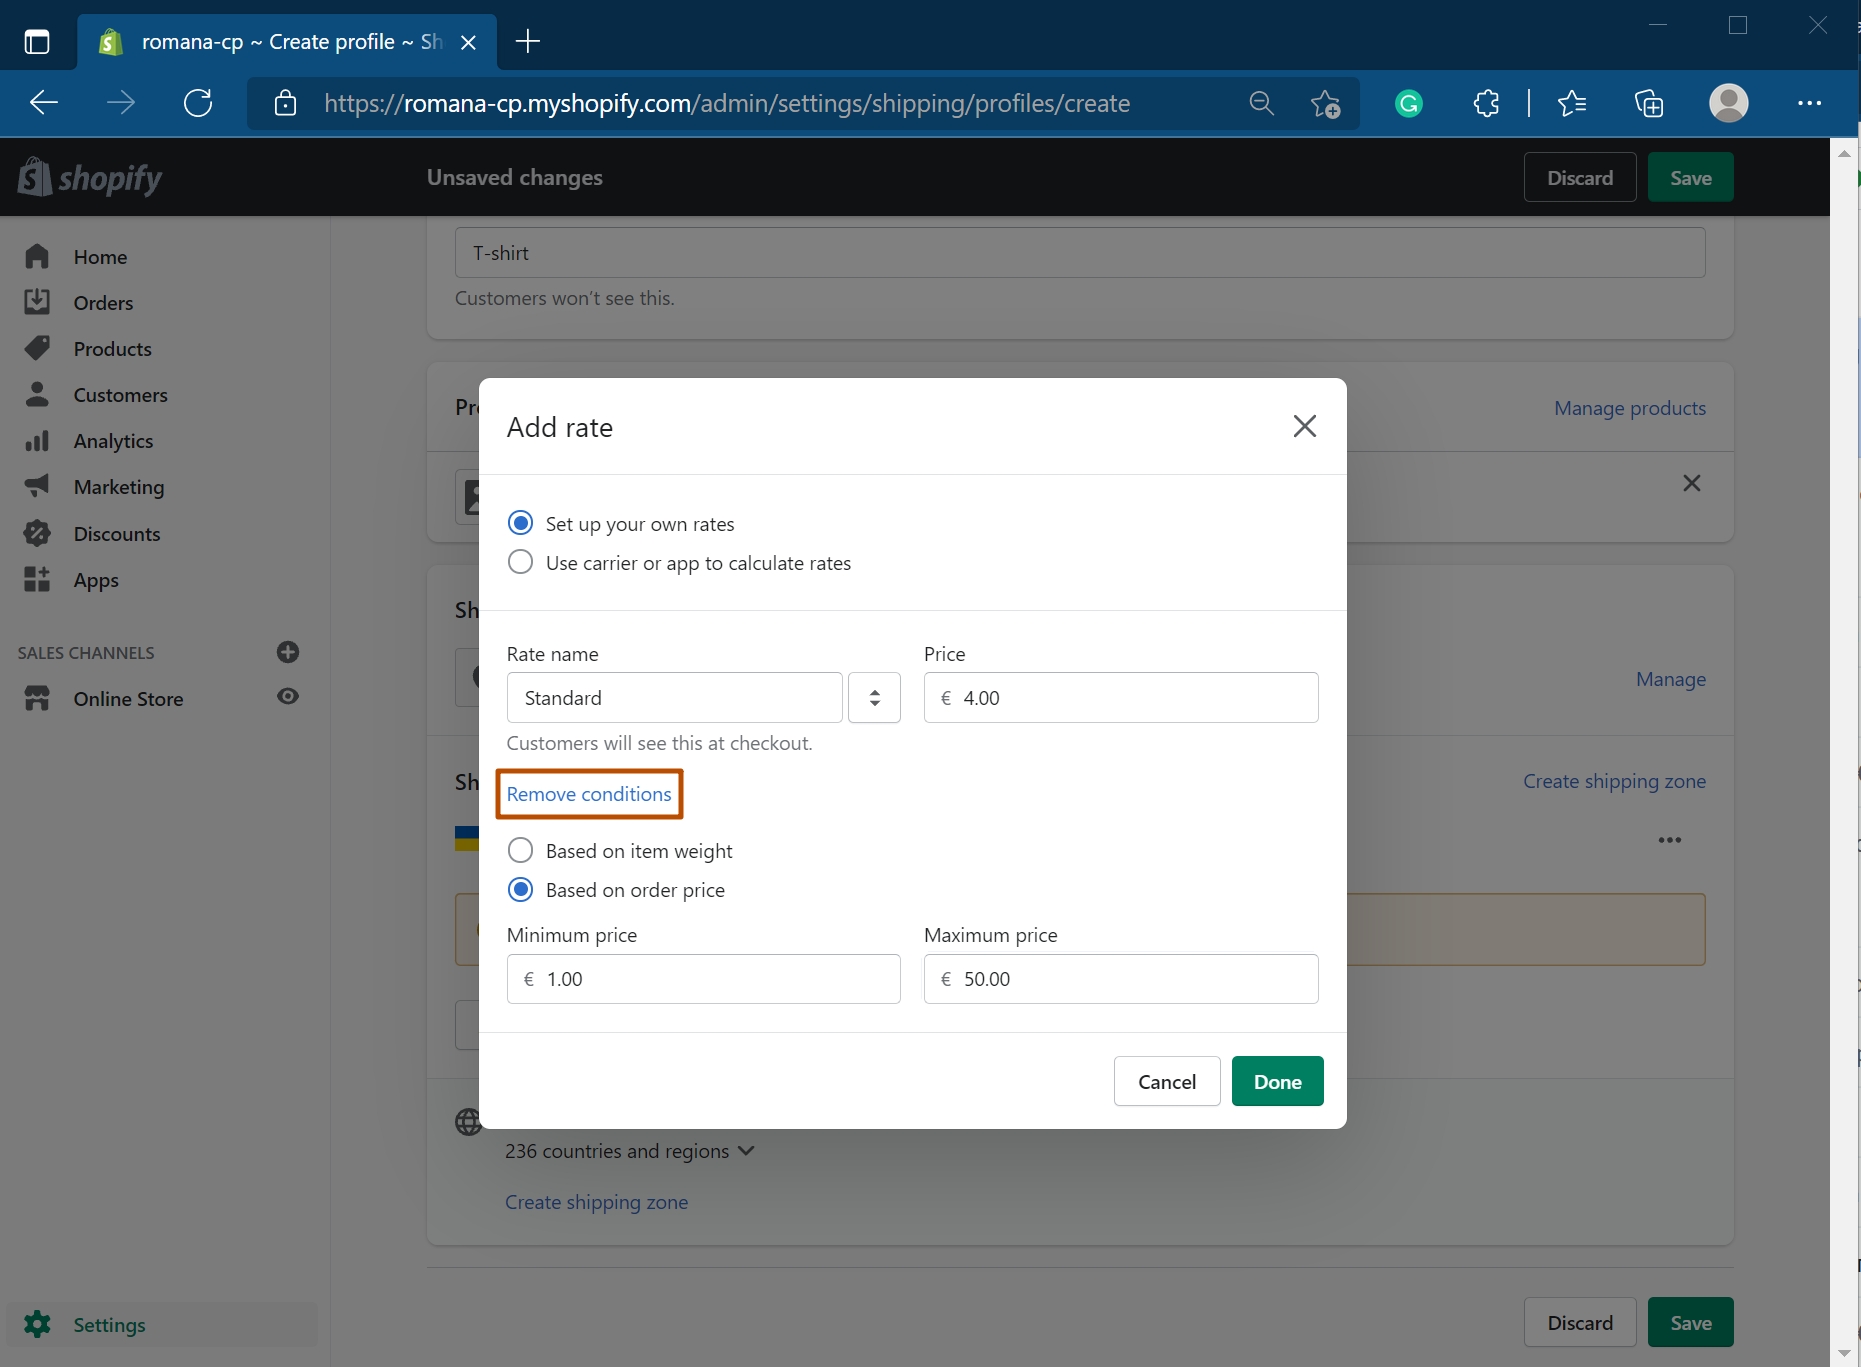
- Now you need to select the “Rate name” and input your precalculated “Price”. Underneath you should click on “add conditions”.
Additional fields should appear. You can input your minimum-maximum product price range there.
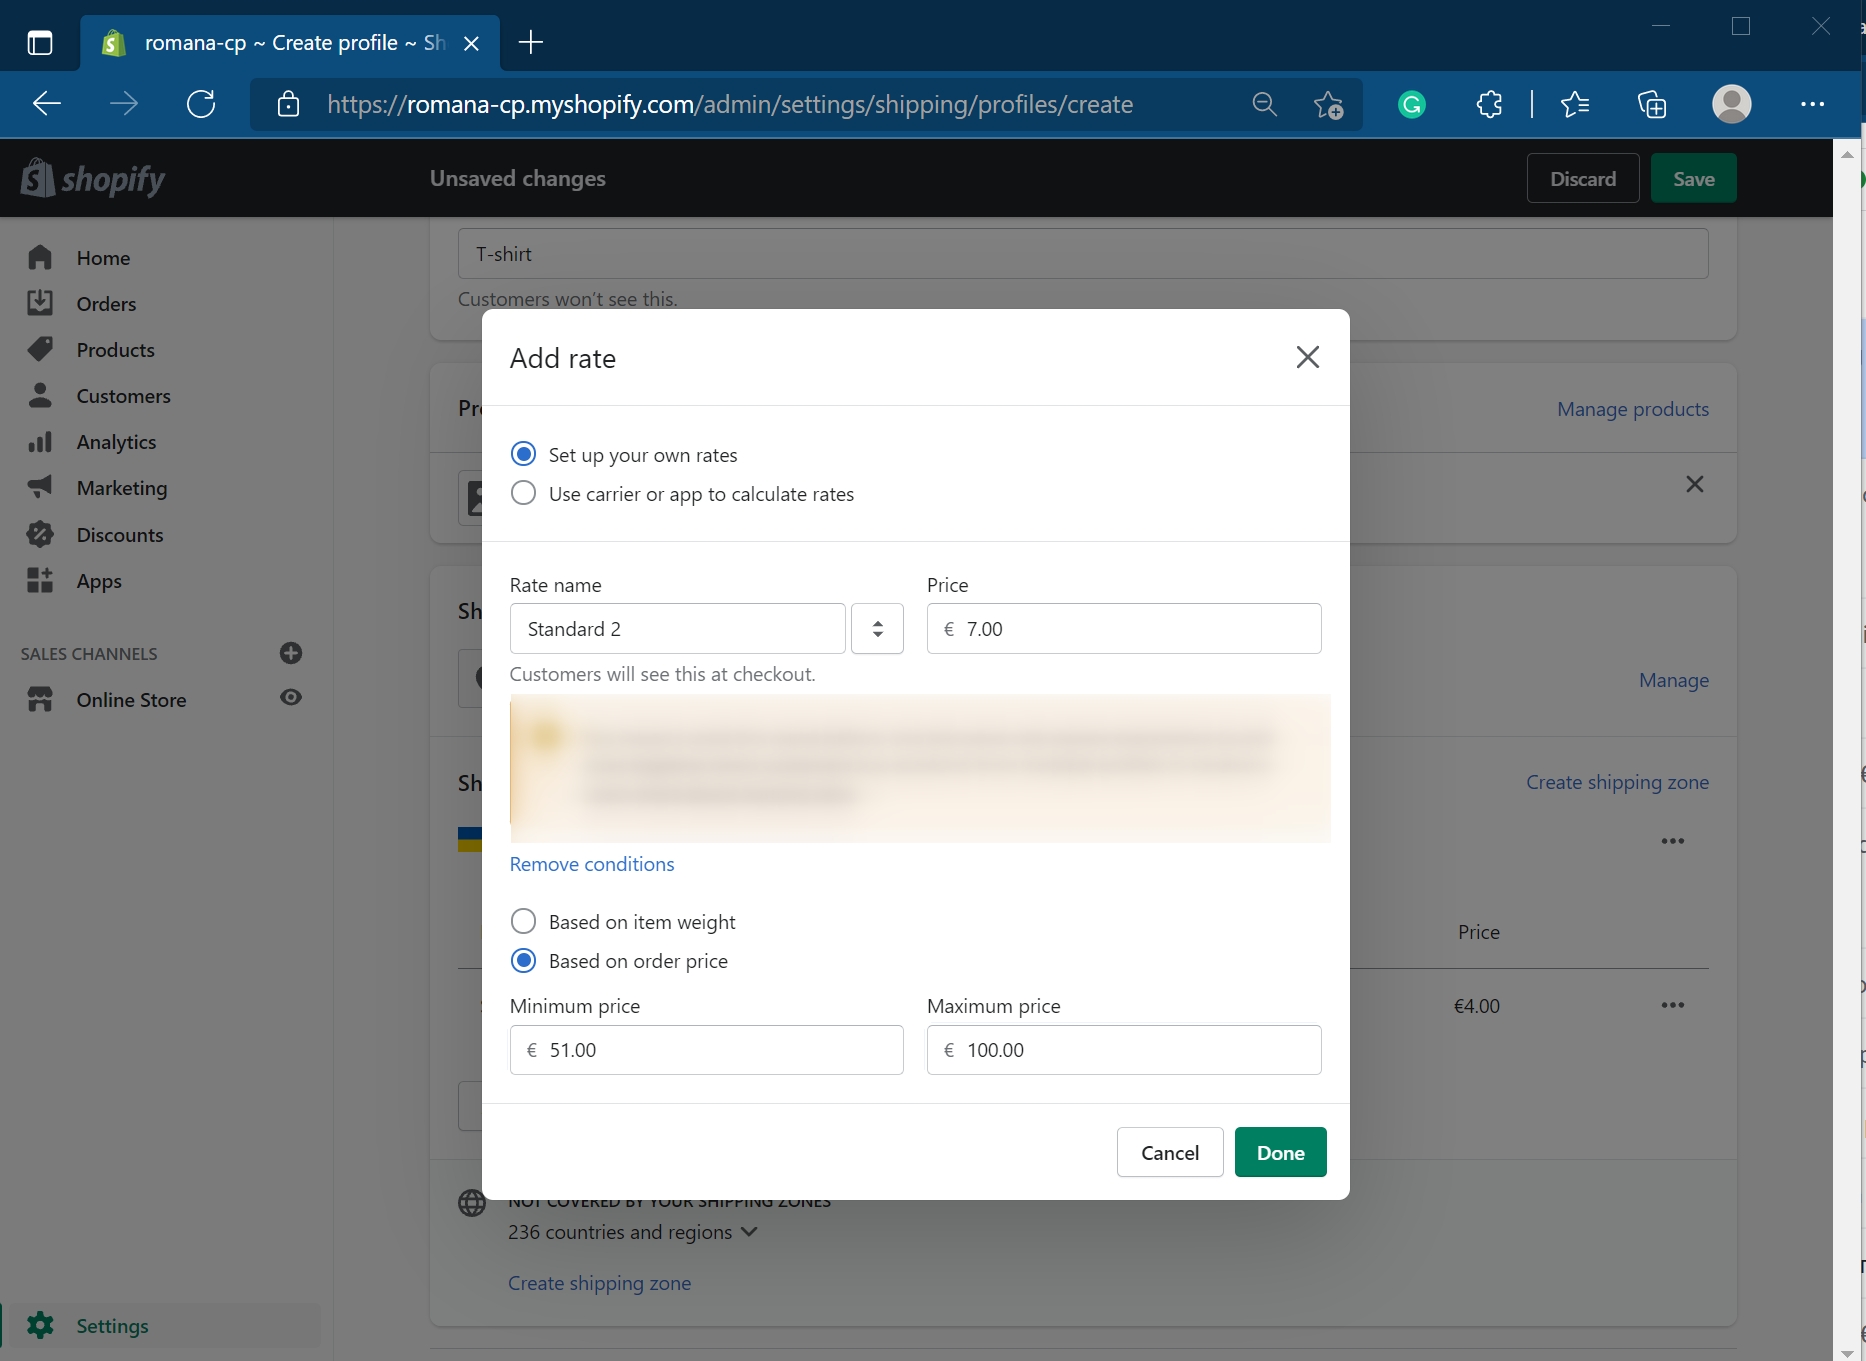
- Again, you should input the precalculated price and determine the minimum-maximum price range.
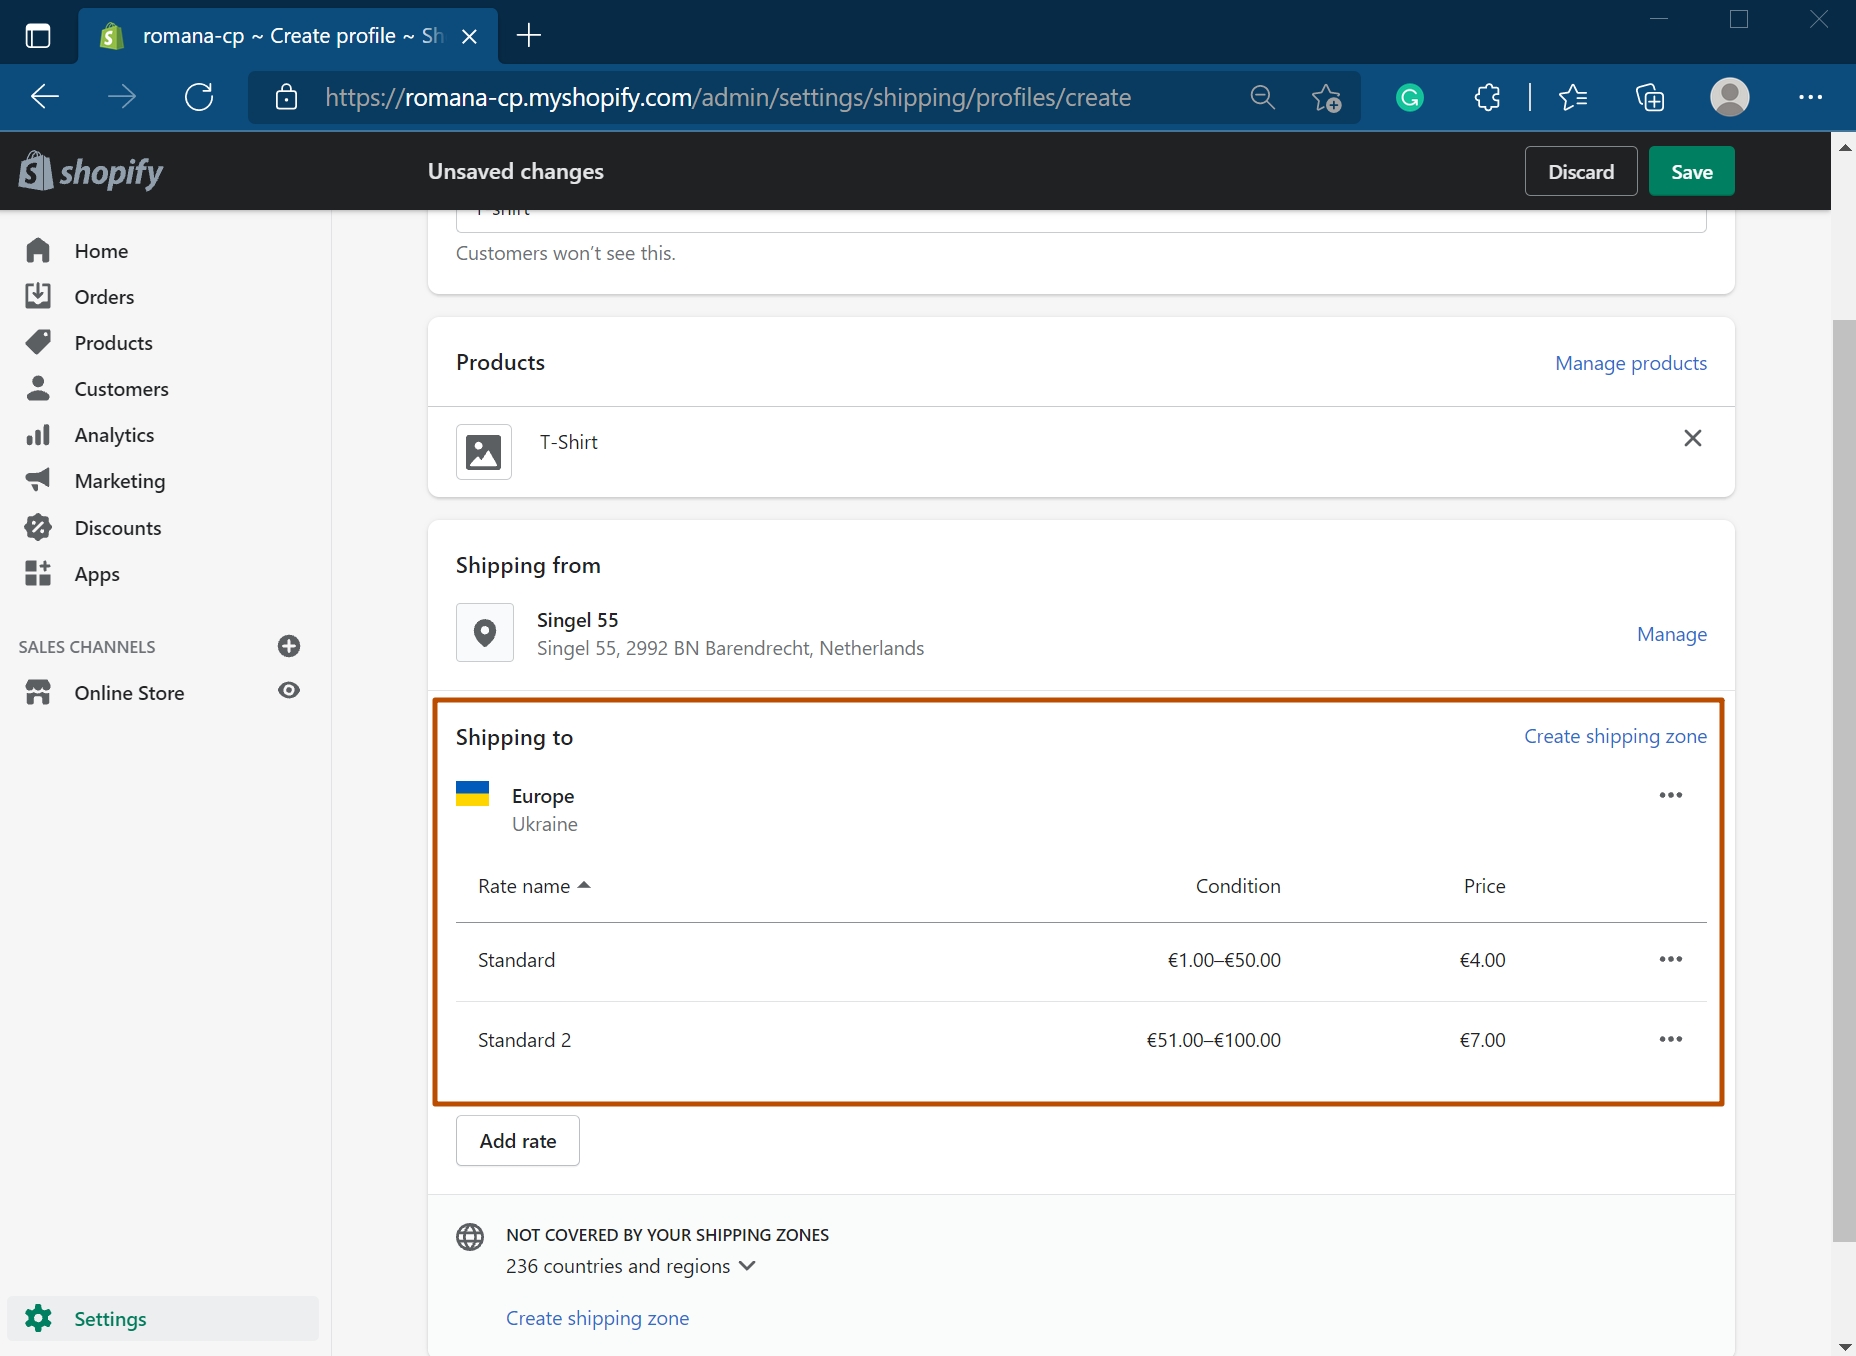
- You should end up with several different rate options which correspond to the predetermined price bands. You can create as many rates as you want/need.
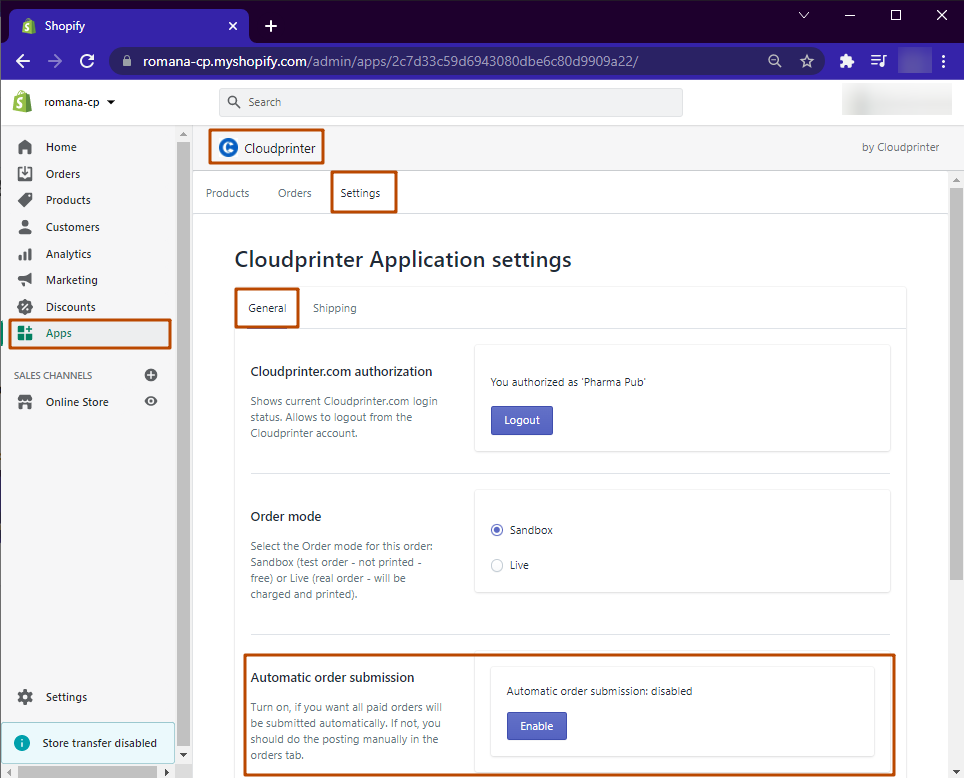
Additional function: Manual Shipping You can use the function of manual shipping submission, to control and choose the method of shipping for each order. Firstly, go to Settings - General and disable automated order submission.
When the order comes, open each order and choose the appropriate shipping from the available options.
