How to set up CloudSignals in Zapier
While our platform allows you to set up standard email notifications in your Dashboard, the options might be too limited for you. What if you want to receive notifications in a different way? Zapier can help you with that!
We have integrated all of our CloudSignals (read more on them here) with Zapier. As Zapier, in turn, is already connected with 1,500+ other applications, the possibilities are endless.
In this article, you can learn how to create custom notifications for the status updates on any of your orders that Cloudprinter.com shares with you.
As an example, we will set up custom Shipping signals using Gmail. Please note that there are numerous different applications to use - the configuration will be almost the same! Think of channel notifications in Slack, tweets on Twitter, posts or personal messages on Facebook, date pins in your calendar, and much more.
- Go to the Marketplace in your Dashboard. Find Zapier (your need to be subscribed to the Print Cloud product plan - find out more about our product plans here), activate it, and click the link provided in the description.
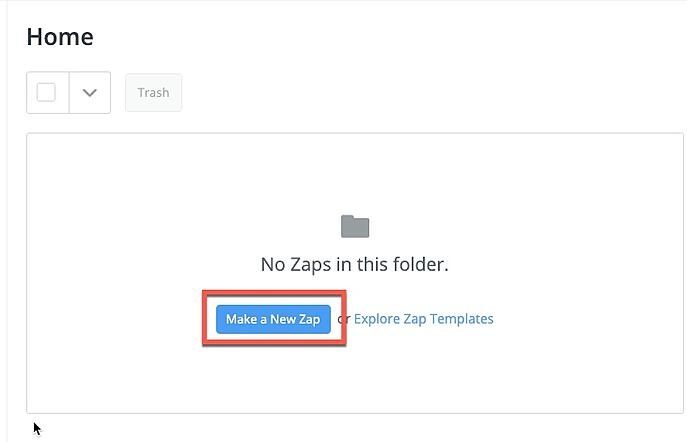
- Log in to your Zapier account or create a new account. Once you're logged in, you are ready to create a Zap! Click Make a New Zap.
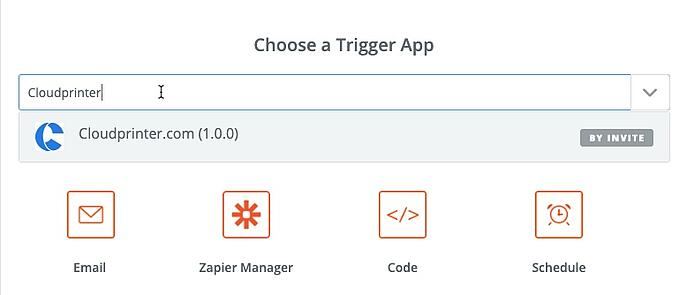
 3. To set up custom notifications, you have to select Cloudprinter.com(1.0.0) as your Trigger.
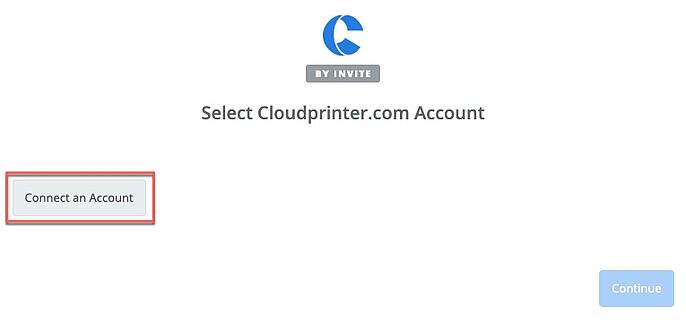
 4. Next, you have to link your Cloudprinter.com account using the built in Open Authorization window. Click Connect an Account and sign in with your organizational details.
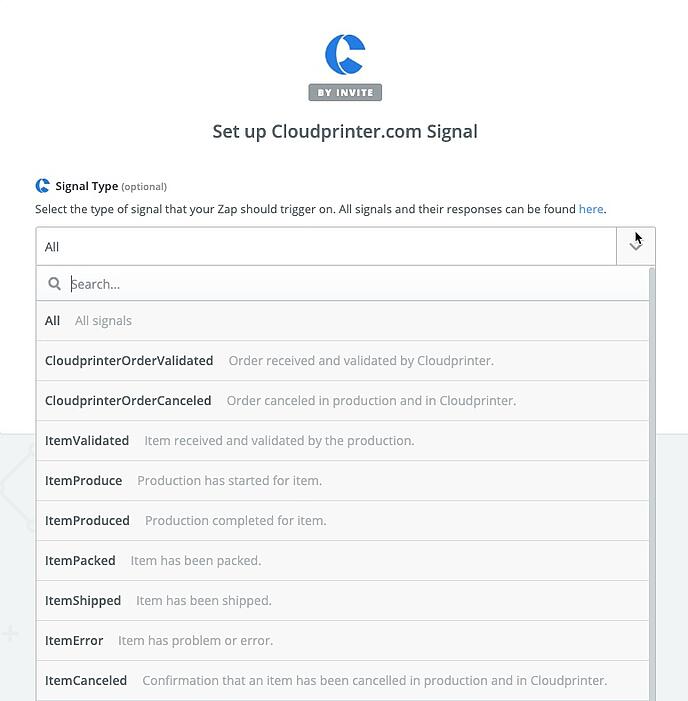
 5. Once you've logged in, your can now select the type of signal that you want to customize. More on the signals that our Print Cloud sends out and the content of the signals can be found in the documentation. As matter of an example, we will use ItemShipped for the rest of the article.
 6. Great! You have now set up your connection to Cloudprinter.com using Zapier! Well, that was easy, right? On to the next step.. creating your custom notification! Click Add one now! to add an action to your Cloudprinter.com signal.
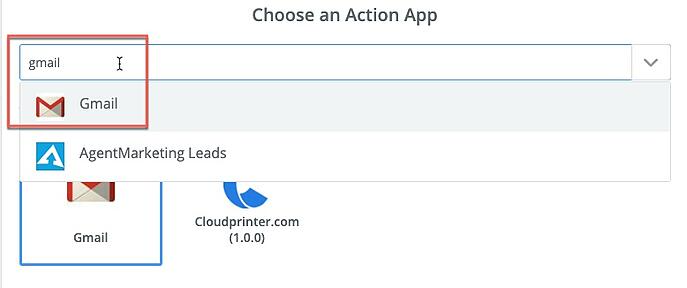
 7. Now it is all up to you. Browse through all of the apps that are integrated with Zapier to find the communication platform of your choice. Good to know: Zapier has a built in mailing service to set up email notifications very easily.For our example, we will set up mailing notifications using Gmail.
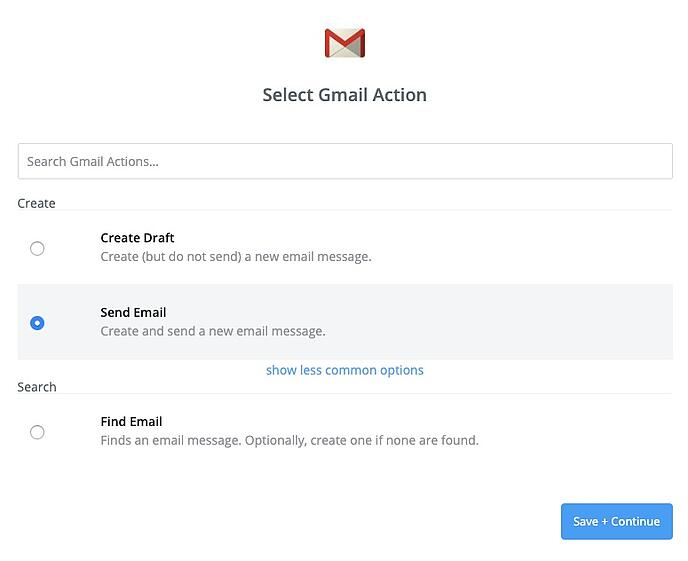
 8. Now that we have selected our communication service, choose the desired action that you want to perform when your signal is generated by Cloudprinter.com. We will select Send Email for this example.
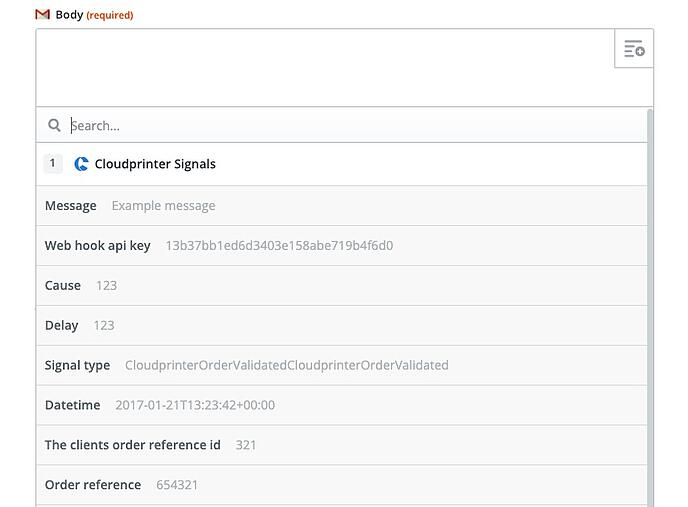
 9. Login to your account for the communication platform that you've selected in the previous step and click continue. A long-form will be shown on the next page now. Fill in all fields as you like, they speak for themselves.For Body, you can now write your customized notification. Good to know: you can use information from the original CloudSignal that was generated by Cloudprinter.com! For example, you can use the order reference or tracking details.
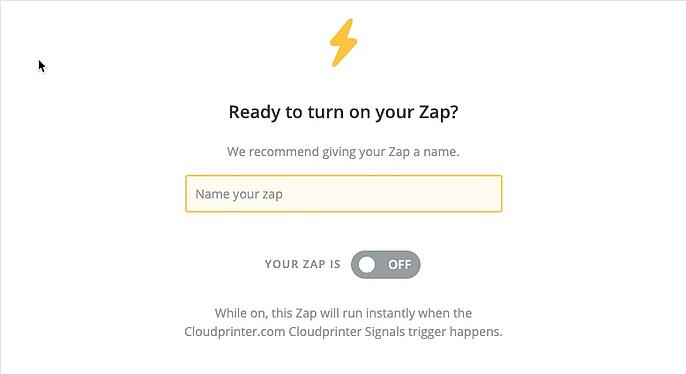
 10. Finished up customizing your mail? Continue and name your zap as is convenient for you. Well done! Your Zap is now finished and ready to be turned on!
 11. In your Home overview of Zapier, you will now find the Zap that we've just created. You can always go back to change whatever you like without the need of creating a new Zap, how nice is that?
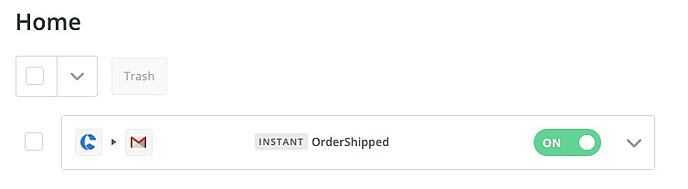
So what's next? Each time the Cloudprinter.com platform sends out an OrderShipped signal for any of your orders, an email will be sent using your Gmail account - to any recipient of your choice - to keep yourself or others always up-to-date on the status of the order!
