Manual file upload (Standard plan only) – How to upload files after placing an order
This process applies to users on the Standard plan. If you’re on a Business or Enterprise plan, files can be uploaded automatically via API or integrations.
Go to WooCommerce and navigate to Products on the left-side menu.
Locate the order you want to upload files for and click on it.
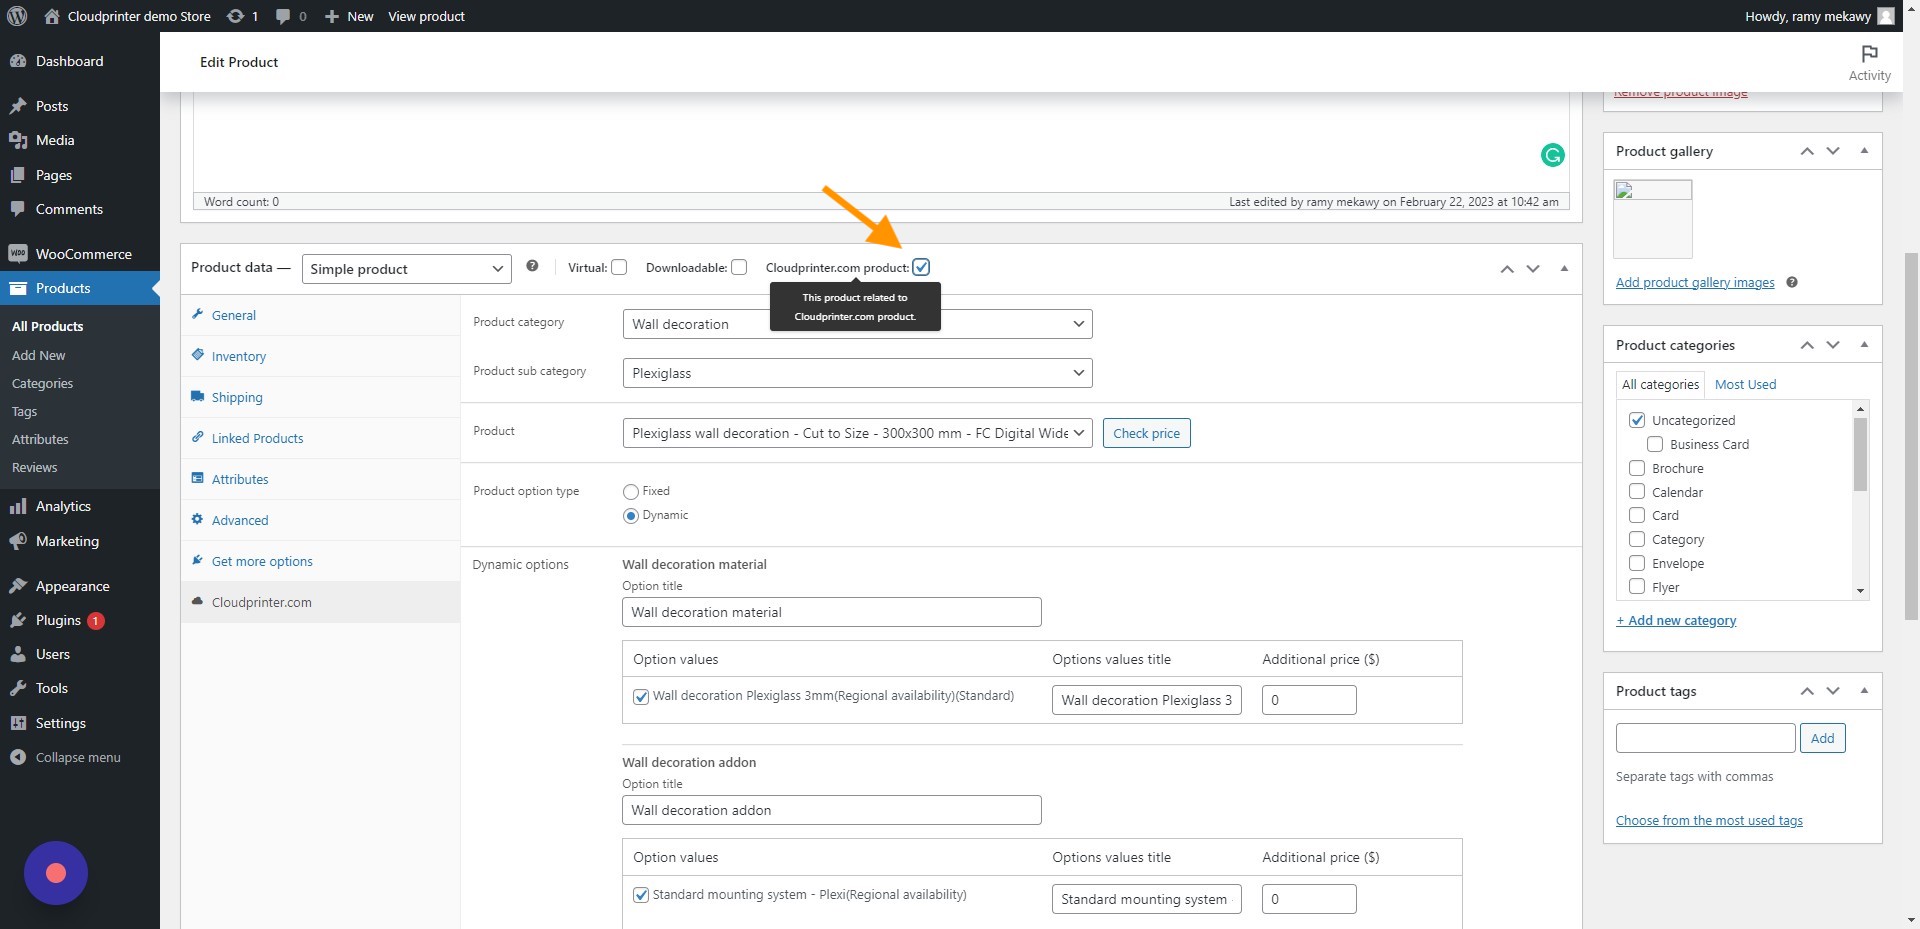
You will then see a page with the details of your order. Scroll to the Product data field and make sure you have the Сloudprinter.com product check box marked.
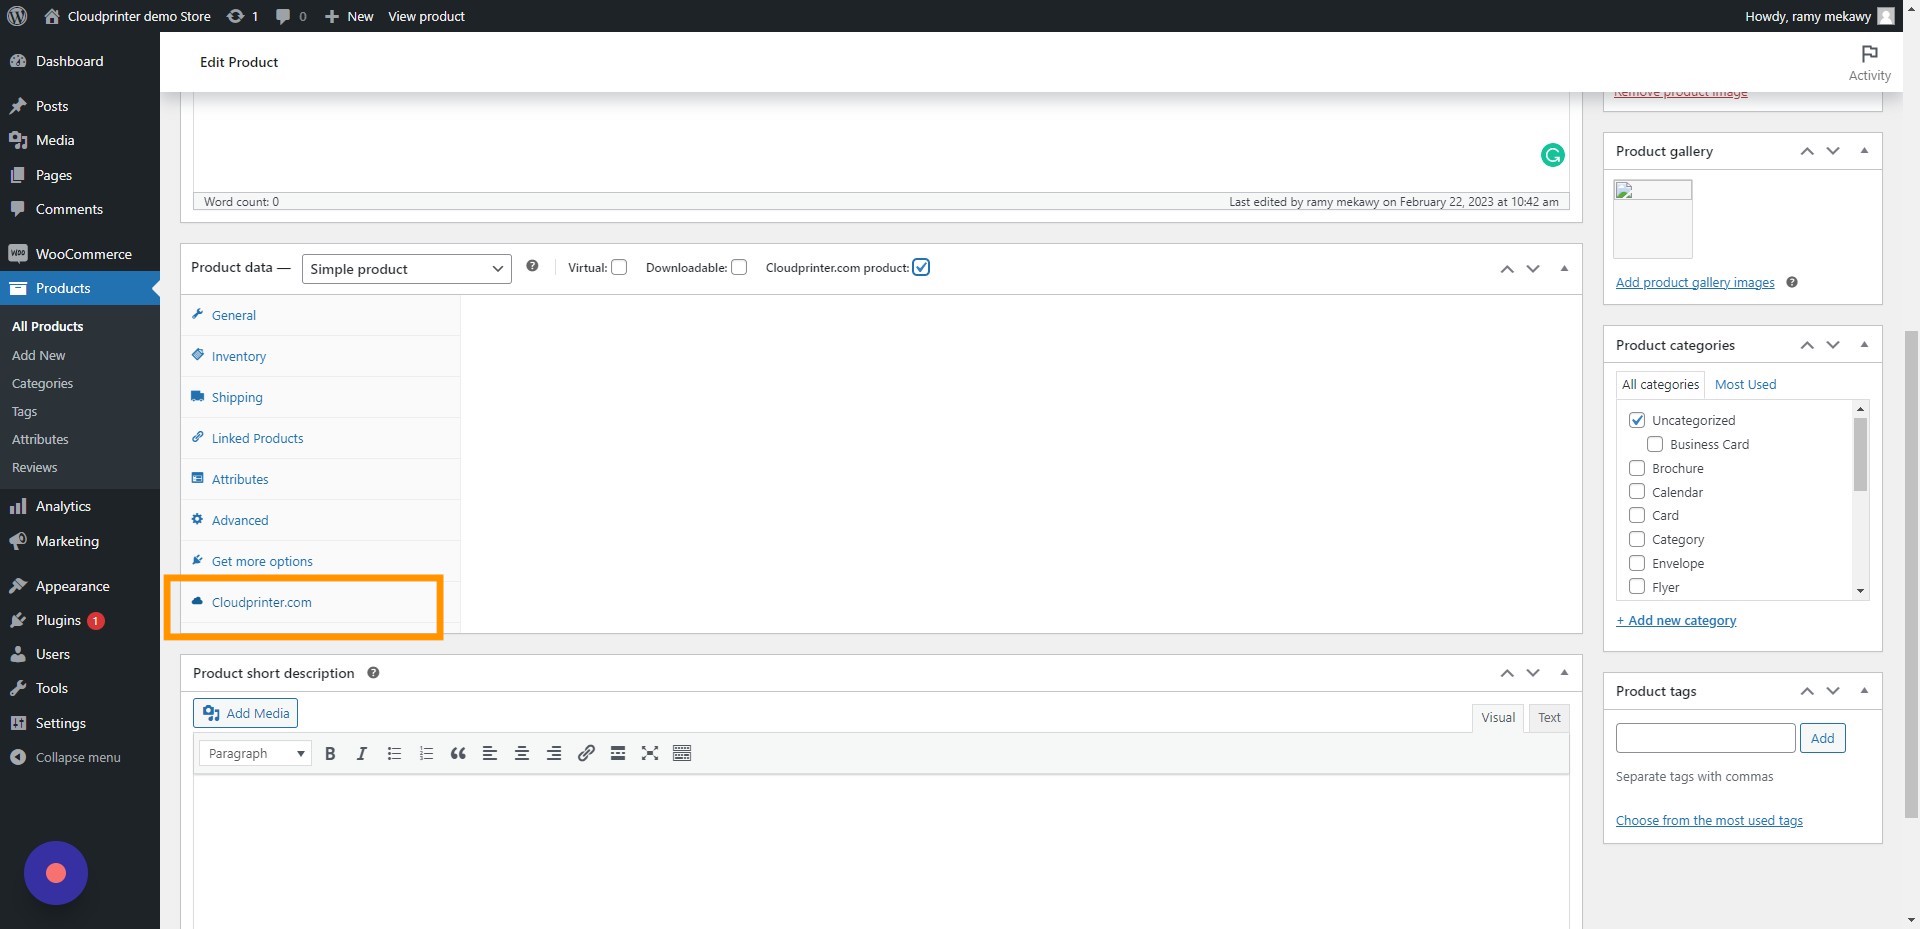
- Open Cloudprinter.com settings in the Product data section.
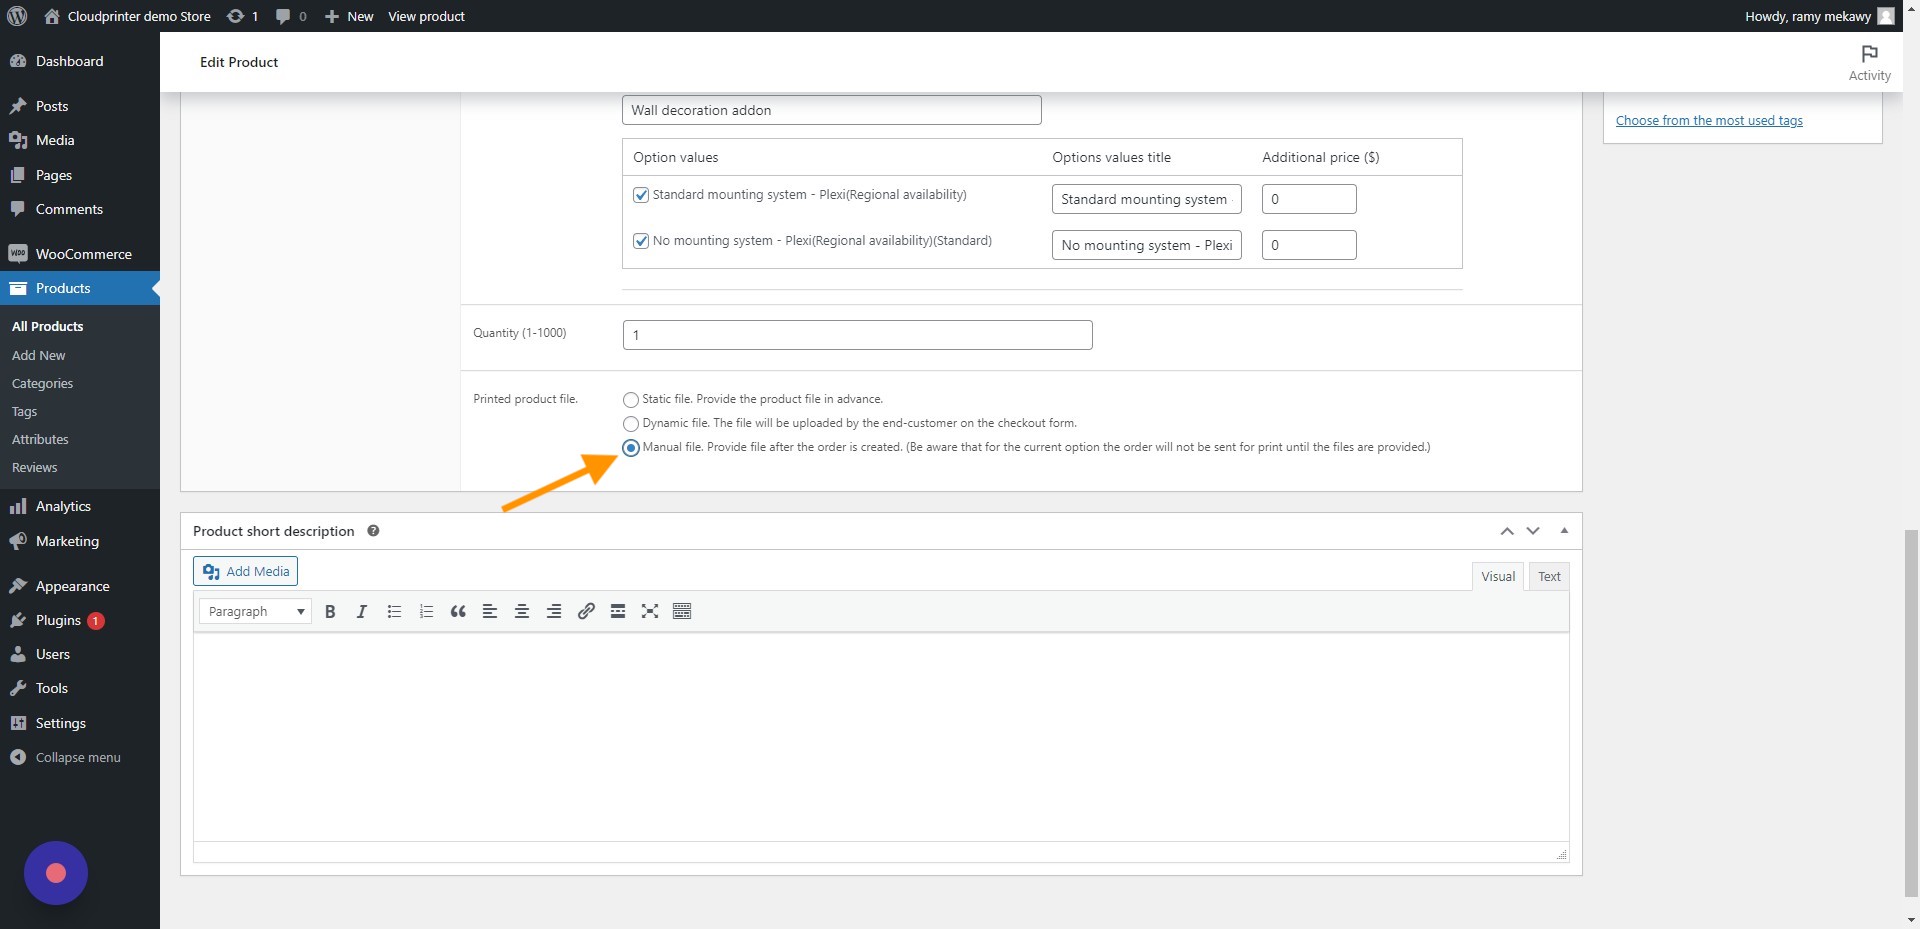
- Enable the Manual file upload. This should be located near the top or bottom of the page in the Printed product file field.
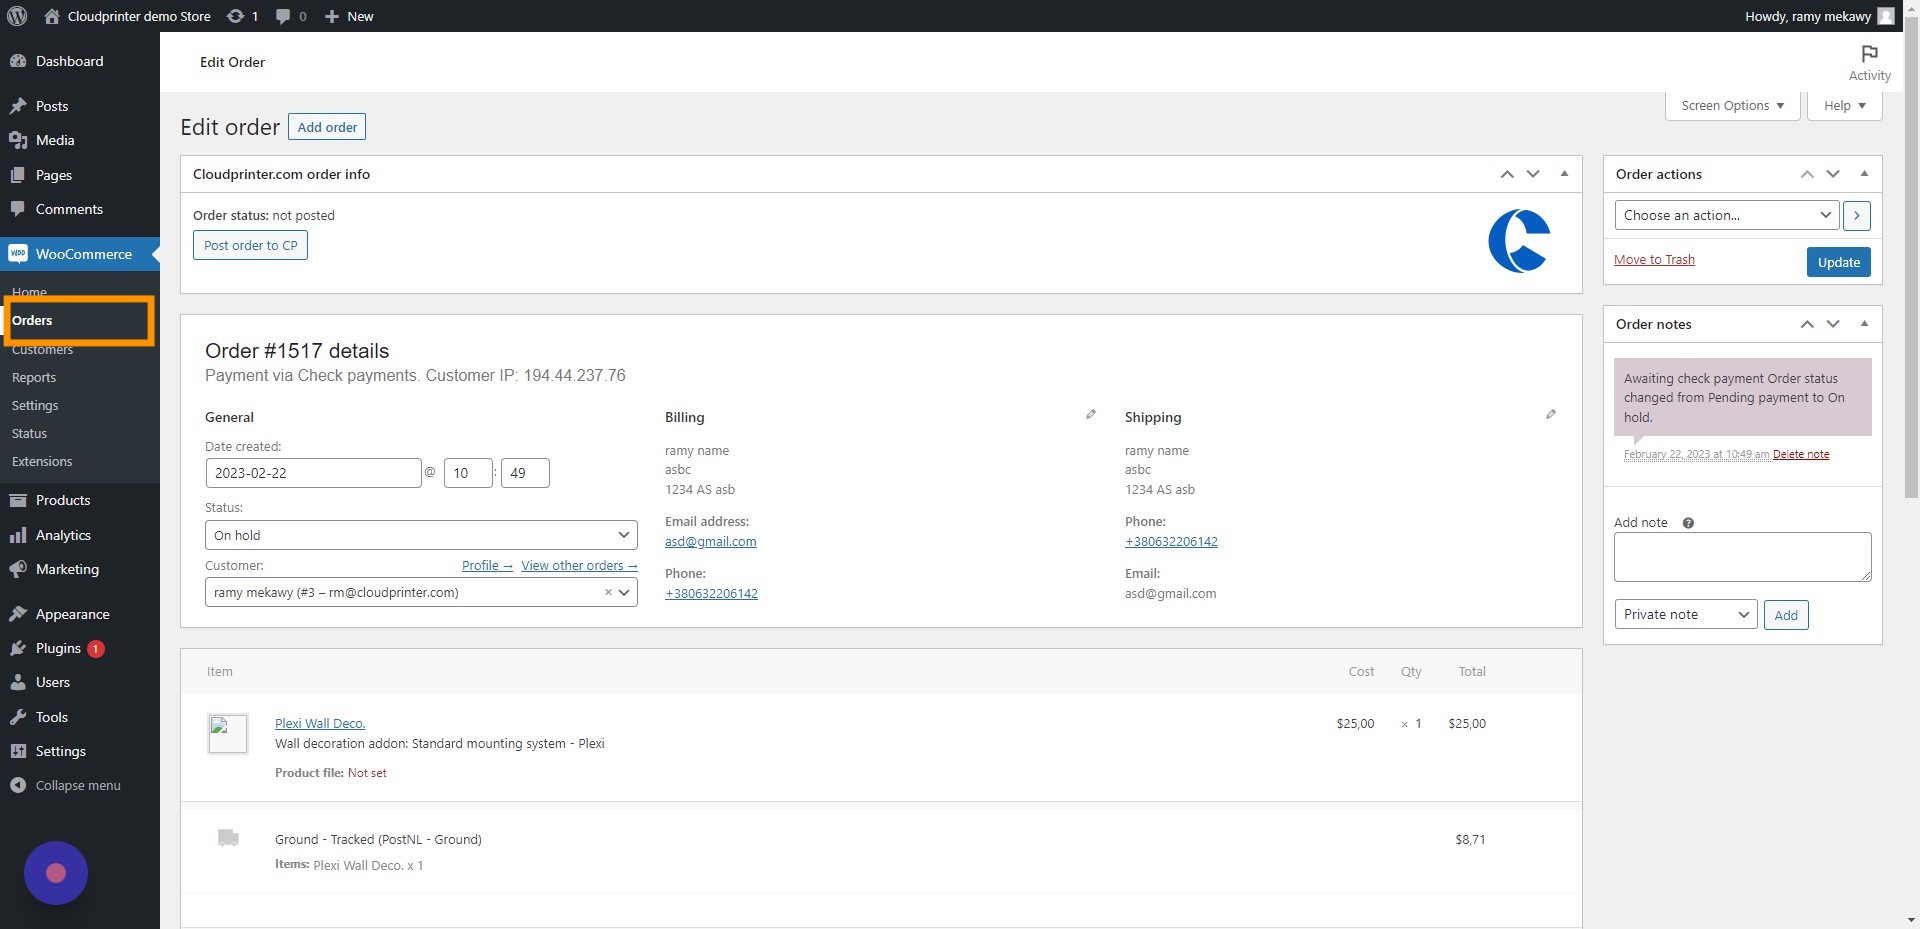
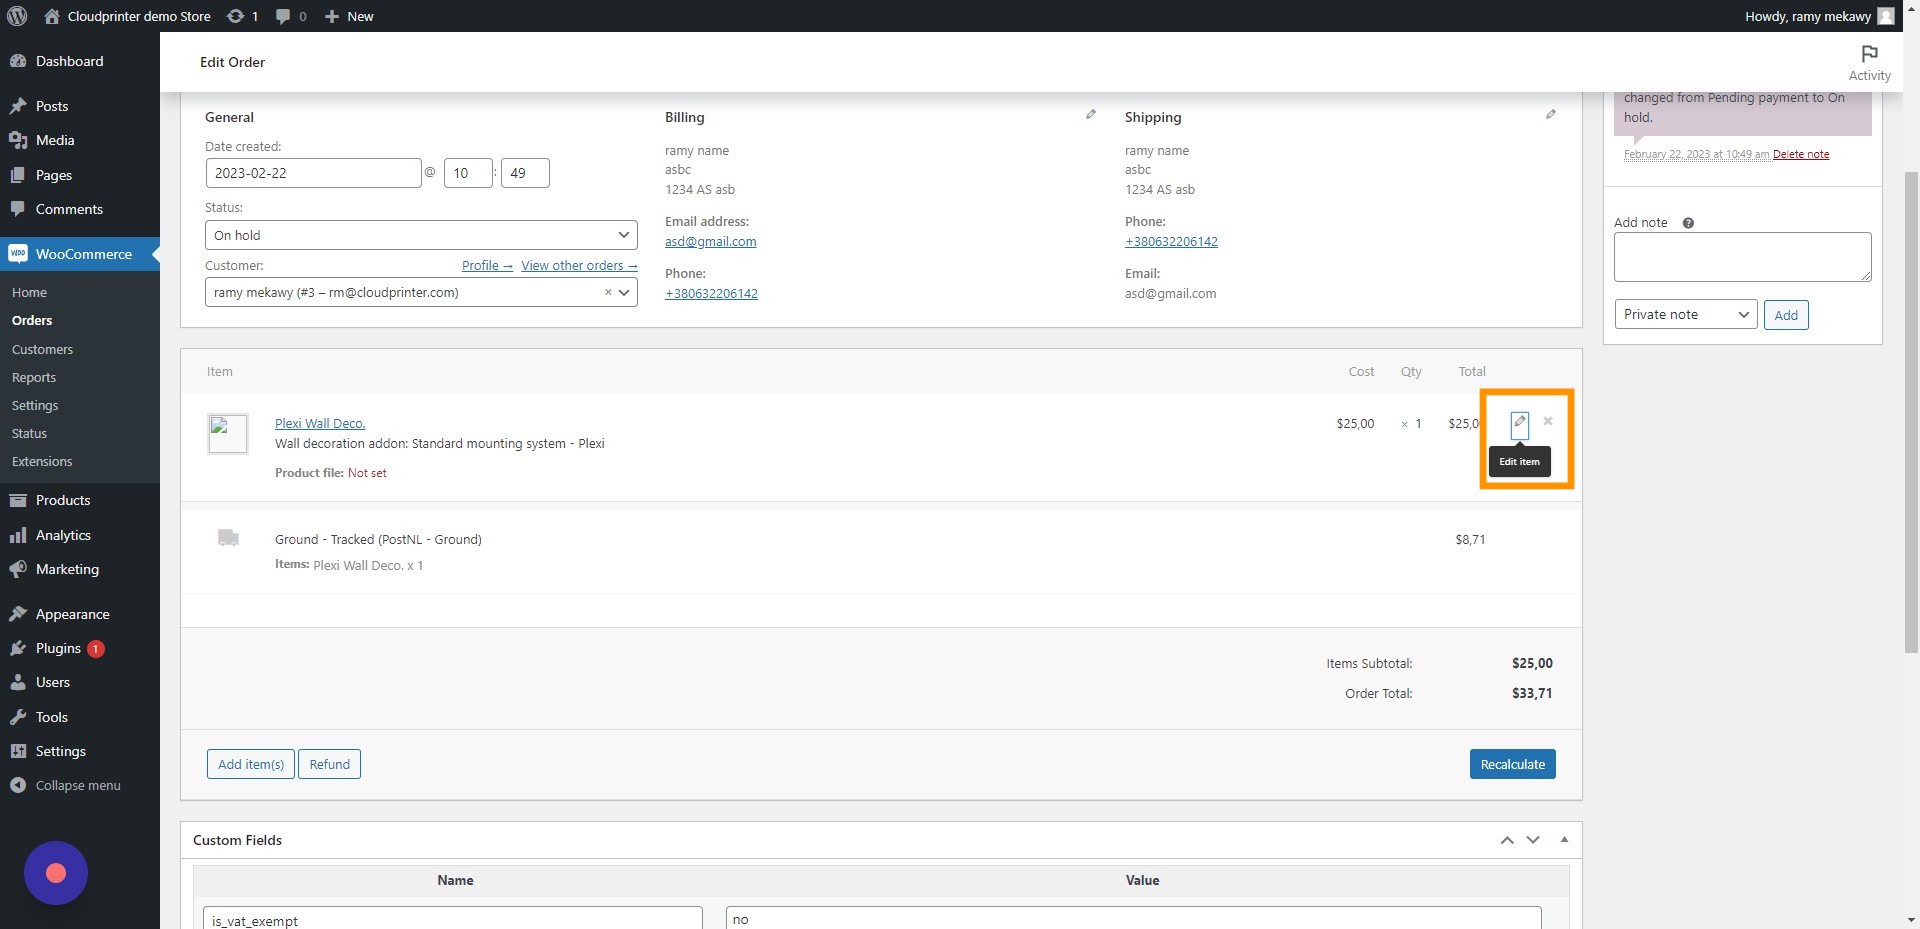
- Navigate to Orders on the left-side menu and click on the order you need to adjust.
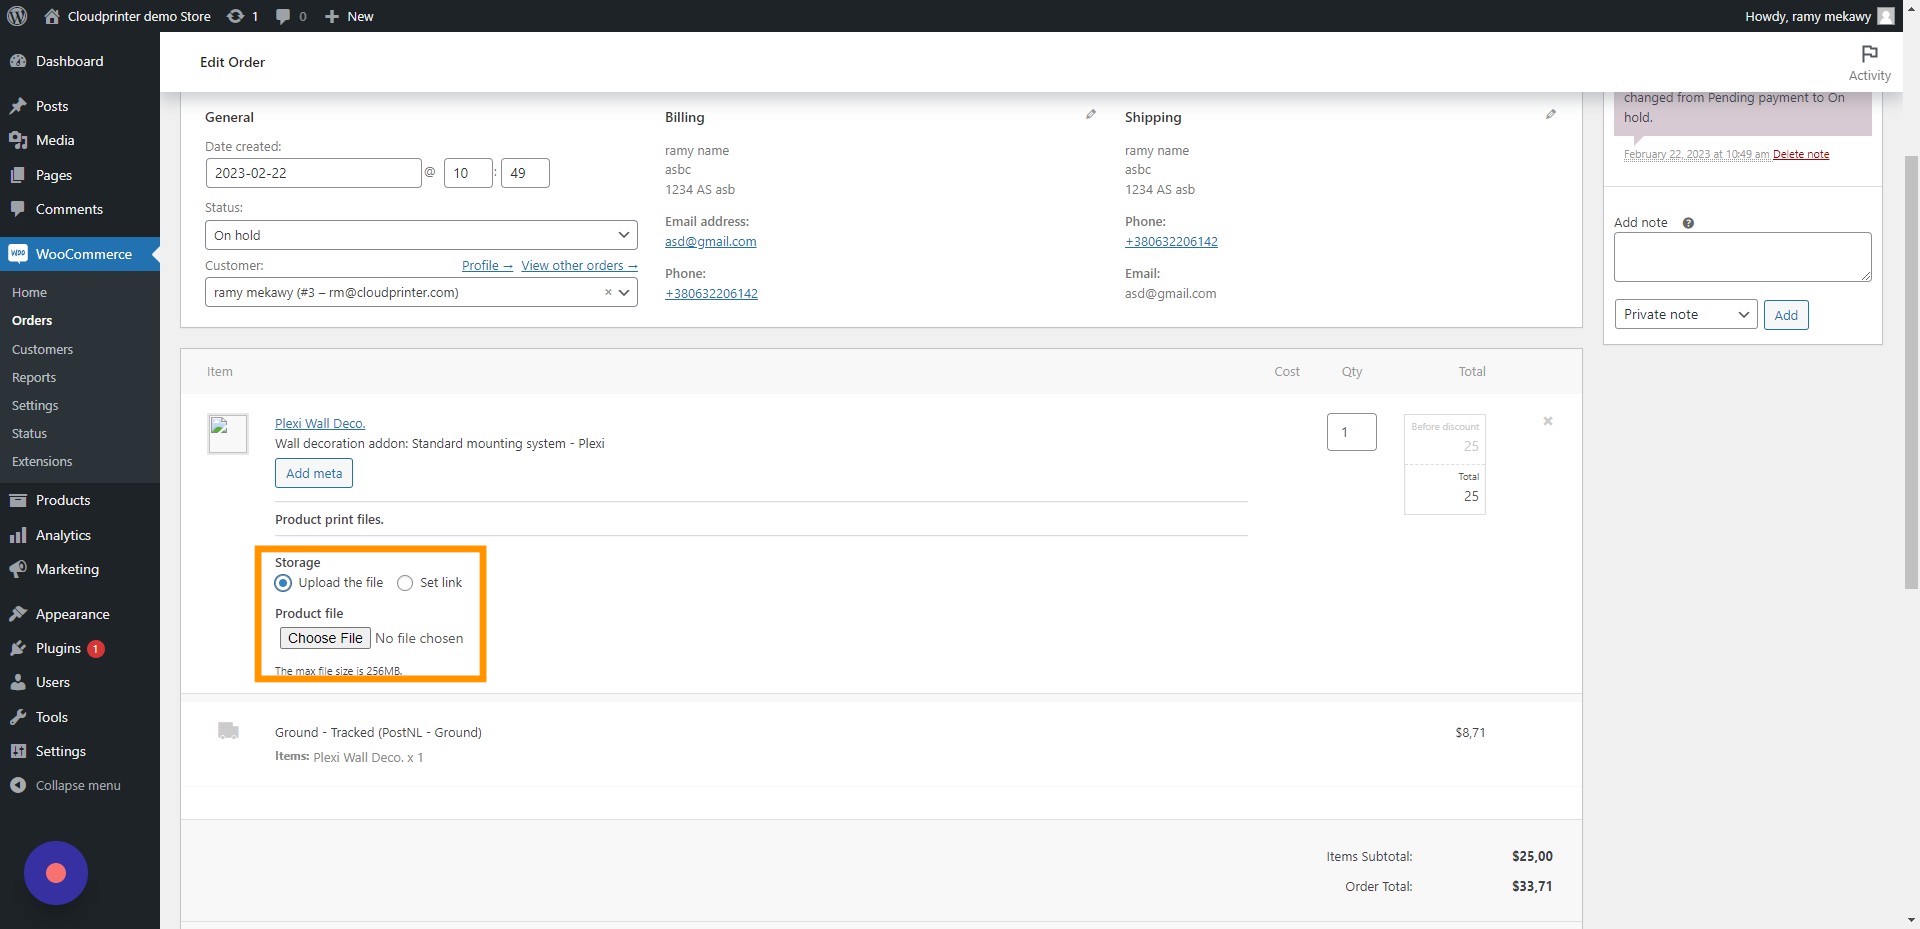
- Click Edit item to upload a file or add an auto-downloadable link.
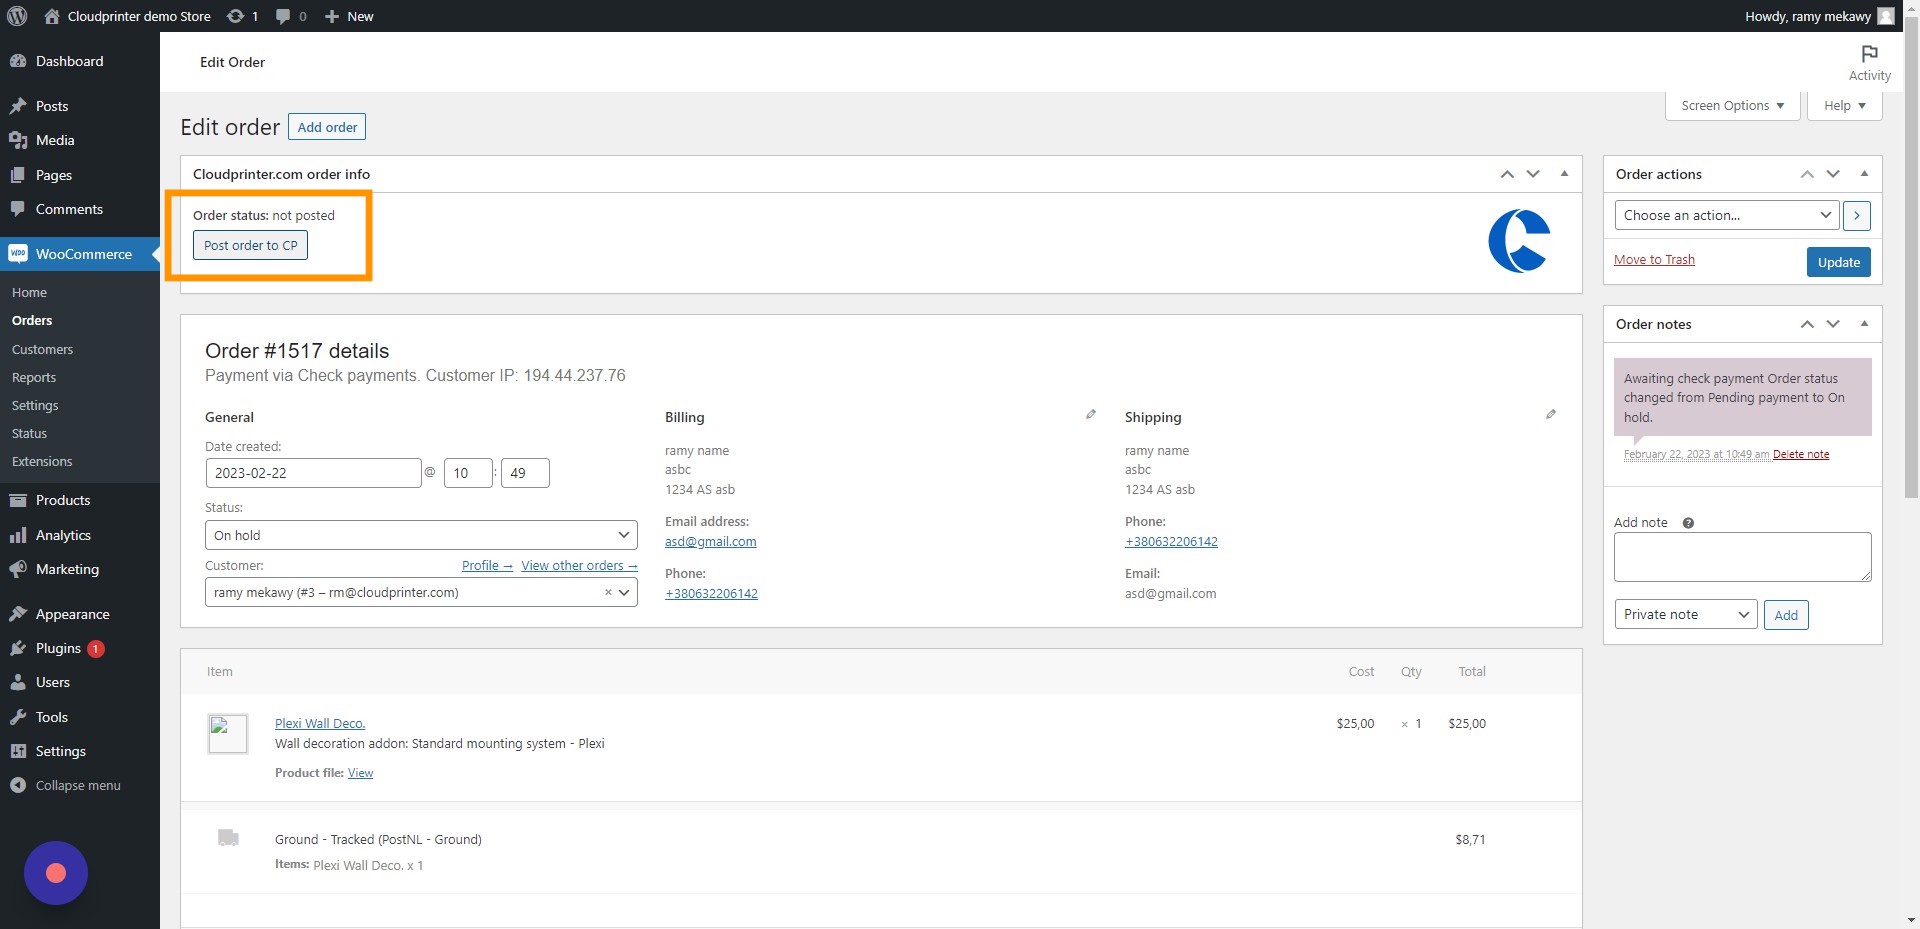
- Once you are done, click Save. In the Cloudprinter.com order info section, click on the Post order to CP button.
- A new window with two options will pop up. We recommend using native shipping quotes. Click Next and Post order to finalise your changes.
Woohoo! Your file is now added to the order.
