WooCommerce Update: Introduction of Dynamic Options
While enabling Cloudprinter.com product site admin, you can choose the Production option type: Dynamic. It allows adding extra options to the existing product like print on the backside of a T-shirt or other features.
At the end of any Cloudprinter.com product configuration page, users should choose Static or Dynamic file uploading (dynamic type allows uploading more files for any chosen option).
How to set up different T-Shirt sizes and make the color a flexible option?
Let's take as an example a scenario where you want to offer some of your designs on T-Shirts. To be exact: you want to offer different sizes, four different colors, and your design can be printed only on the front.
Let’s start creating all the simple products you want to offer. Click on Add Newunder the product menu and type in a name, mark the Cloudprinter.com checkbox.
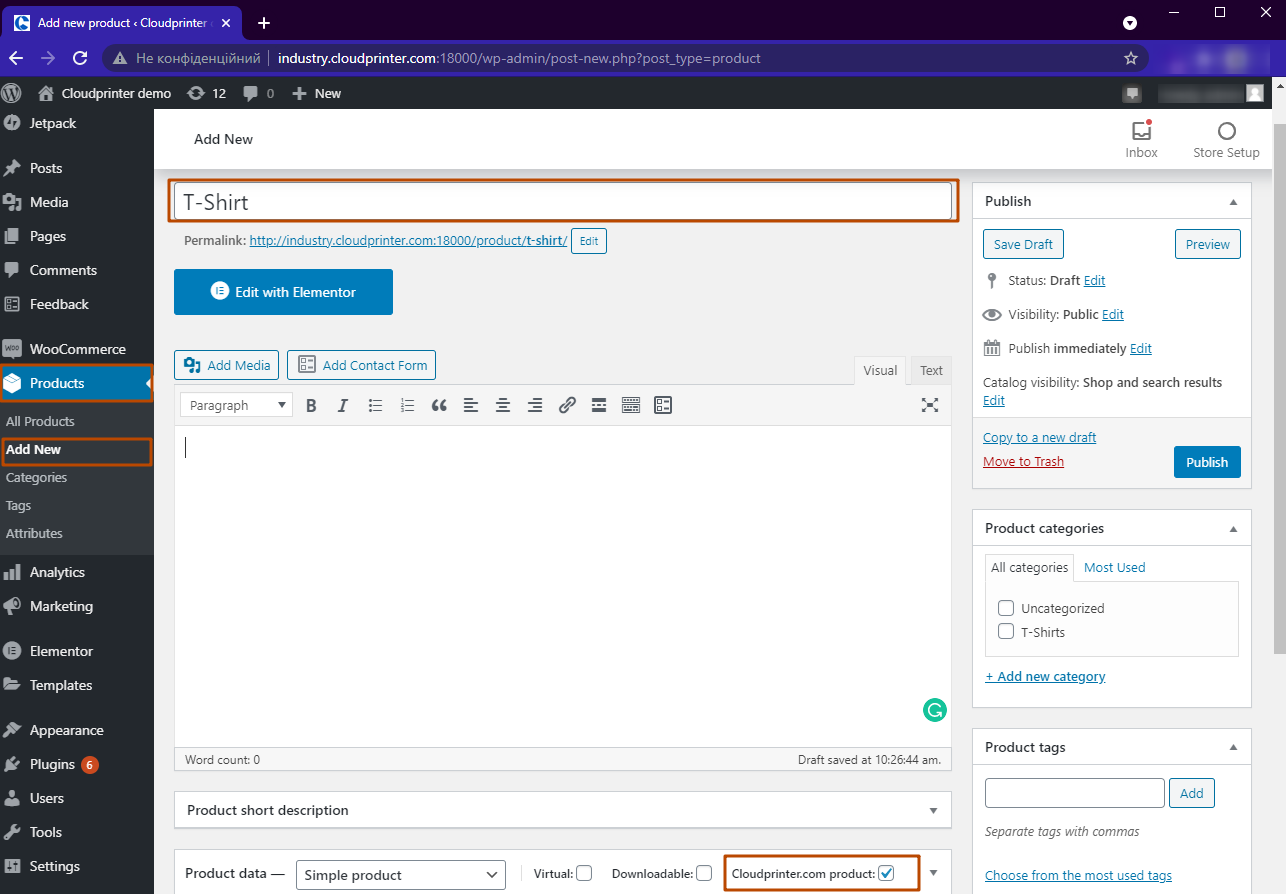
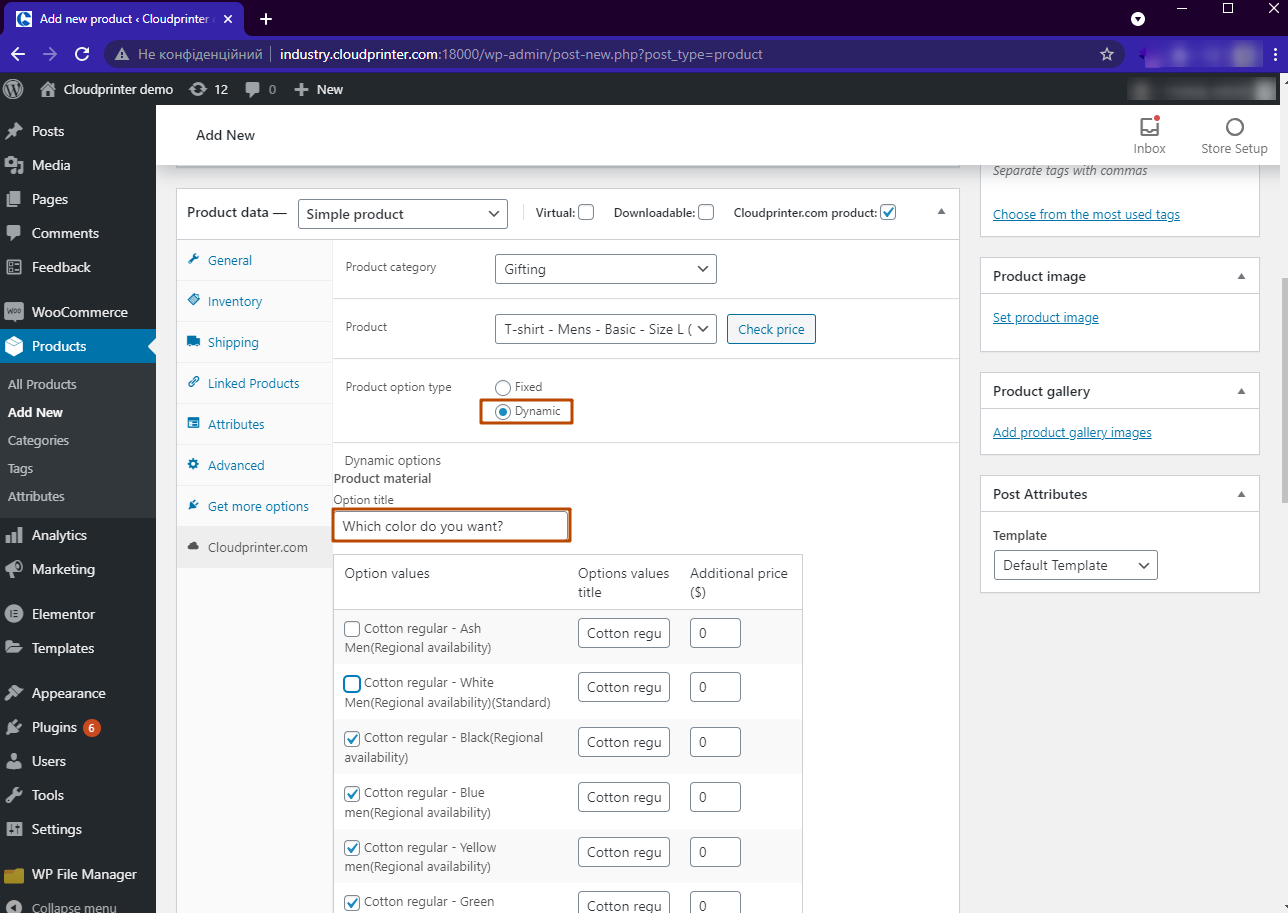
Open Cloudprinter.com options choose the Gifting category and the T-Shirt – Men's – Basic – Size Lproduct. Switch to the Dynamic option type and you will see available options of the product. Let’s start with the material section and choose the colors you want to offer. First of all, rename the Option title to “Which color do you want?” and enable Option Values.
Then select the option the customer can choose from without adding an extra price because the T-Shirts will cost all the same. If you have a relatively bright design, choose some darker colors and rename the options too.
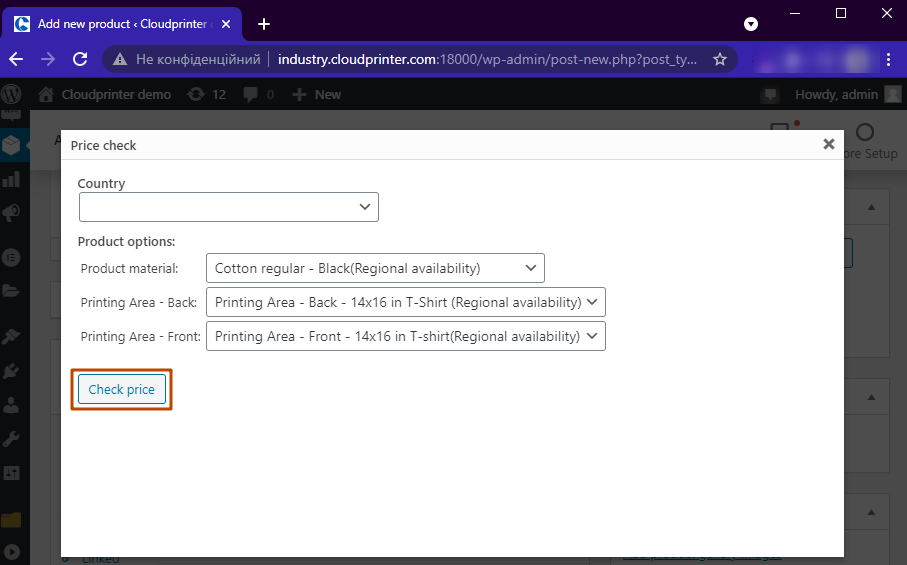
Notice: make price checks to verify the cost of the specific option – for example, an additional back or front print. Also, keep in mind that the base price for a T-Shirt can differ from size S to size XL.
The customer doesn't have access to choosing print areas, thus, you need to specify exactly one option for each print area. Notice: if you only choose one option, the whole option will not be displayed on the webshop product site.

You have to select the “Printing Are -Back – none” and the “Printing Area – Front – 14x16inches” options. Renaming options or values isn't compulsory, because they will not be visible on the page or in the cart.
Leave the print file Static. You will provide the print file with your design, so select a file for the upload and set a sales price. Now, you can have a look at your product in your Webshop.
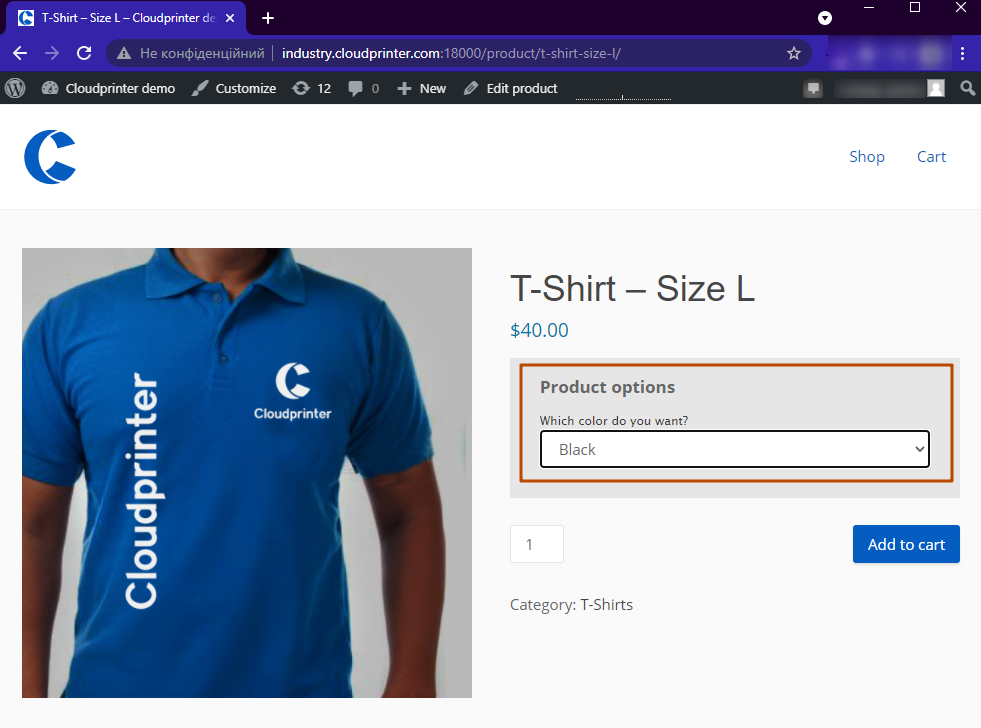
And there you have your first T-Shirt with the selected options, so your customer can choose between 3 colors.
Now, create 3 more sizes that you want to sell in the same way. After that, you should group them. Let’s say: you created a Size M, XL, and XXL with the same option, but the XXL is only in black and blue colors and is more expensive by 5$. Then, you have to group the T-Shirts using the Product Type “Grouped Product.” Go again to add a new Product and create a Product named “T-Shirts – Cloudprinter.com Logo.”
Change the type to “Grouped Product” click on Linked Products, and add the T-Shirt Products you created.
When you publish this Grouped Product, it will have the following look:
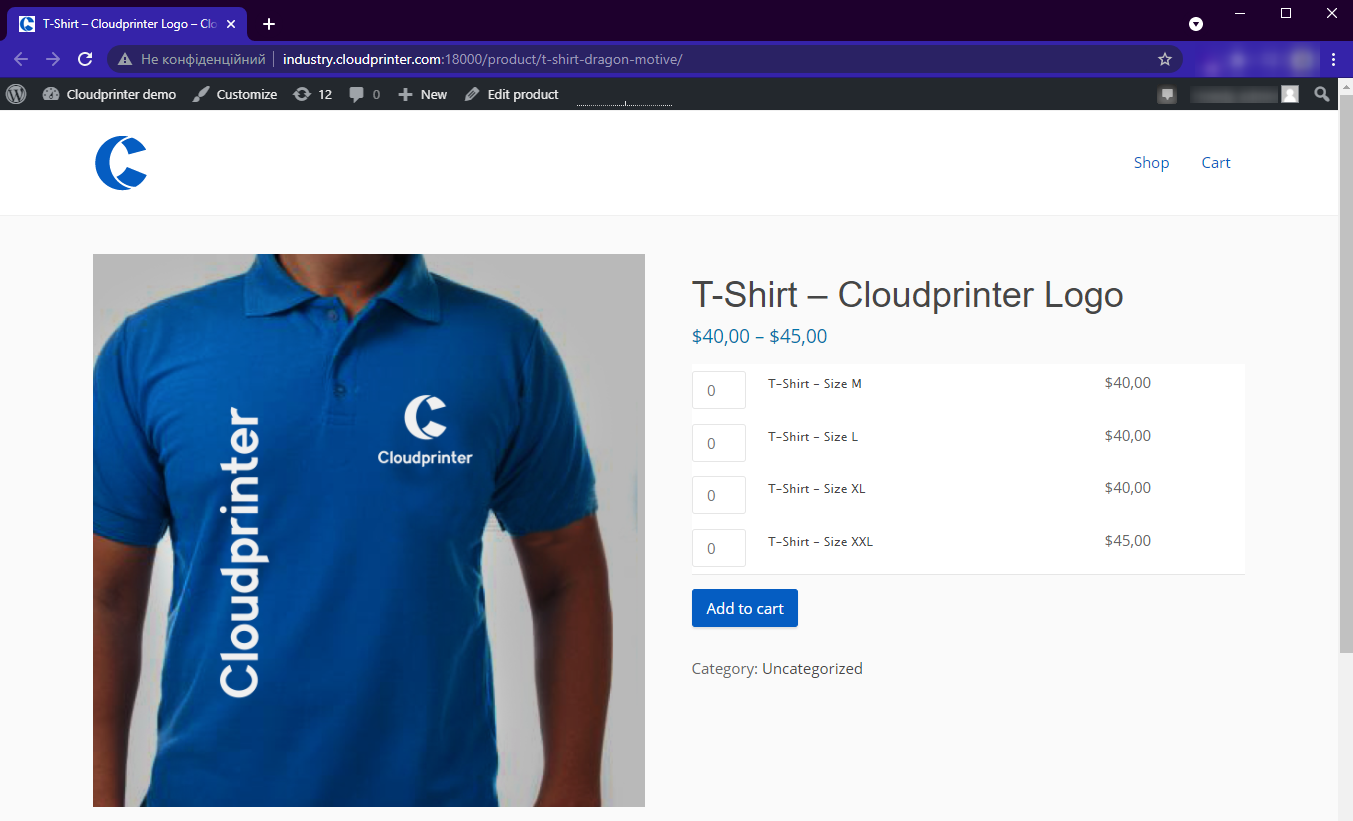
When you select one of these products, the options will appear.Your customer can now choose the option they want to have and add the product to their cart.